If you’ve read The Newsprint over the last eight or nine months, you will have followed every step of my newfound hobby. The biggest lesson I have learned about camera gear in that time is that the camera body has little to do with great image quality. Whichever camera system you choose to buy into, do not buy into the system for the sake of great camera bodies. Instead, buy into a system based on the glass you can buy.
Amongst my circle of friends, I’m noticing a trend away from “smartphone-as-my-only-camera” and towards mirrorless cameras. Some of my Twitter friends have messaged me regarding the strengths of the Micro Four Thirds system and, most recently, my brother-in-law jumped into the Olympus family.1
However, all of those advice conversations have started something like this:
I’m thinking about purchasing a better camera. Which camera do you recommend?
In reality, I think more of those conversations should start like this:
I’m thinking about taking some better photographs. Which system should I buy into?
It’s a small difference (and one that many people have already penned thousands of words about), but it needs to be reiterated from time to time.
Editor’s Note: The rest of this article will speak about the Olympus/Panasonic Micro Four Thirds camera system. In general, everything written applies to photography gear as a whole. I don’t intend on stating Micro Four Thirds is the best camera system to buy into (although I do believe you would be hard pressed to find a better system to get started with), but it’s the system I will use to showcase my thoughts.
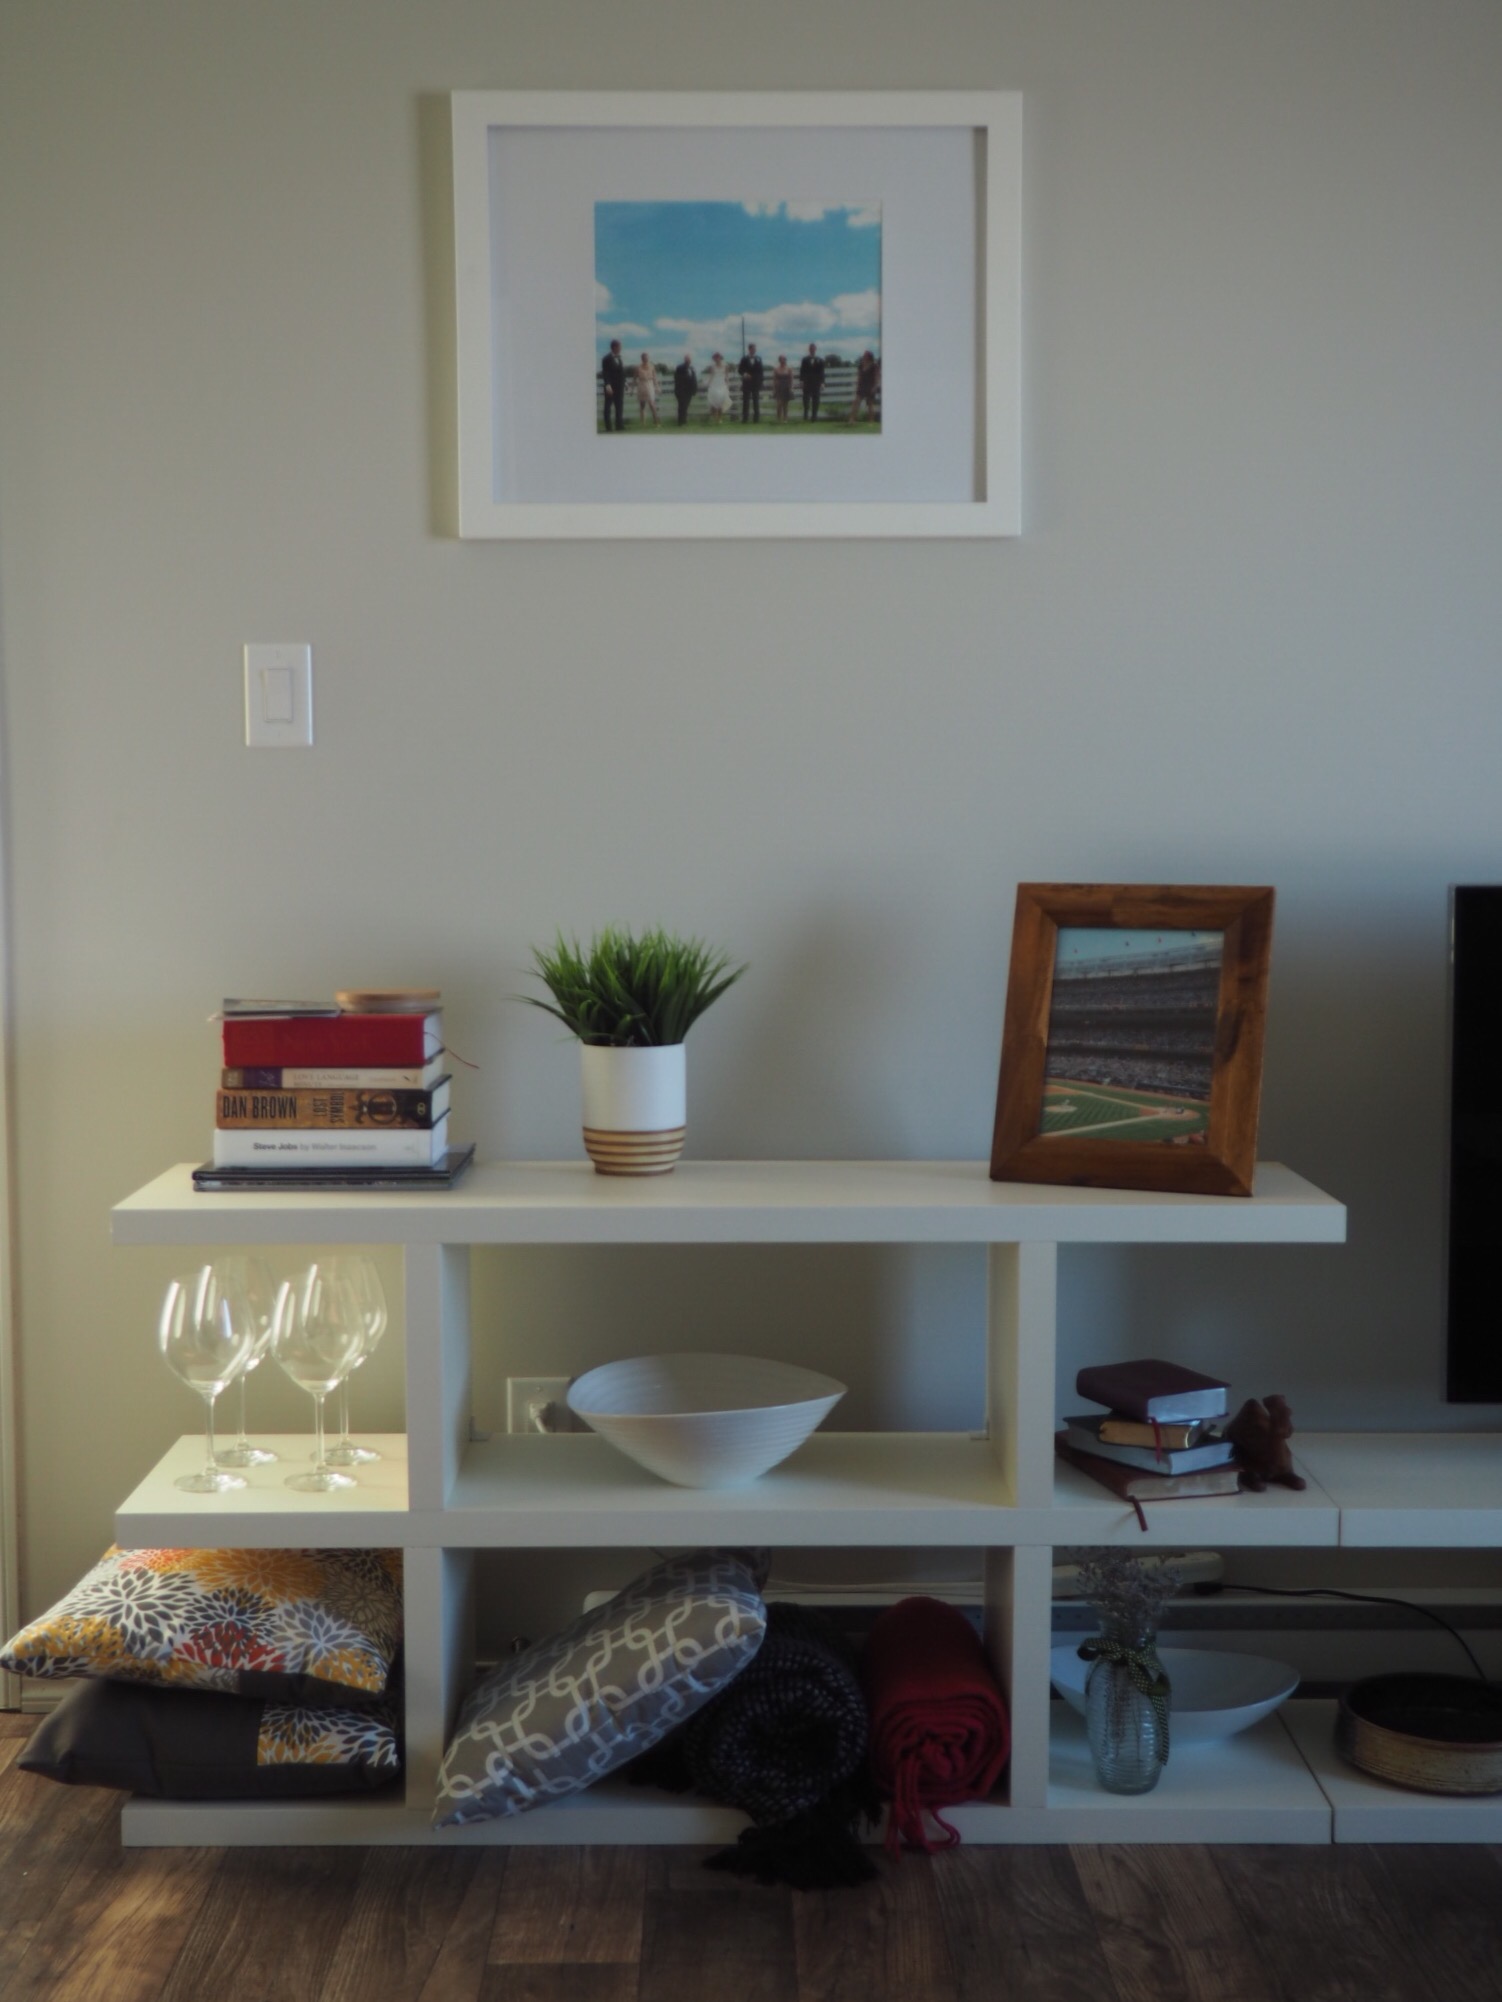
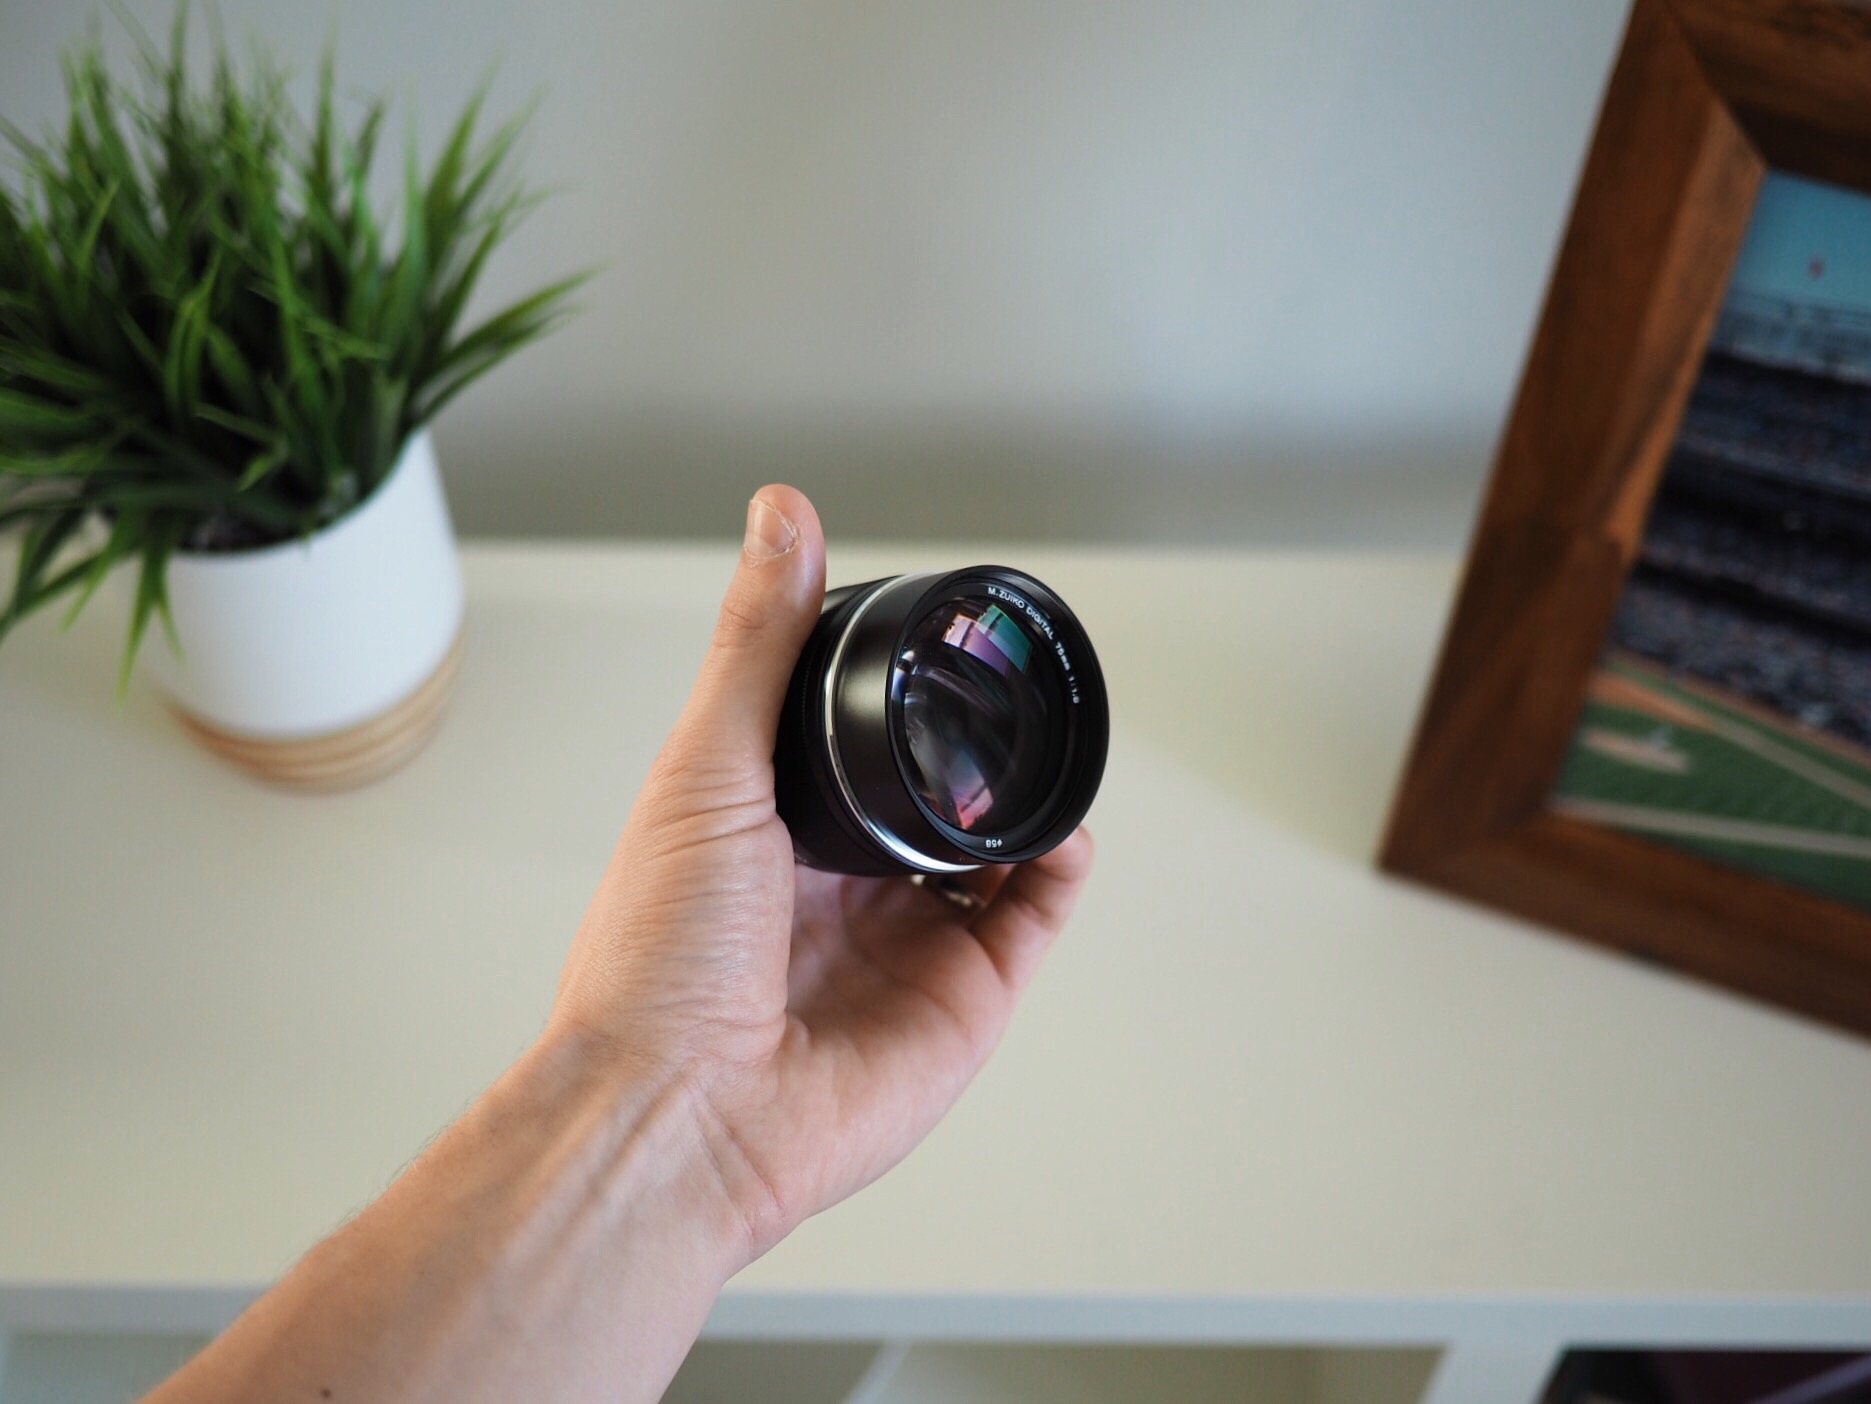
I shoot with an Olympus OM-D E-M10. I also have the 12-42mm f/3.5-f/5.6 kit lens, the Panasonic Lumix 20mm f/1.7 pancake lens, and the Olympus 75mm f/1.8 portrait lens. In relative terms, I am a Micro Four Thirds rookie.
When researching the Panasonic 20mm six months ago, I remember my wife and I slightly choking over the $400+ price tag. We weren’t convinced our photos would be immediately improved and we certainly felt like photography was turning into a money-sucking black hole.
But then we saw the difference between the two lenses.
The next eight images are all unedit and taken straight from the camera.
Our images went from this:
To this:

Both of these images were setup with a reflector to the left and natural light shining through a large window on the right. The Panasonic 20mm lens captured a cool image with auto white balance at f/1.7, ISO 200, and a shutter speed of 1/250. The kit lens shot auto white balance at f/4.0, ISO 200, and 1/60 shutter speed.
Immediately you can see the massive difference in sharpness from one lens to the other. The E-M10 body had to compensate for lesser light with the kit lens, so shutter speeds decreased and sharpness was lost. There’s no way a 1/60 shutter speed is capable of capturing moving children in lower indoor light.
Here’s another great example. This first image was shot with the kit lens:

And this was shot with the 20mm pancake:
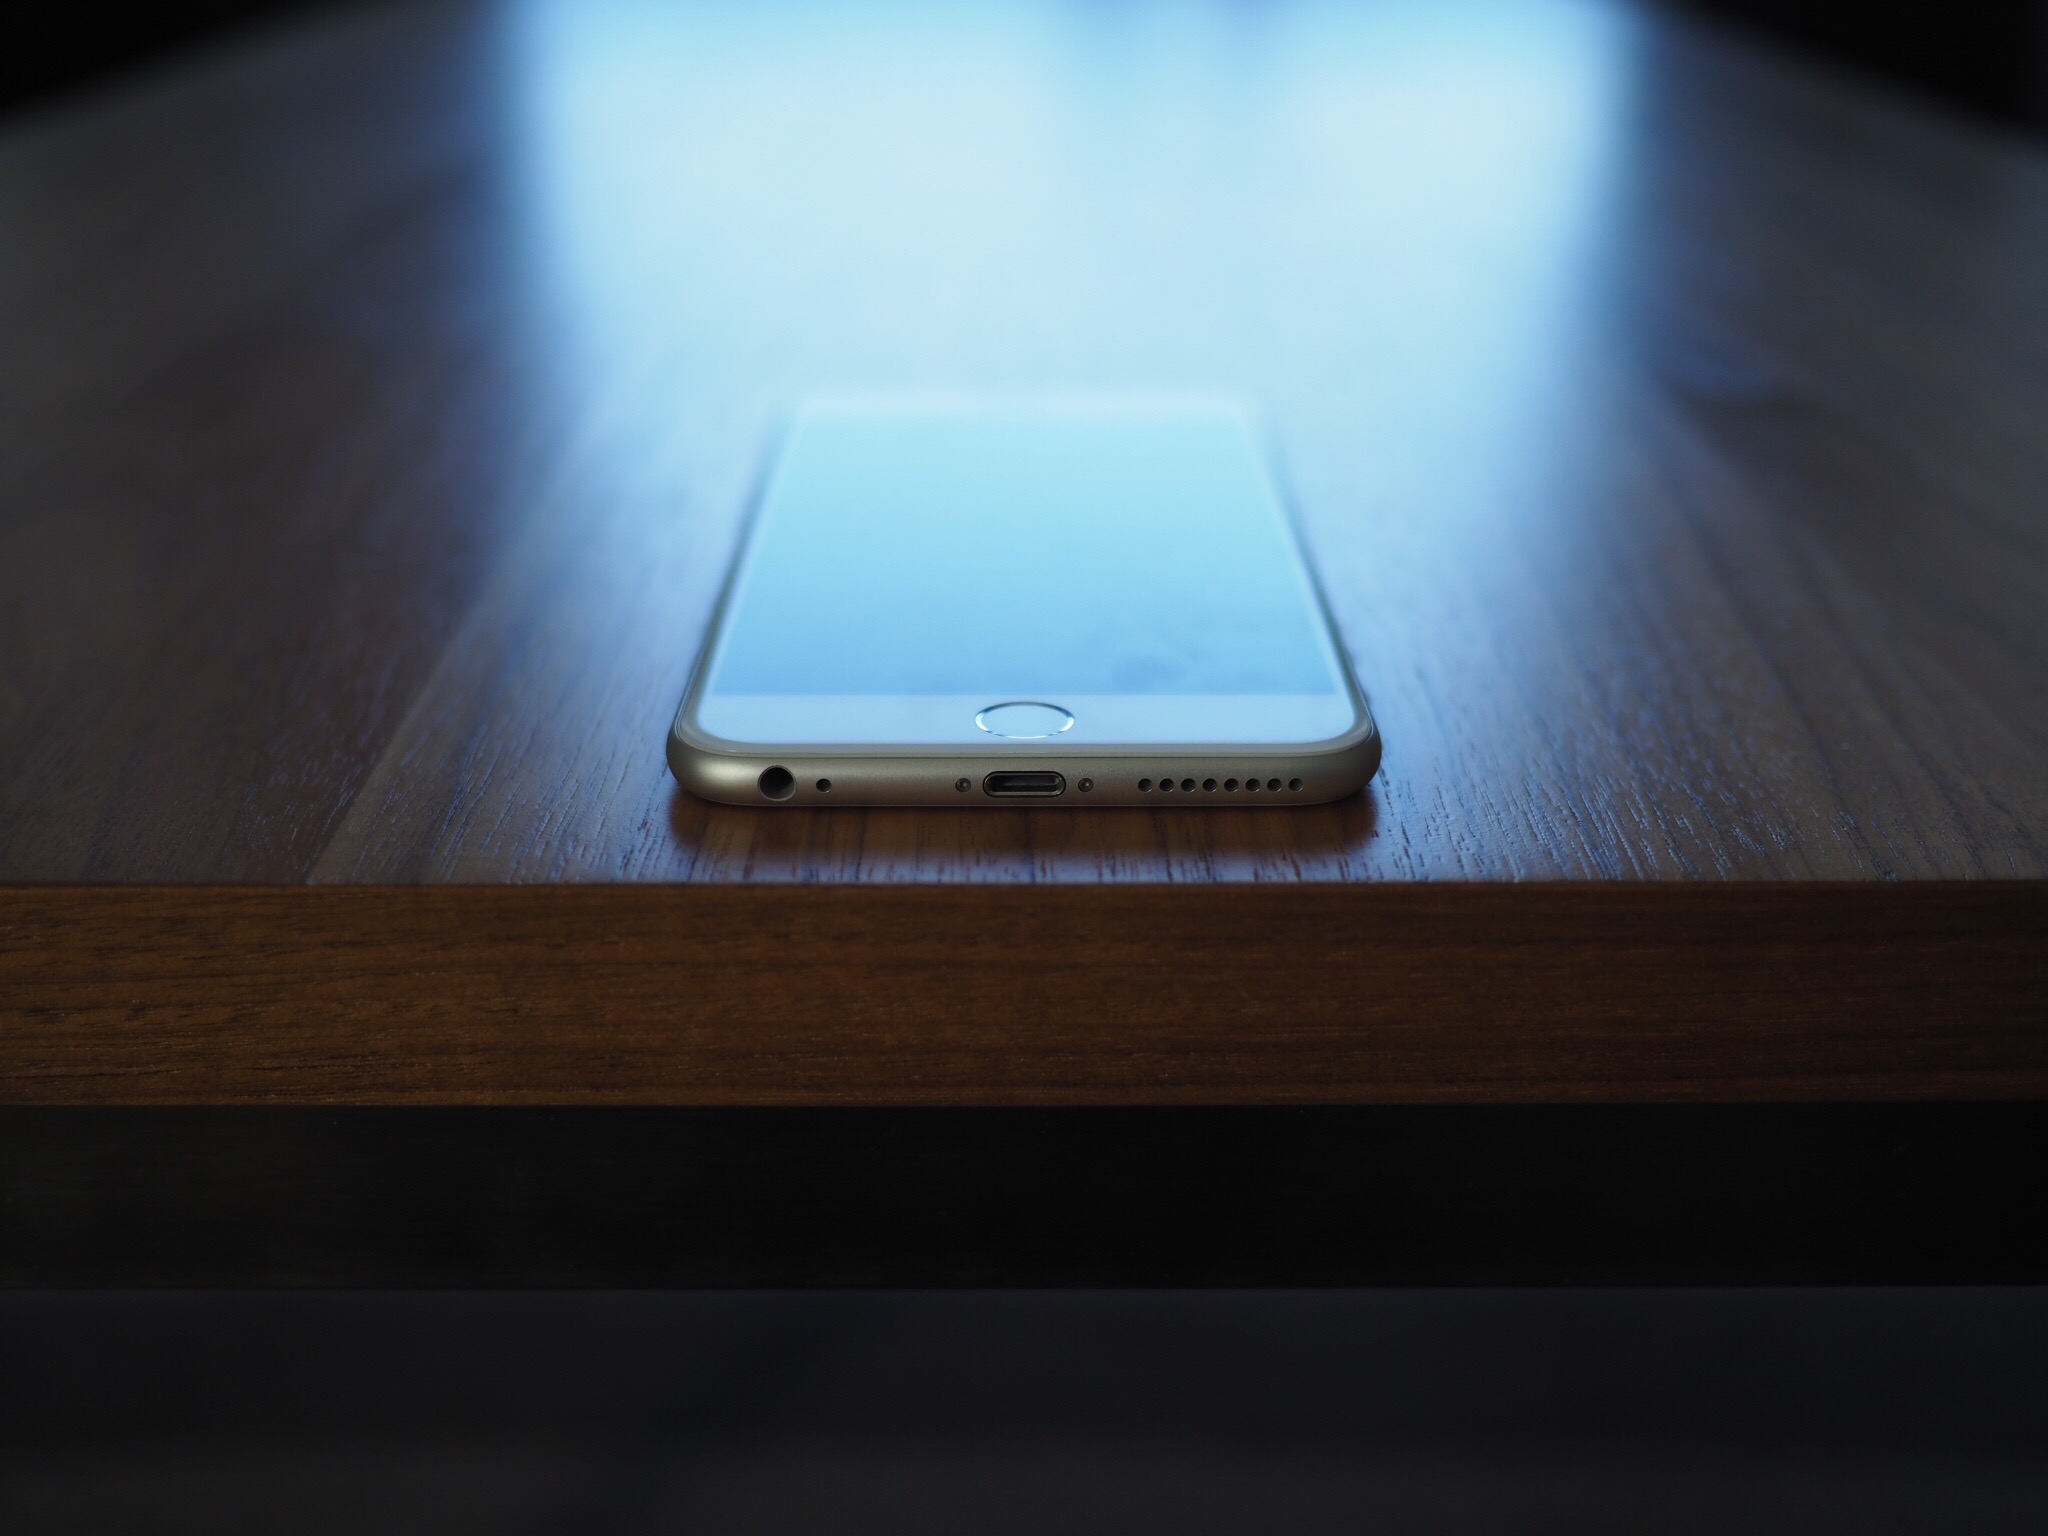
Look at the sharpness difference around the iPhone’s base. The 20mm pancake lens produced an incredibly sharp image with no reflector help, while the kit lens loses image quality due to its poor f/4.0 speed.
Also notice the depth of field in these last two images. The kit lens slightly blurs out the top of the iPhone, but the 20mm pancake blows the background to bits in a far better fashion.
And, for comparison sake, here is that same iPhone with the Olympus 75mm f/1.8.

Pretty impressive.
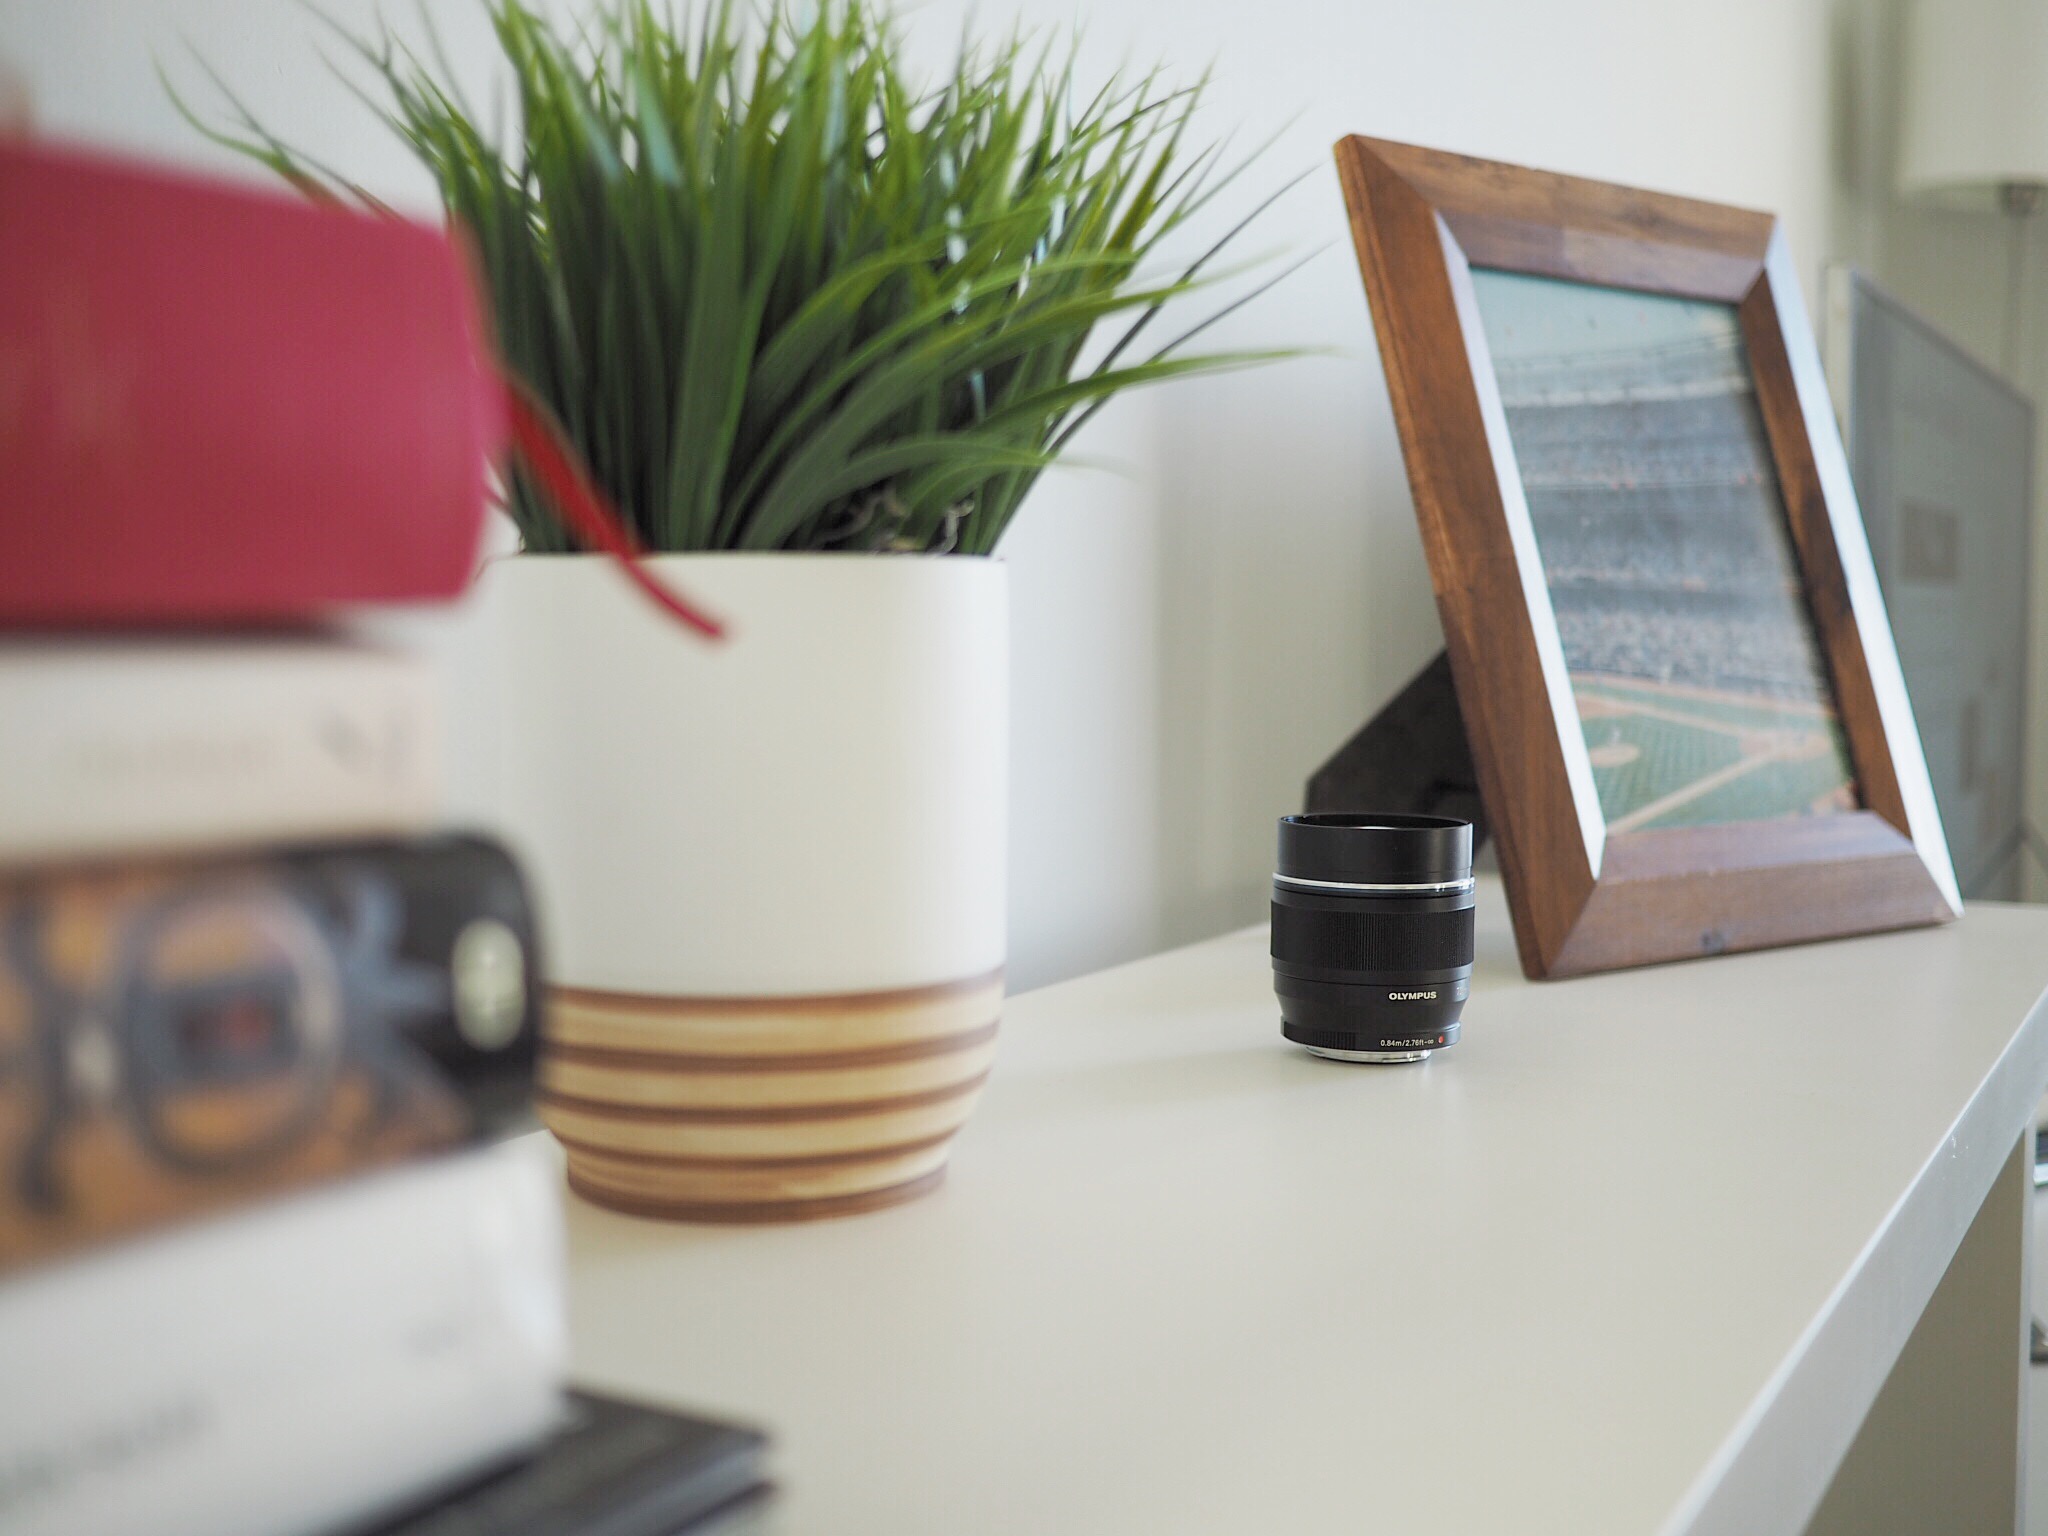
To really drive home my point, here’s a third example.
The Olympus 12-24mm kit lens:

The Panasonic 20mm pancake lens:
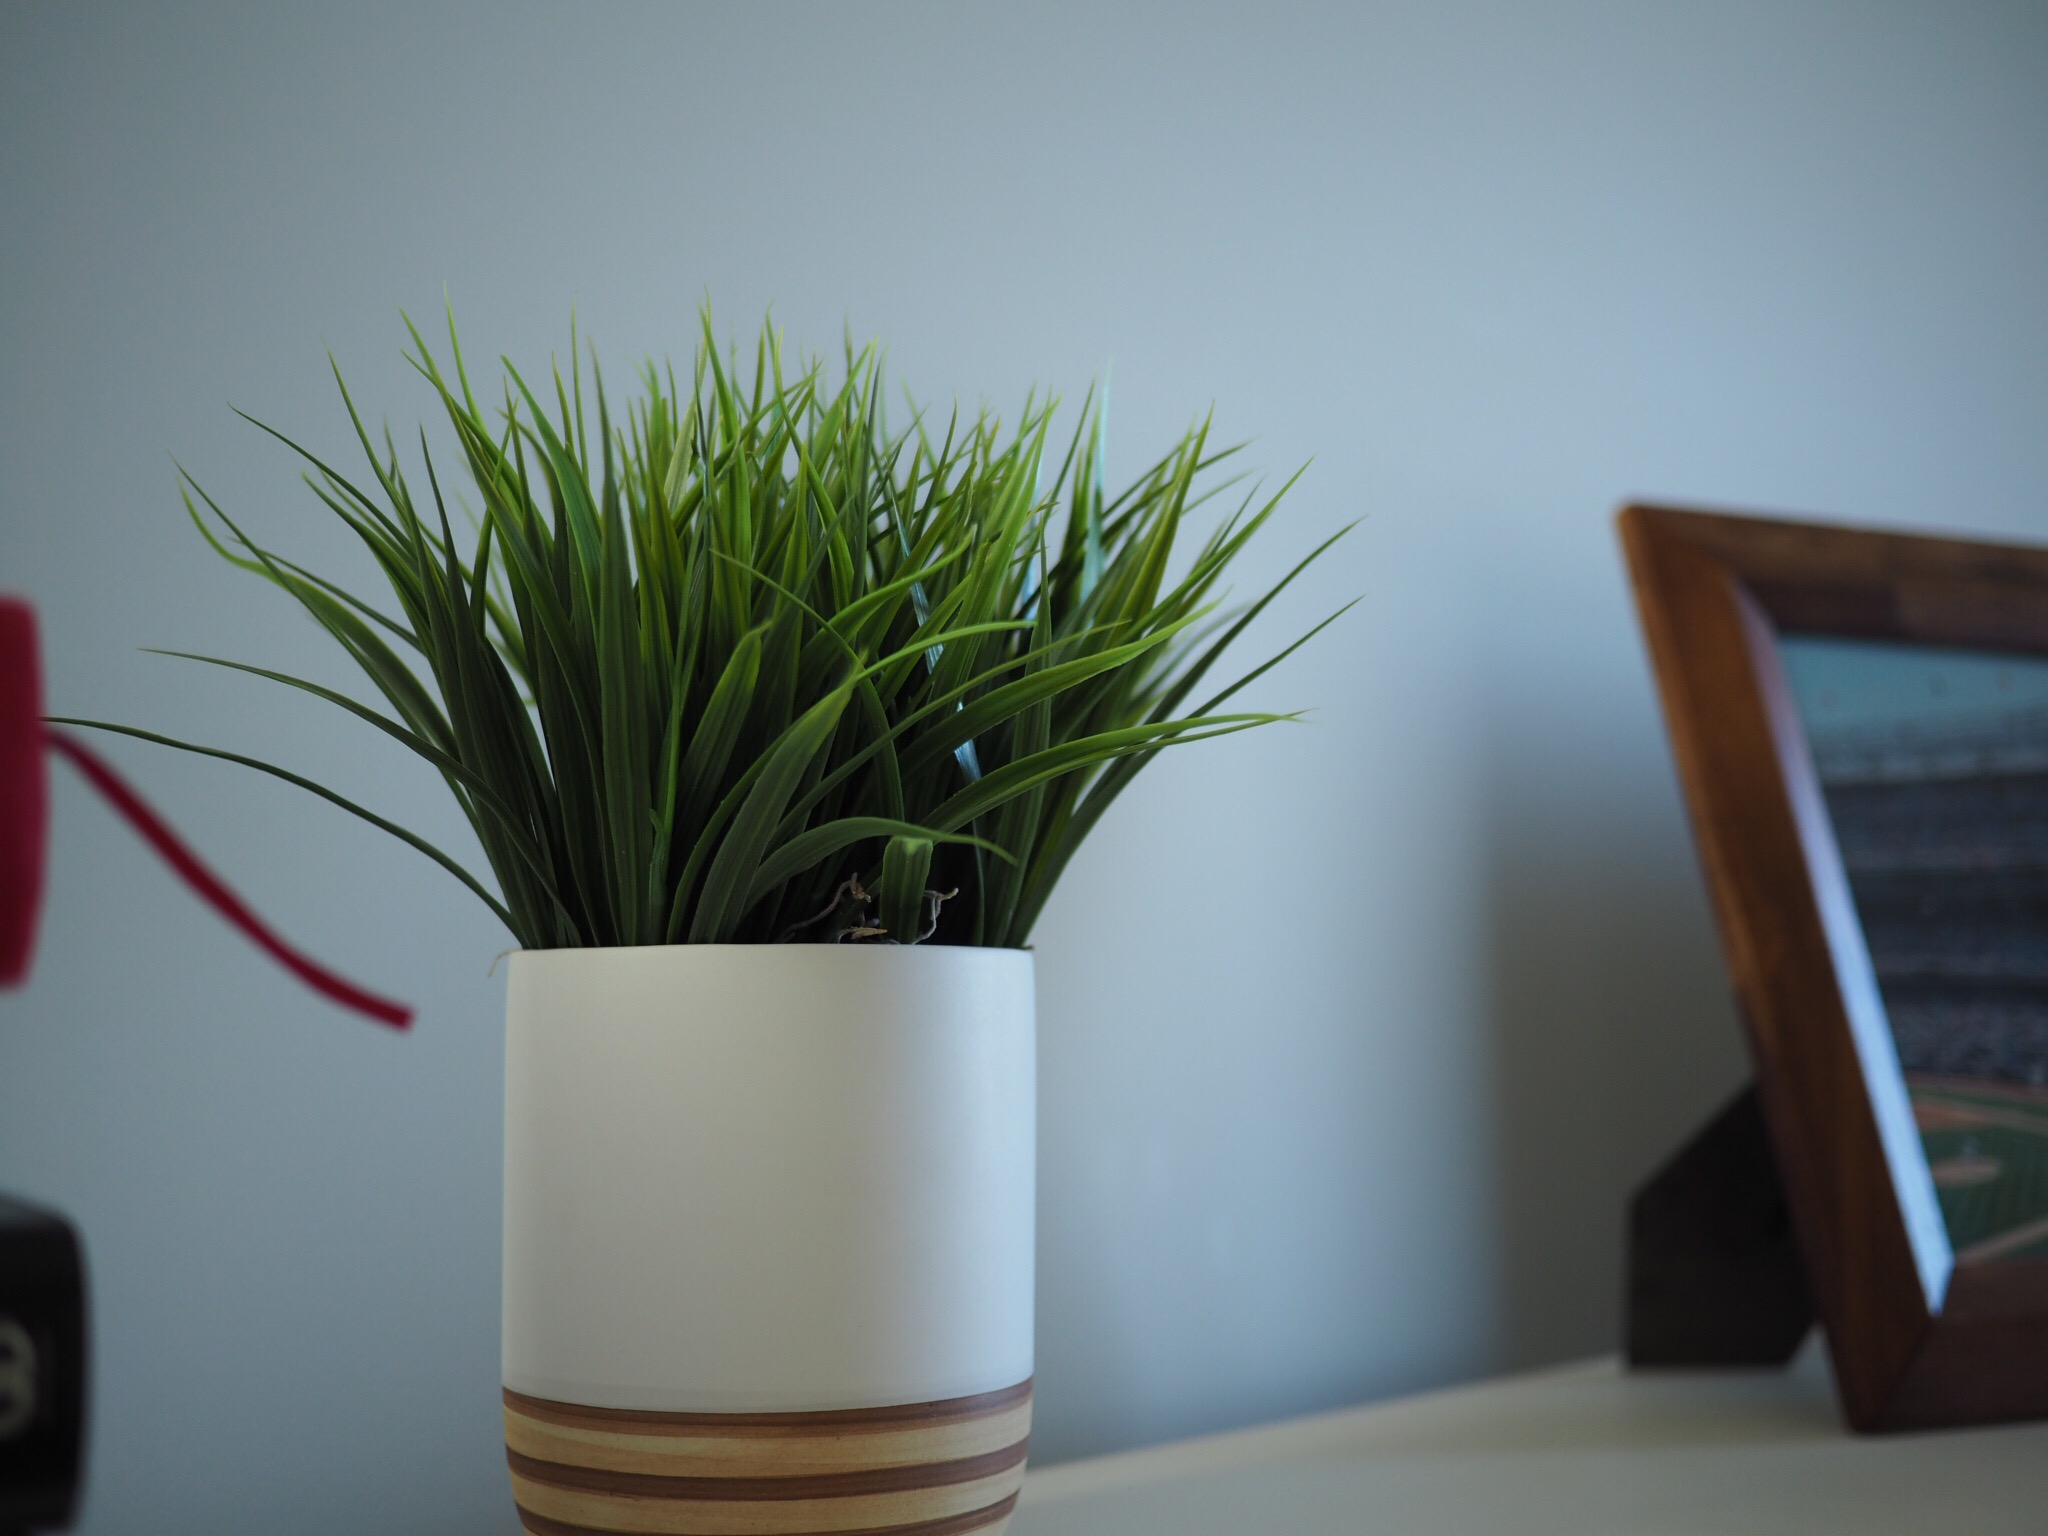
And the Olympus 75mm portrait lens:

The difference in sharpness from one lens to the next is mind-blowing, as is the depth of field control with the non-kit lenses.

The Panasonic 20mm pancake lens was far sharper than our kit lens right out of the box. Its incredible f/1.7 aperture allowed us to take fantastic indoor shots. And best of all, the lens was thinner than the camera body itself.
We carried the E-M10 and the 20mm pancake lens when we ventured to New York City over the summer. Wide-angle, portrait, indoor, outdoor — you name it, the 20mm pancake was able to capture it with ease.
The incredible boost in image quality by investing in a better lens allowed us to understand the importance of great glass. Purchasing the Olympus 75mm was an easier pill to swallow because we knew the big effect it would have.
Great glass — in any camera system — is expensive. The “Holy Trinity” of Nikon lenses (the 14-24mm f/2.8, the 24-70mm f/2.8, and the 70-200mm f/2.8) will set you back upwards of $6,800. In the M4/3 world, you could acquire three or four phenomenal lenses for less than $4,000.2 Nobody ever said photography was cheap.

On the same token, very few people will argue the results those higher quality lenses can provide. While it isn’t easy to drop $1000 on a camera lens, it’s far easier to accept the pain when you see the photos it can shoot.
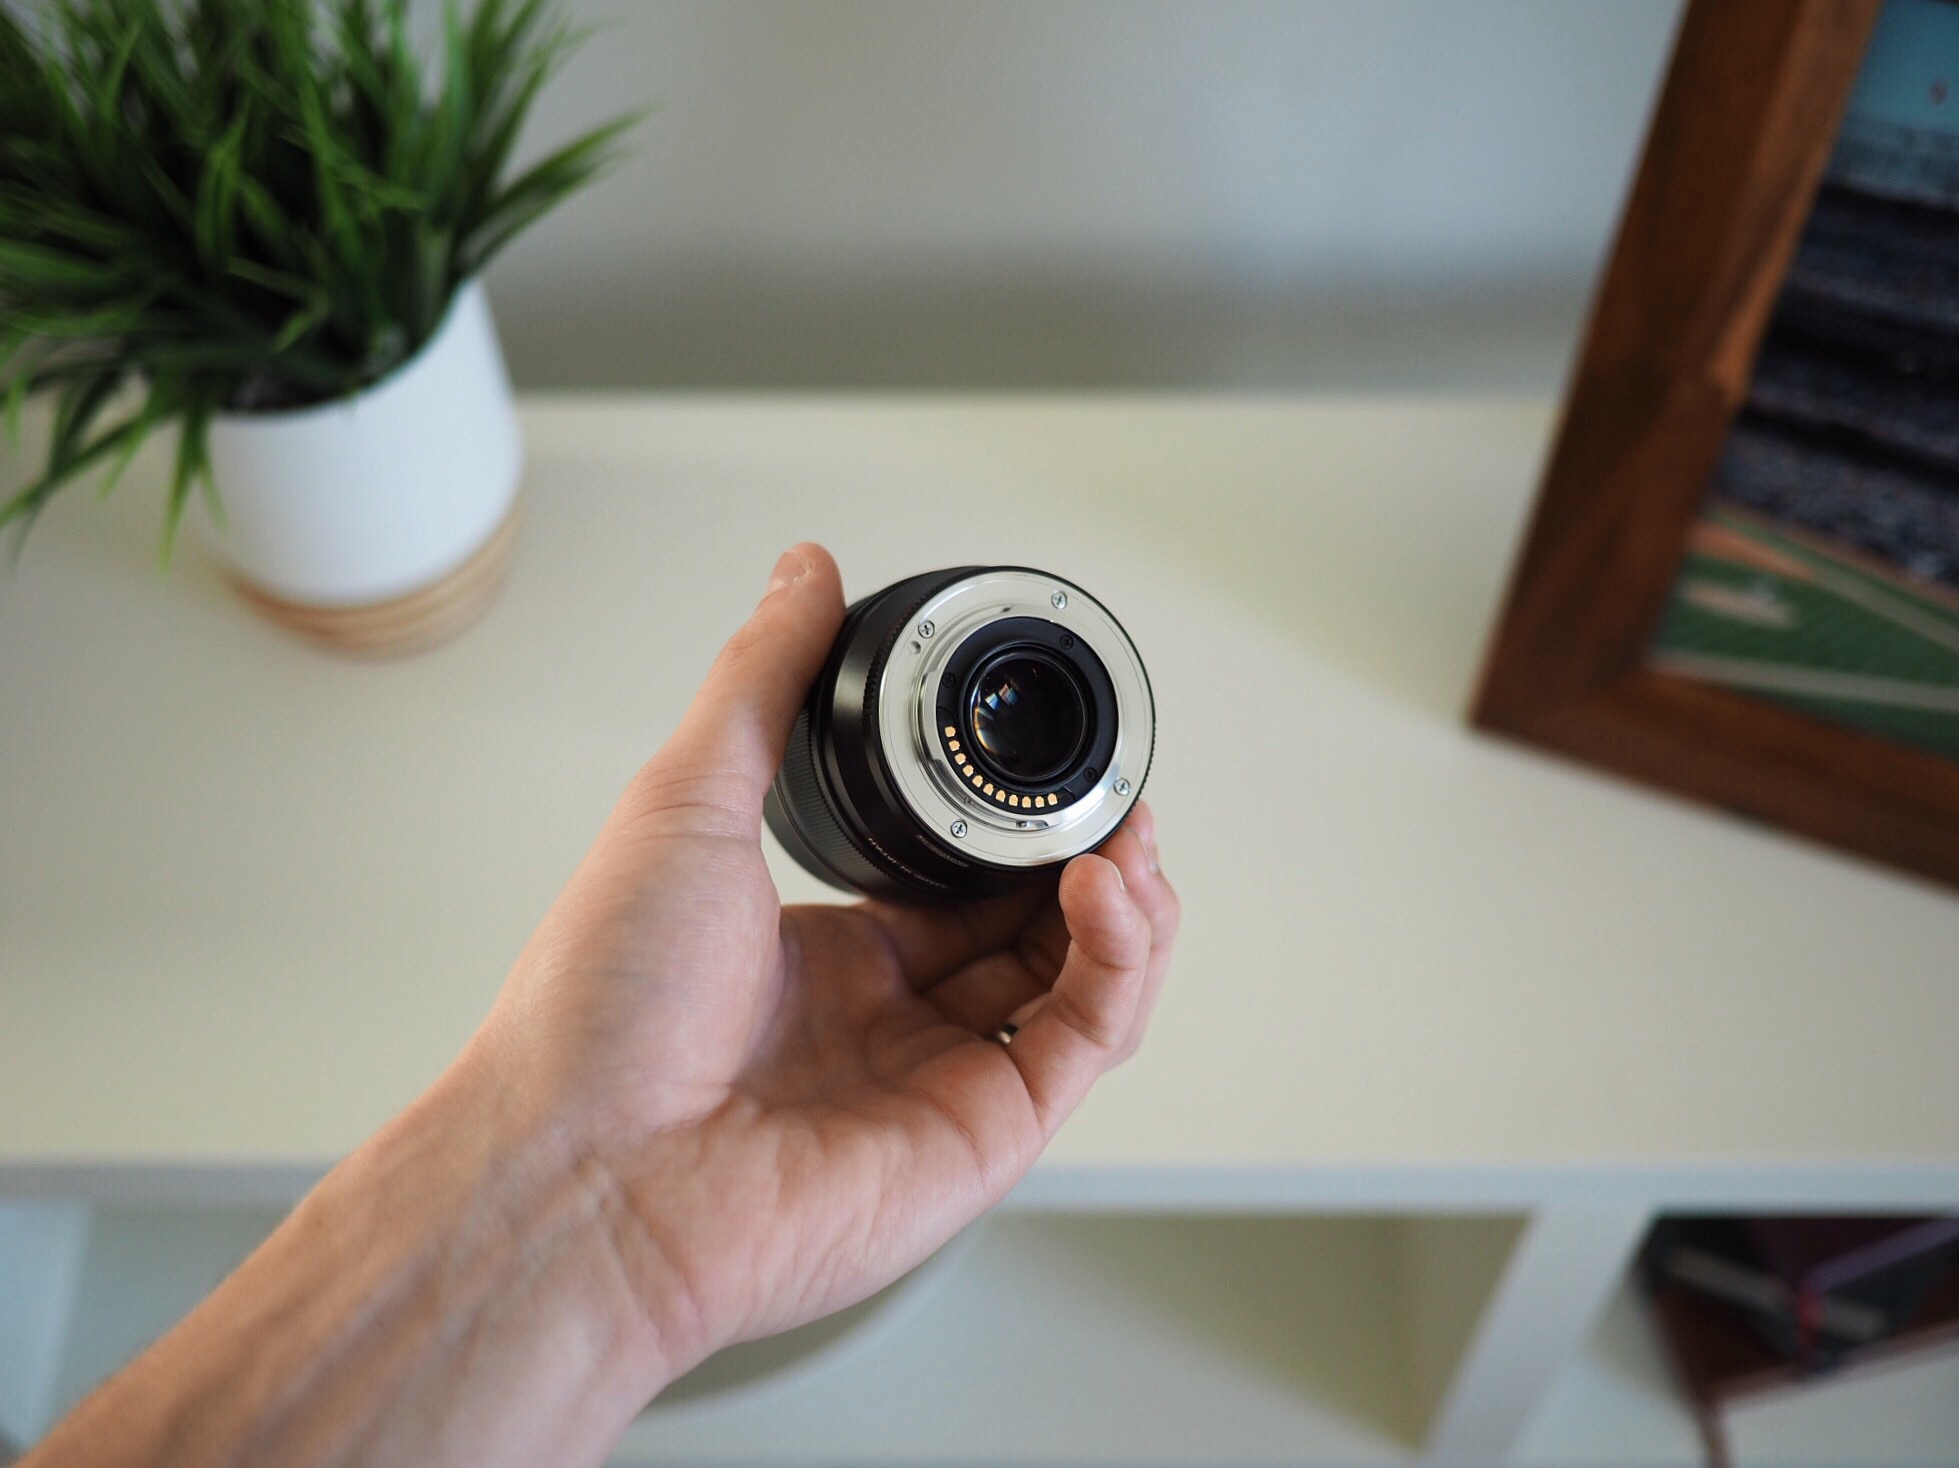
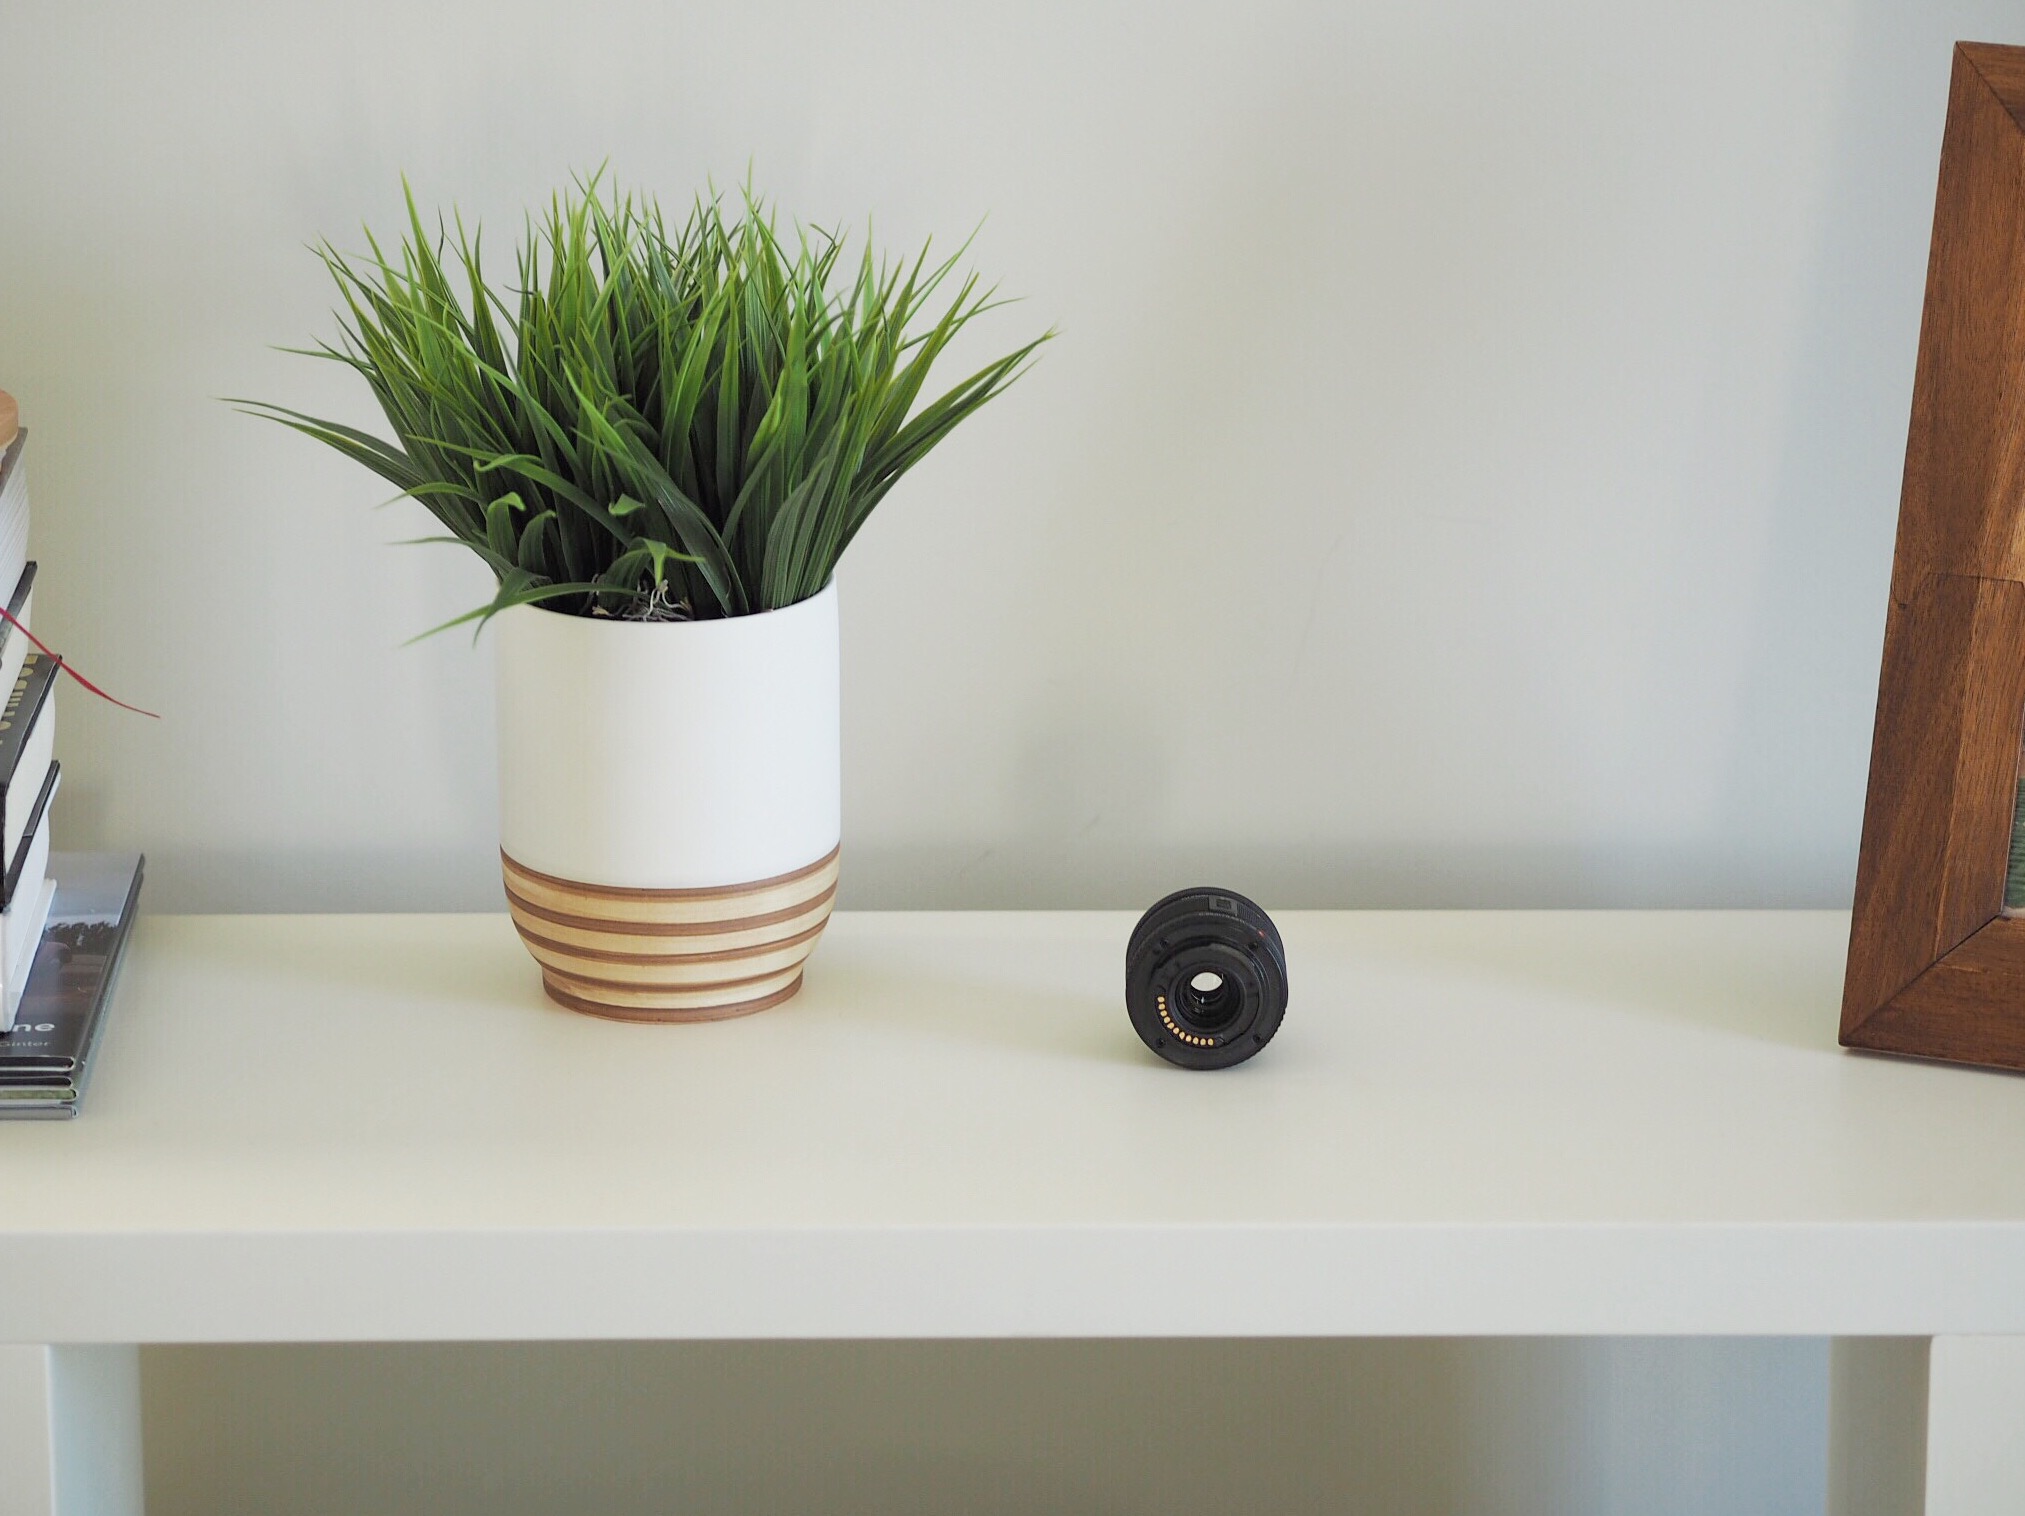

There are other benefits of absorbing that higher price tag as well. Higher quality lenses come with metal mounts that won’t easily break when attached to the camera body. As you can see above, the kit lens is made with a plastic mount and has a cheap build throughout.
Higher quality lenses also come with options to attach different lens filters and lens hoods. The Olympus 75mm lens has a threaded face to screw in after-market filters.
Top-of-the-line lenses often offer weather-proofing and can withstand water, dust, and cold temperatures. This increased durability often comes with an all-metal build instead of breakable plastic.
The benefits of higher quality lenses are endless. While acquiring great lenses takes time and money, it will be far cheaper to upgrade your camera body than to switch systems and acquire great lenses all over again.
My biggest mistake when purchasing the Olympus E-M10 last May was my underestimation of good glass. I assumed the camera body was the most important purchase of my new photography hobby. At the time, I hadn’t budgeted for lenses or other accessories that I now want to acquire.
The long and short is this: If you’re operating on a budget that limits how much you can initially invest in your new hobby (which most of us are), it is far wiser to undercut the quality of the camera body and invest in some better lenses. Don’t make the mistake I made when I assumed the camera body was able to wave a magic wand to produce a masterpiece. And certainly don’t become discouraged when your images don’t turn out the way you had hoped if you don’t make the investment in better glass.
As I continue to traverse through this awesome hobby and as I continue to post the results on The Newsprint, I hope I can outline other tidbits of rookie advice for those who want to get started. Great glass is the first and most important factor I have learned in my infancy, and my insatiable gear lust has taken a stranglehold of my web-time.
Addendum
Ben Brooks wrote a nice response to some of my thoughts above, and he correctly touches on an aspect that I didn’t drive home well enough.
Without a doubt, great glass does not need to be expensive. There are some incredible lenses which don’t put a dent in your chequing account. Ben talks about the famous “nifty-fifty” lens found in Canon’s DSLR lens selection and how it is one of the best lenses to buy.
He also goes on further:
There are some things that you can and cannot do with certain lenses, but more importantly than what you can’t do, is knowing those constraints. You can, and people do, take extraordinary photos with subpar camera equipment.
This is the point I tried to make in my second footnote below. There is nothing saying inexpensive lenses are incapable of taking great photographs. Even my Panasonic Lumix 20mm, which is inexpensive in relation to DSLR lenses or high end M4/3 lenses, can take phenomenal photos. All my best work has come from that lens and it cost a mere $400.
I’ll be sure next time to be more direct about this point. You do not need to spend piles of money to take good photographs.3 You will, however, need to do your research and find lenses that are great to achieve the look and quality you are striving for.
Please excuse my dismissal of impressive fixed-lens mirrorless cameras. New mirrorless cameras like the Fujifilm X100T can create breathtaking images, but cameras like these are far from my specialty. I know next to nothing about this facet of the mirrorless camera world, so I’ll push it off to the side for the time being. ↩
High quality does not always equate to high price. You can produce incredible images with cheaper lenses. Comparatively speaking, the Panasonic Lumix 20mm lens is cheap compared to the Olympus 12-40mm f/2.8 zoom lens and they appear to create about the same quality of image. However, the high-end Olympus zoom offers weather proofing, brilliant AF/MF control, and vastly improved autofocus. So, while you don’t need to spend oodles of cash to get great images, higher priced M4/3 lenses do offer benefits that you can’t get in cheaper lenses. ↩
If you need more proof of this, check out Digital Rev TV’s awesome Pro Photographer, Cheap Camera YouTube series. Some of the best photographers in the world grab the cheapest cameras imagineable and create work I could only dream of creating. They have used Lego cameras in this series for Pete’s sake. Talent always overcomes poor equipment ↩