Sam Nute is a photographer I discovered through Rebecca Lily’s Pro Set V pack of Lightroom presets. However, it’s his recent work on Instagram that has caught my attention over and over.
Sam’s recent work — like this shot at Yosemite National Park — has taken my breath away. But it’s this photo, also at Yosemite, that sent me down an all-new rabbit hole. (You can find an enlarged version of that photo right here on Sam’s personal site.)
I asked some friends what their thoughts were regarding Sam’s editing process and how he was able to gather the “look”. The answer that led to a rabbit hole were the words “split toning”.
I’d heard these words before but wasn’t quite sure of the editing process.
(I’m also not implying Sam used split toning. It was just the answer I was given as a potential method for creating such an incredible colour in the photograph.)
In short, split toning adds certain colours to the highlights and certain colours to the shadows in order to provide an overall veneer to your photograph. Experienced photographers will understand this far better than I could ever explain, but hopefully this provides an accurate foundation.
After digging into Lightroom, I specifically looked at this photo to see if I could grab any sort of “look”. Here’s the original:
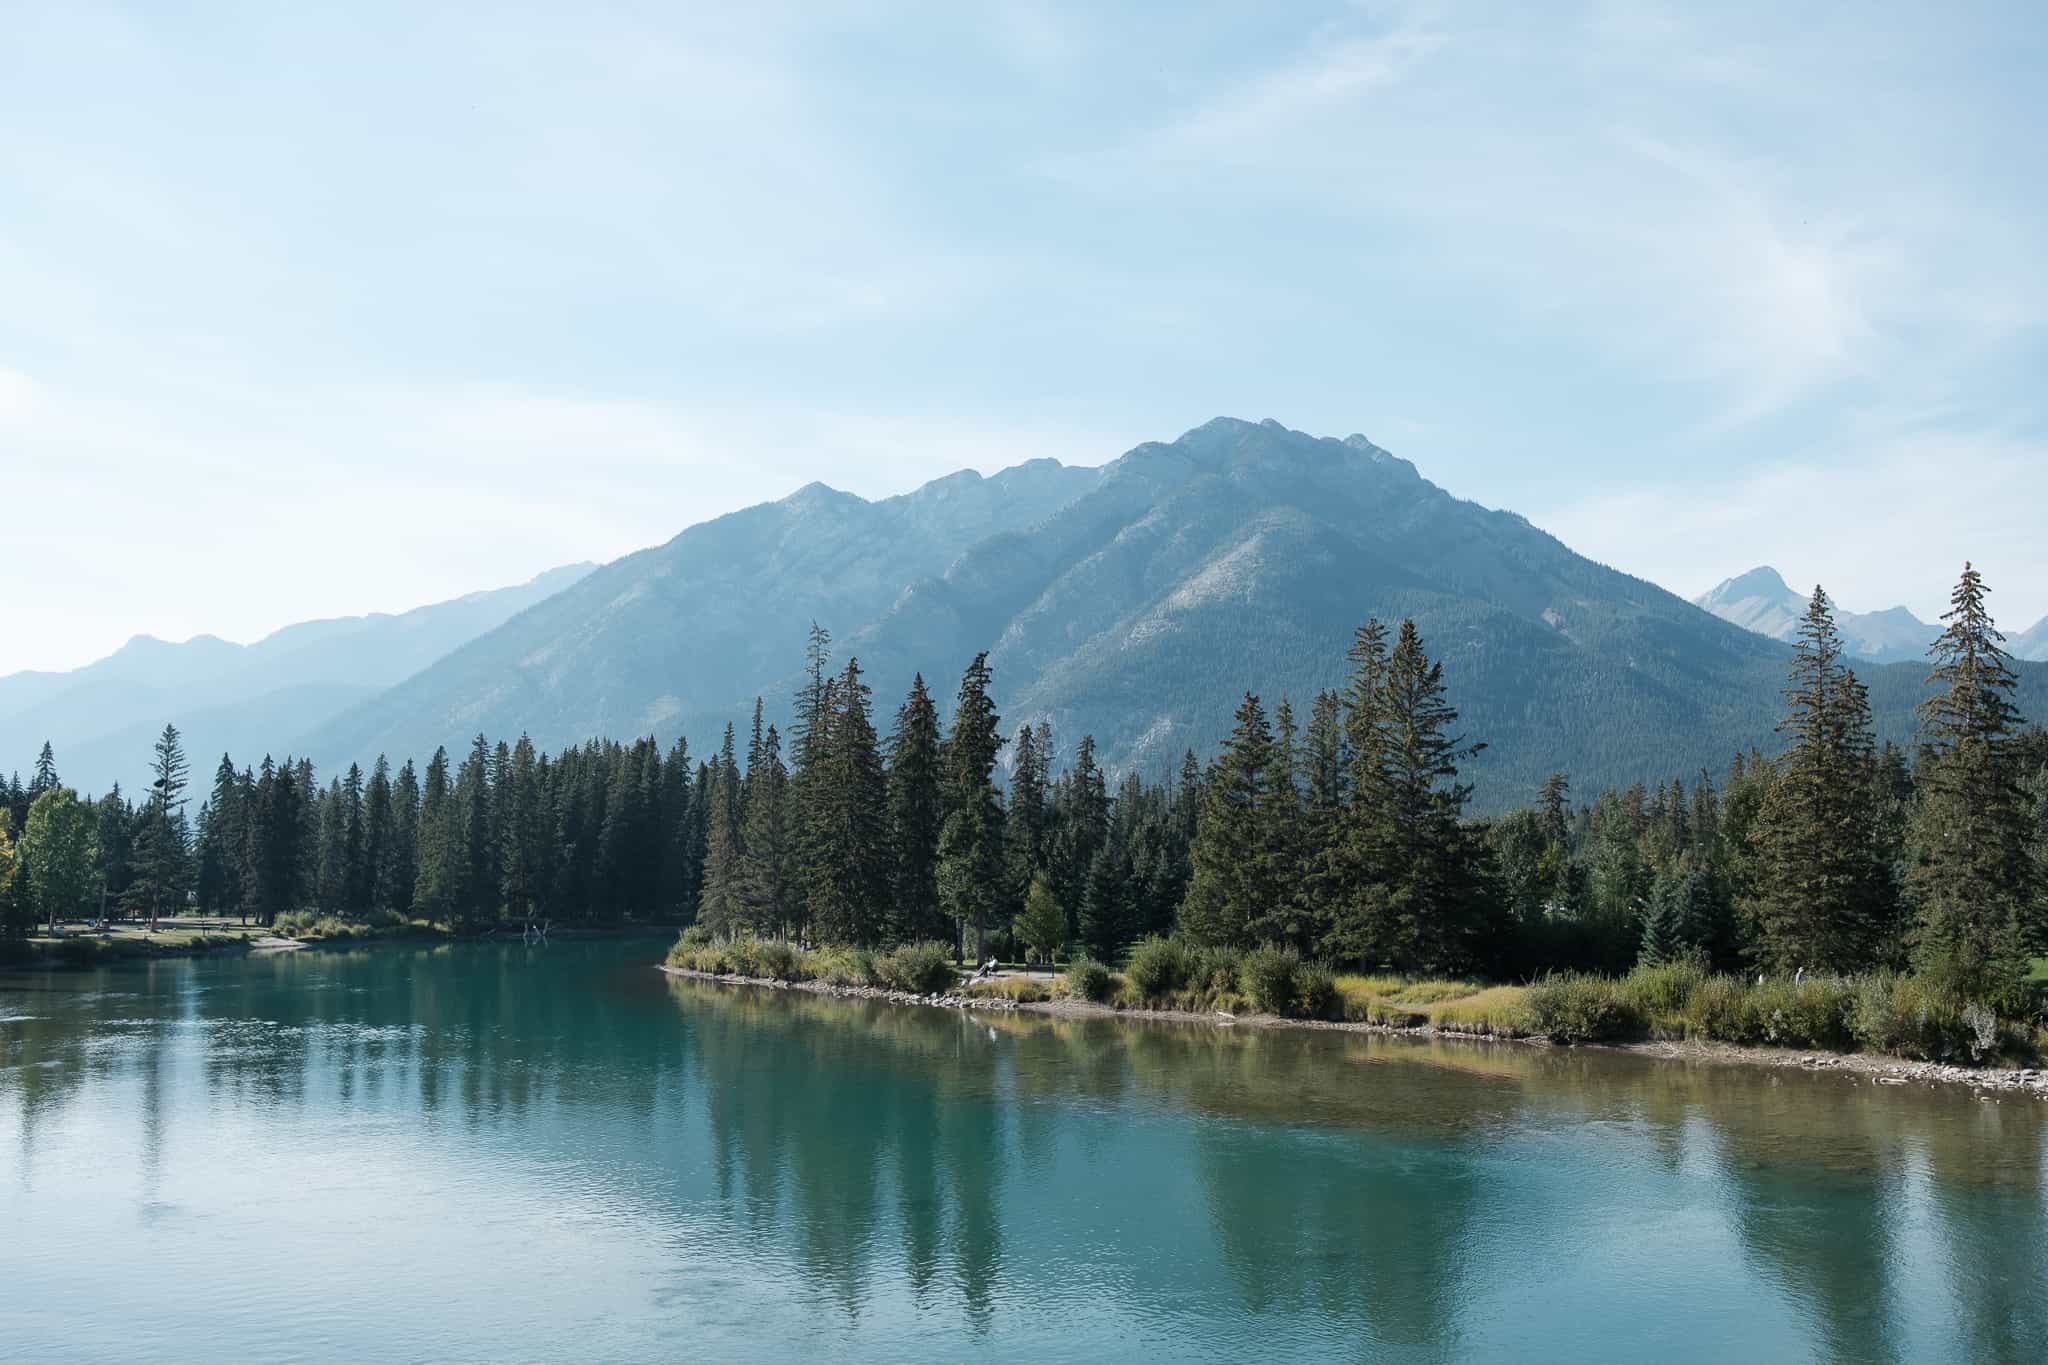
And here’s that same photo, but with some split toning applied:

I read somewhere in my research that contrasting colours work best with one another when split toning (reds with greens, blues with oranges, etc.), so this photo has some orange highlights and some blue shadows. Everything is heavily skewed towards the highlights in order to give it a more golden look.
I tried hard to replicate the look of Sam’s first photo from Yosemite National Park. However, if there’s one lesson here, it’s simple: There is no substitute for great light before you edit. You can create a golden hour look by split toning and applying other edits, but it’ll always be easy to pick those who faked it and those who woke up early to shoot that brilliant early morning light.
This was a fun experiment and one I hope to continue to hone over time.
I love the long-run learning curve of photography.