ProRAW isn’t new on the iPhone 13 Pro — the feature debuted last year on the iPhone 12 Pro and 12 Pro Max. Like the telephoto camera on the iPhone 12 Pro, it was one of those features I didn’t think I needed, let alone want to shell out additional dollars for.
But also like the telephoto camera, I learned my lesson over the past year.
I don’t need ProRAW, but this filetype is a genuine luxury.
You can bend these photos to your will — quite possibly as much as any Sony or Canon or Fuji file I’ve ever played with before. Some of the examples below have really impressed, especially the ultra-low-light shot of blue clouds.
Perhaps only Cinematic Mode has put a bigger smile on my face than ProRAW so far. I’ll talk more about Cinematic Mode next week. It’s jaw-dropping.
Today, ProRAW. Here are a few side-by-side examples of a before-and-after ProRAW shot. All shots were edited in Adobe Lightroom CC with a preset to start and various other slider adjustments to come to a final product. On the left of these comparisons are unedited JPEGs of the ProRAW shot — I wasn’t about to upload 35MB files for you to download and pixel-peep. On the right are my final edits.
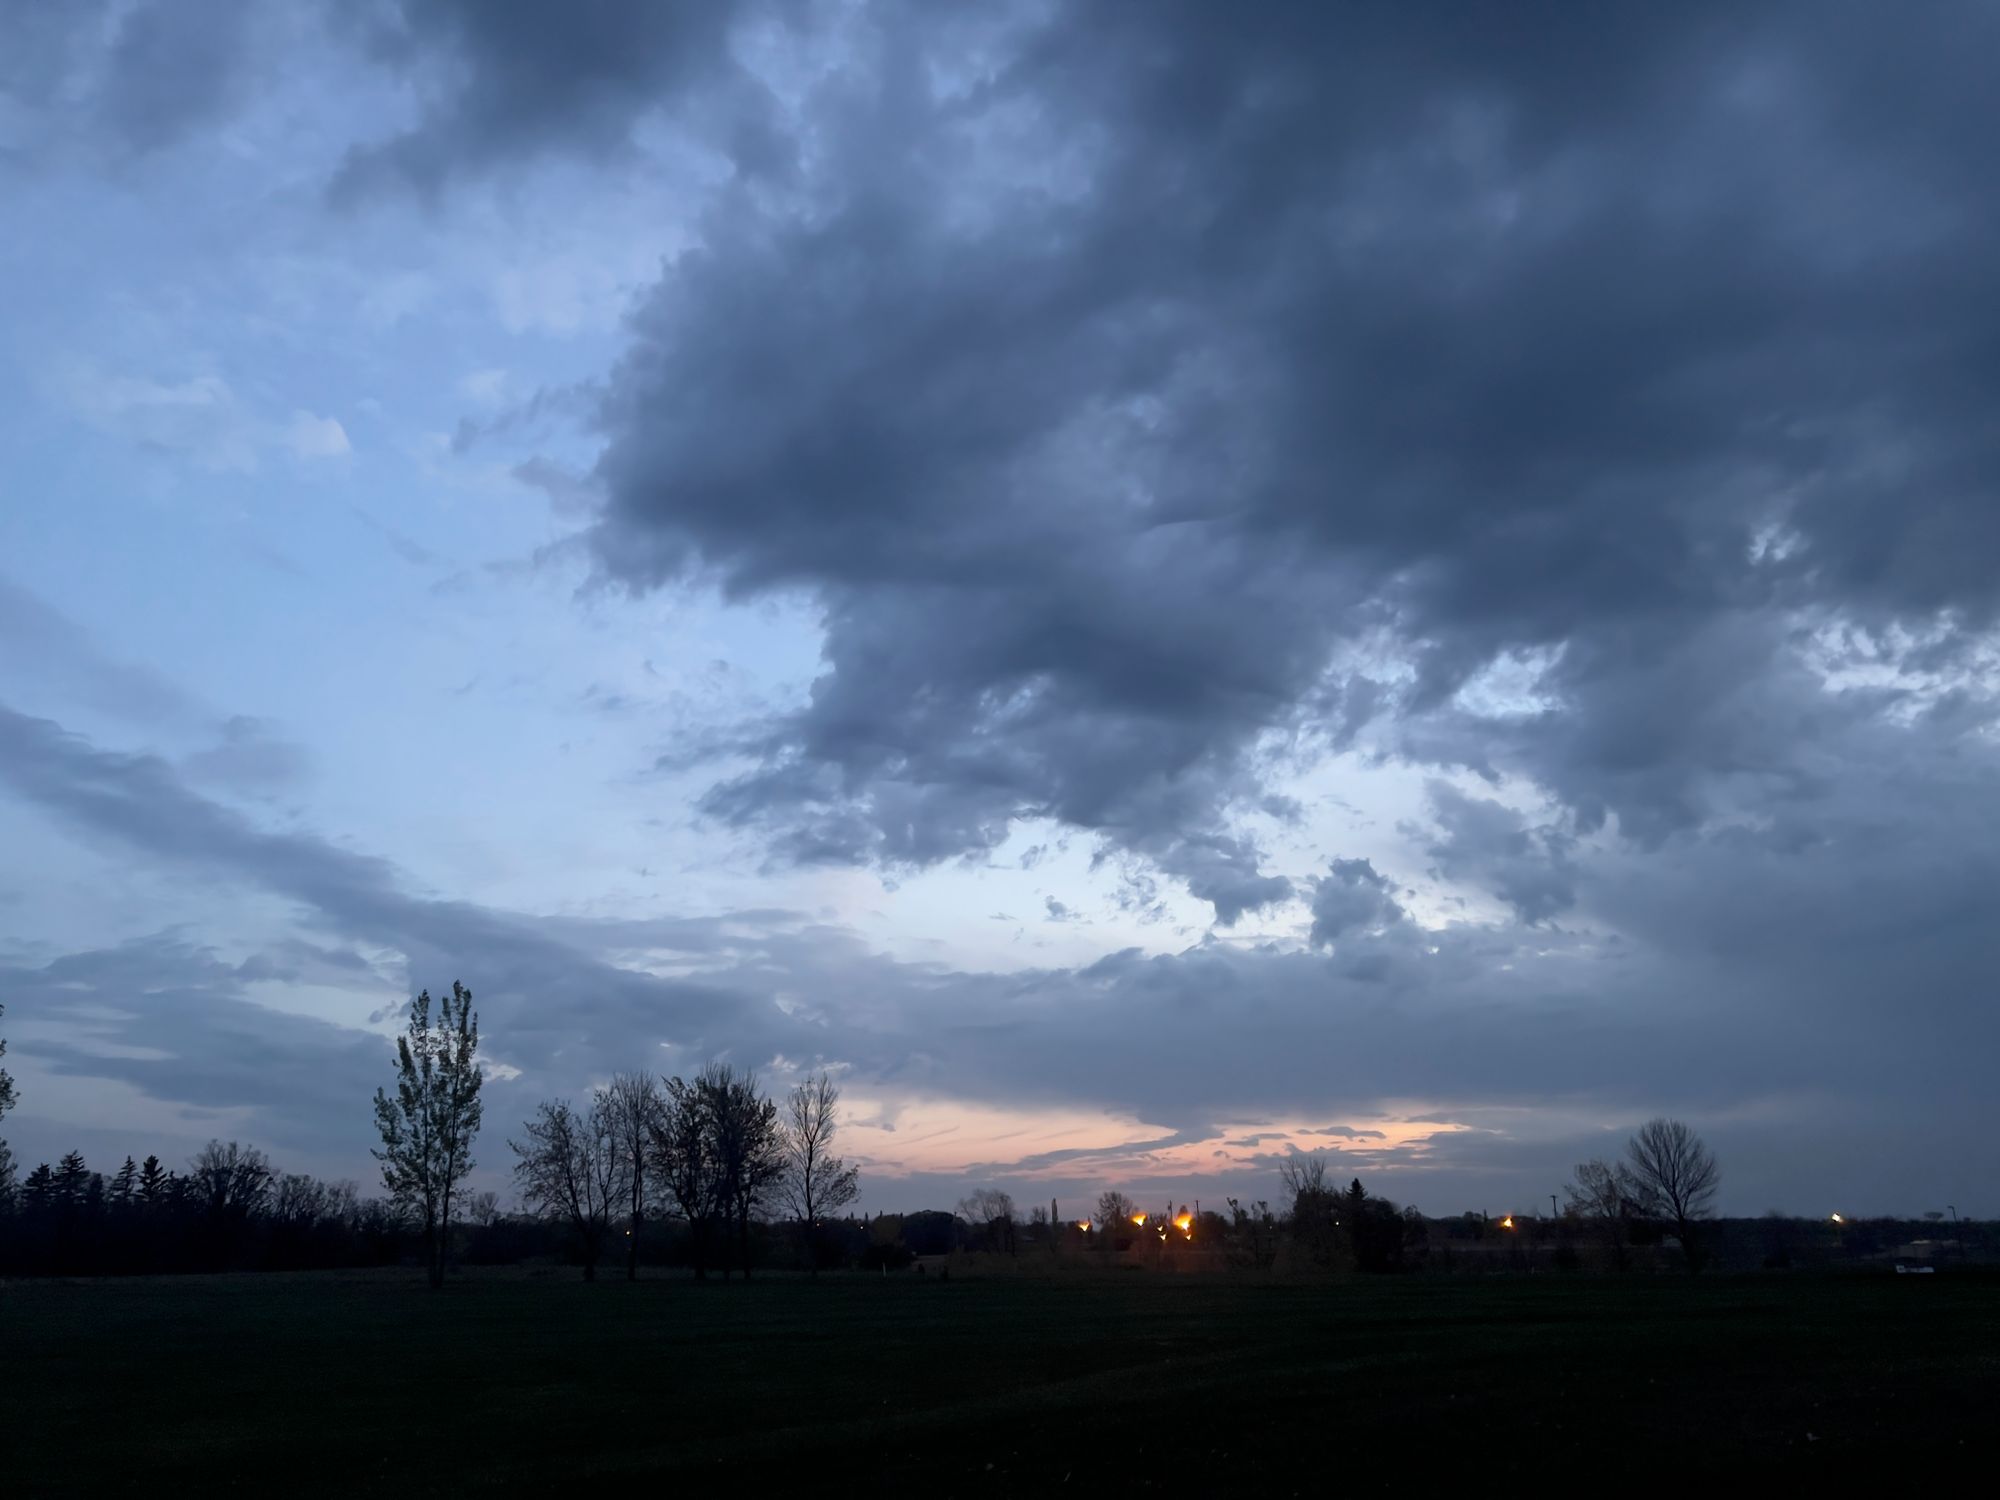
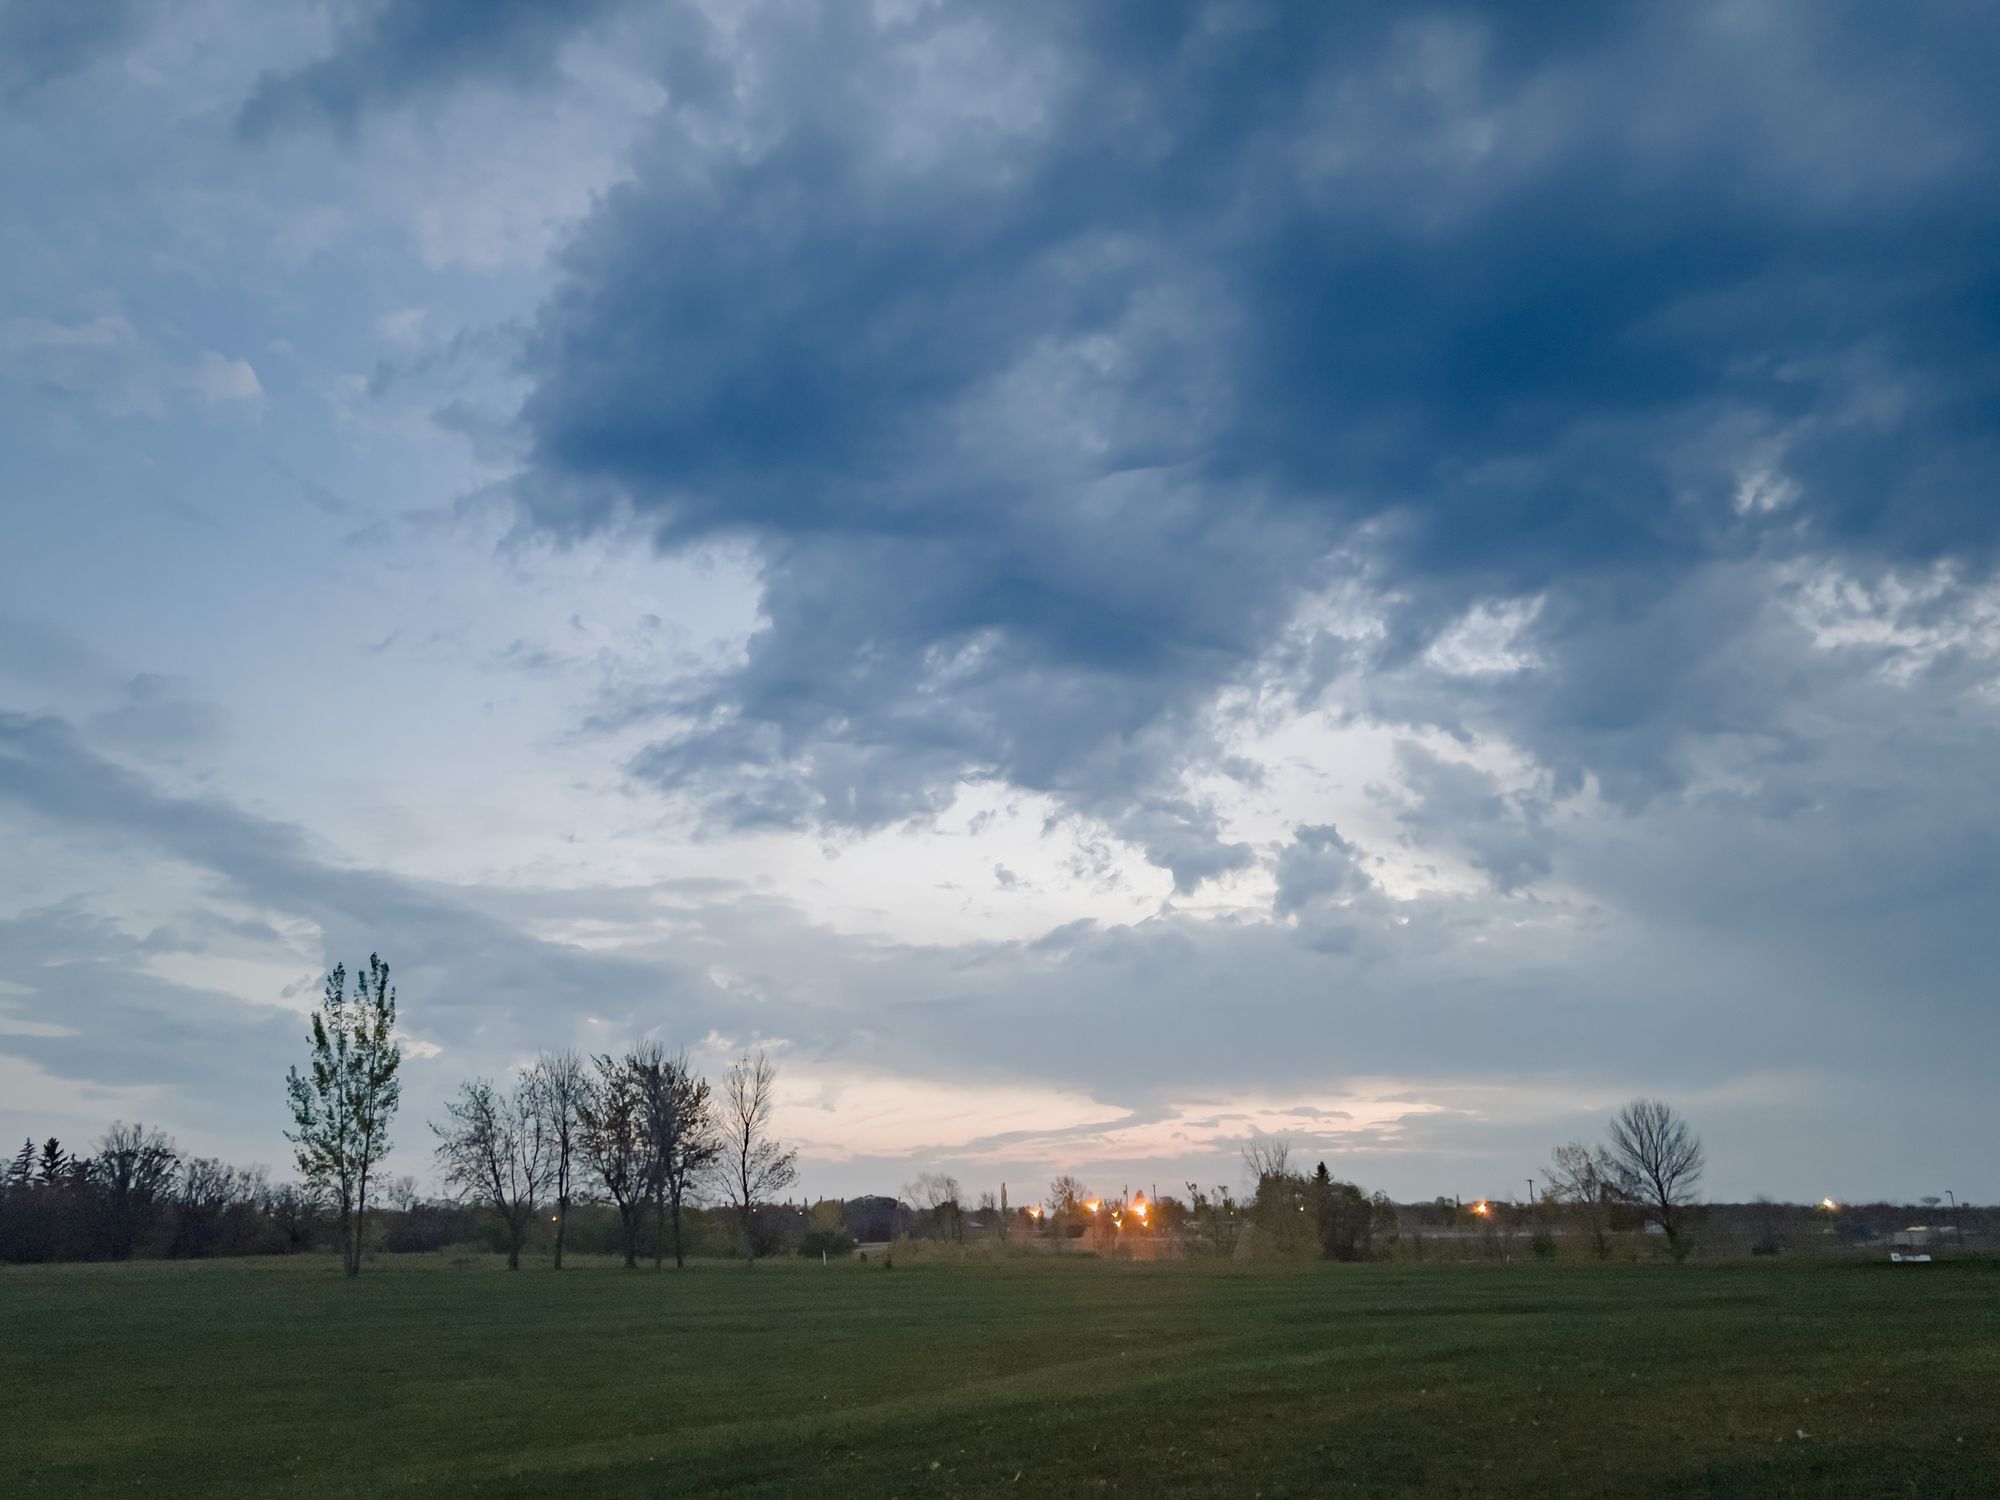
Exhibit I: Look at how the foreground has been completely revamped in the edited JPEG while highlights haven’t been blown in the clouds. The dynamic range of this file is really impressive in my book.
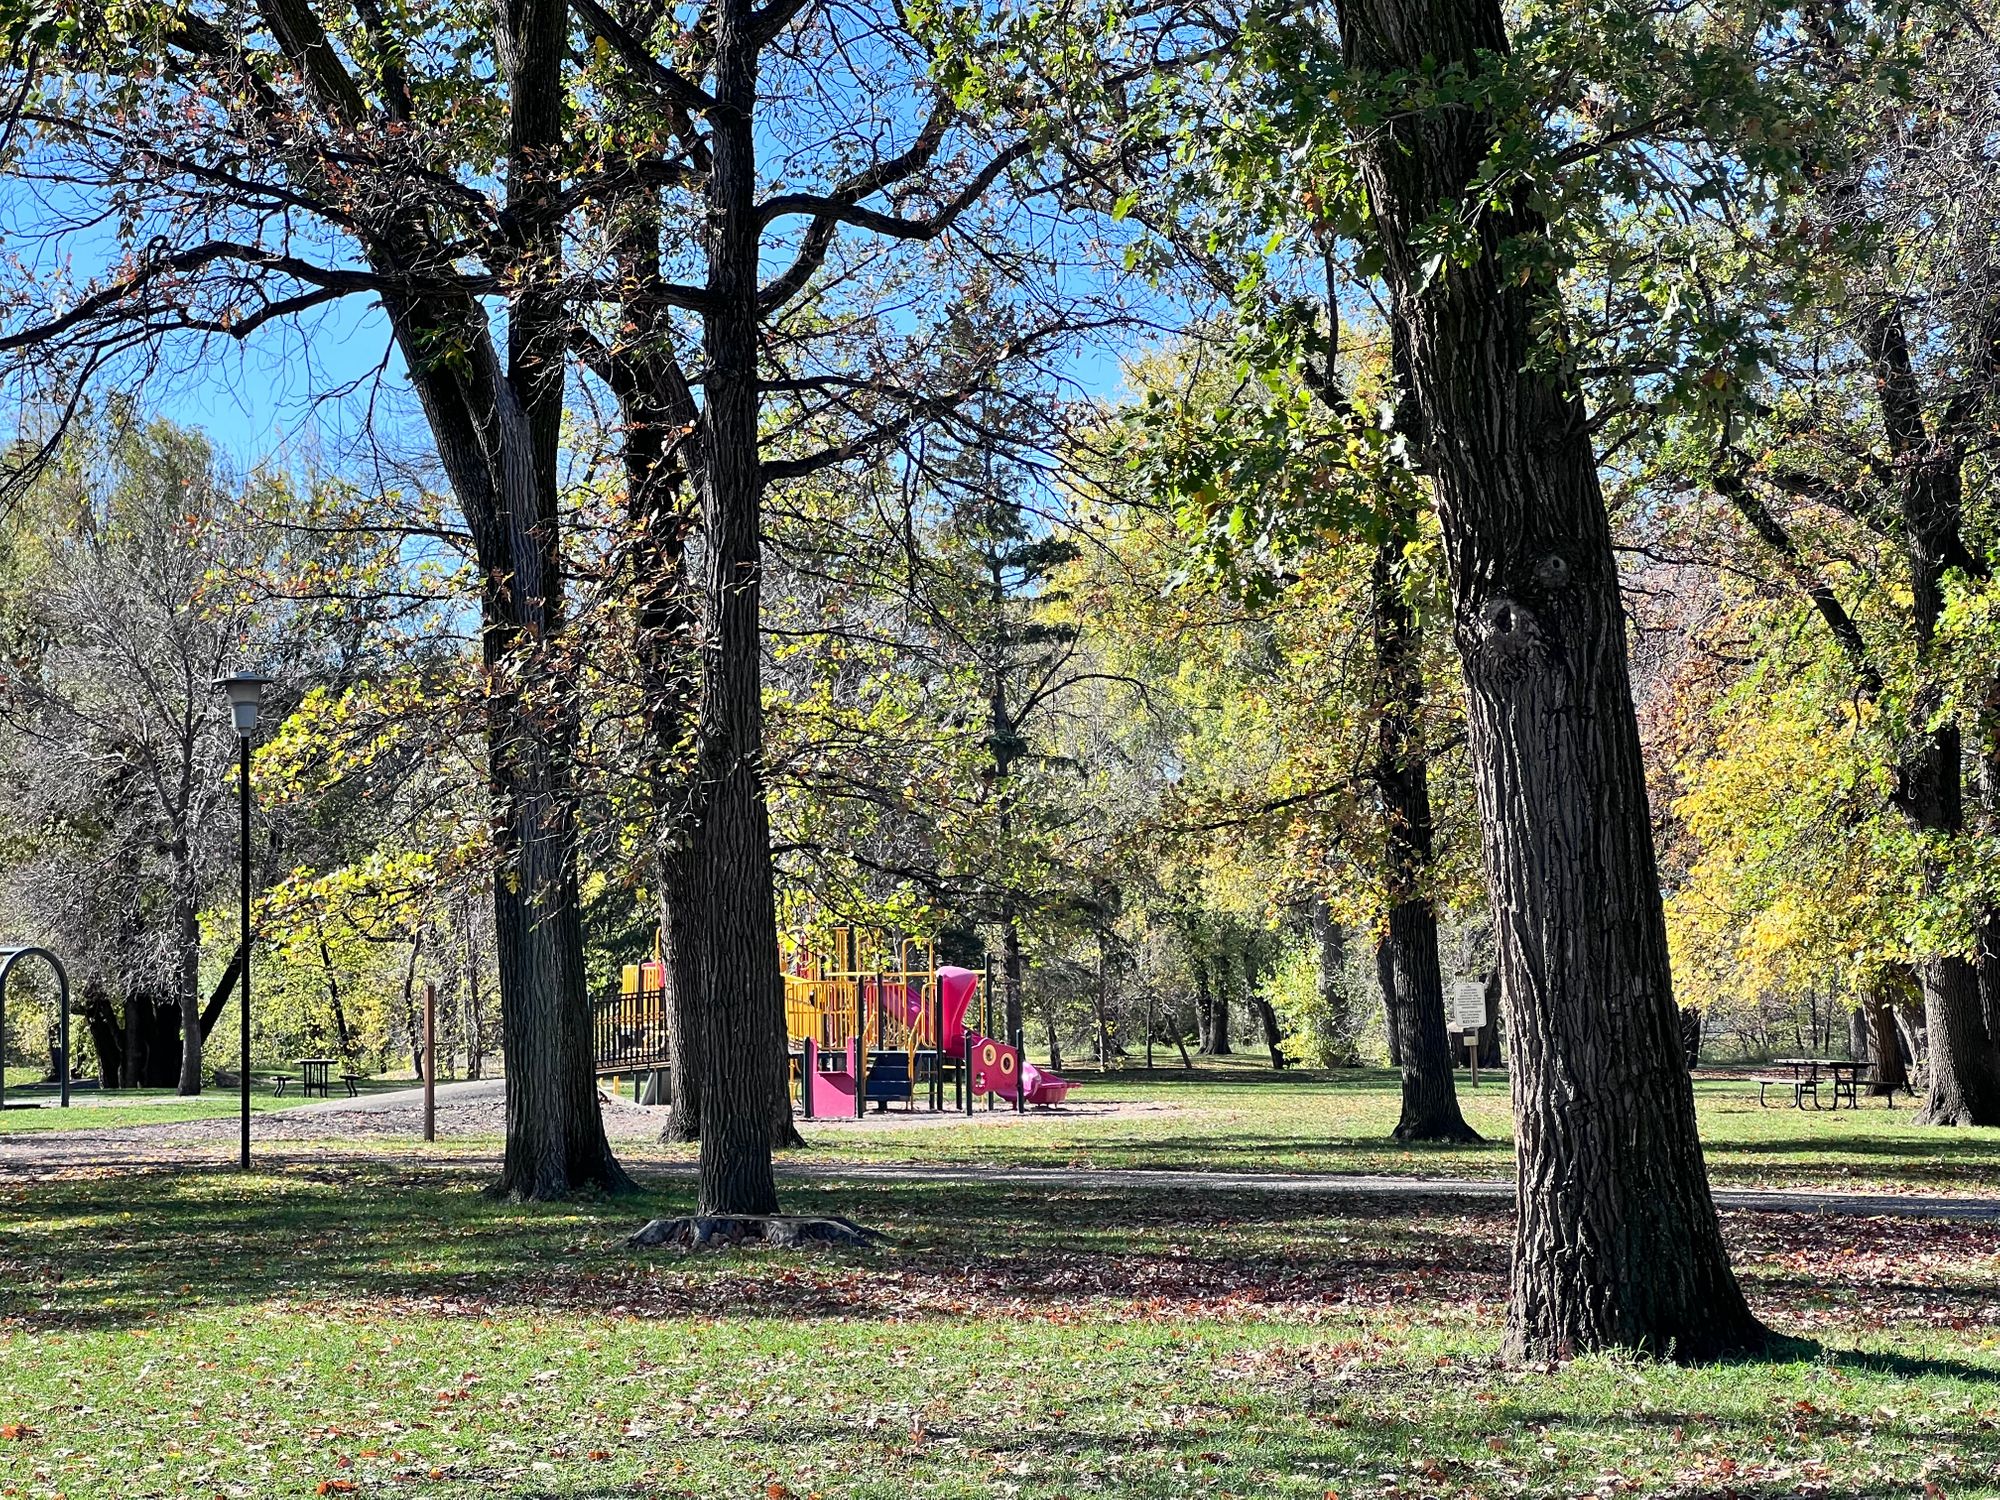
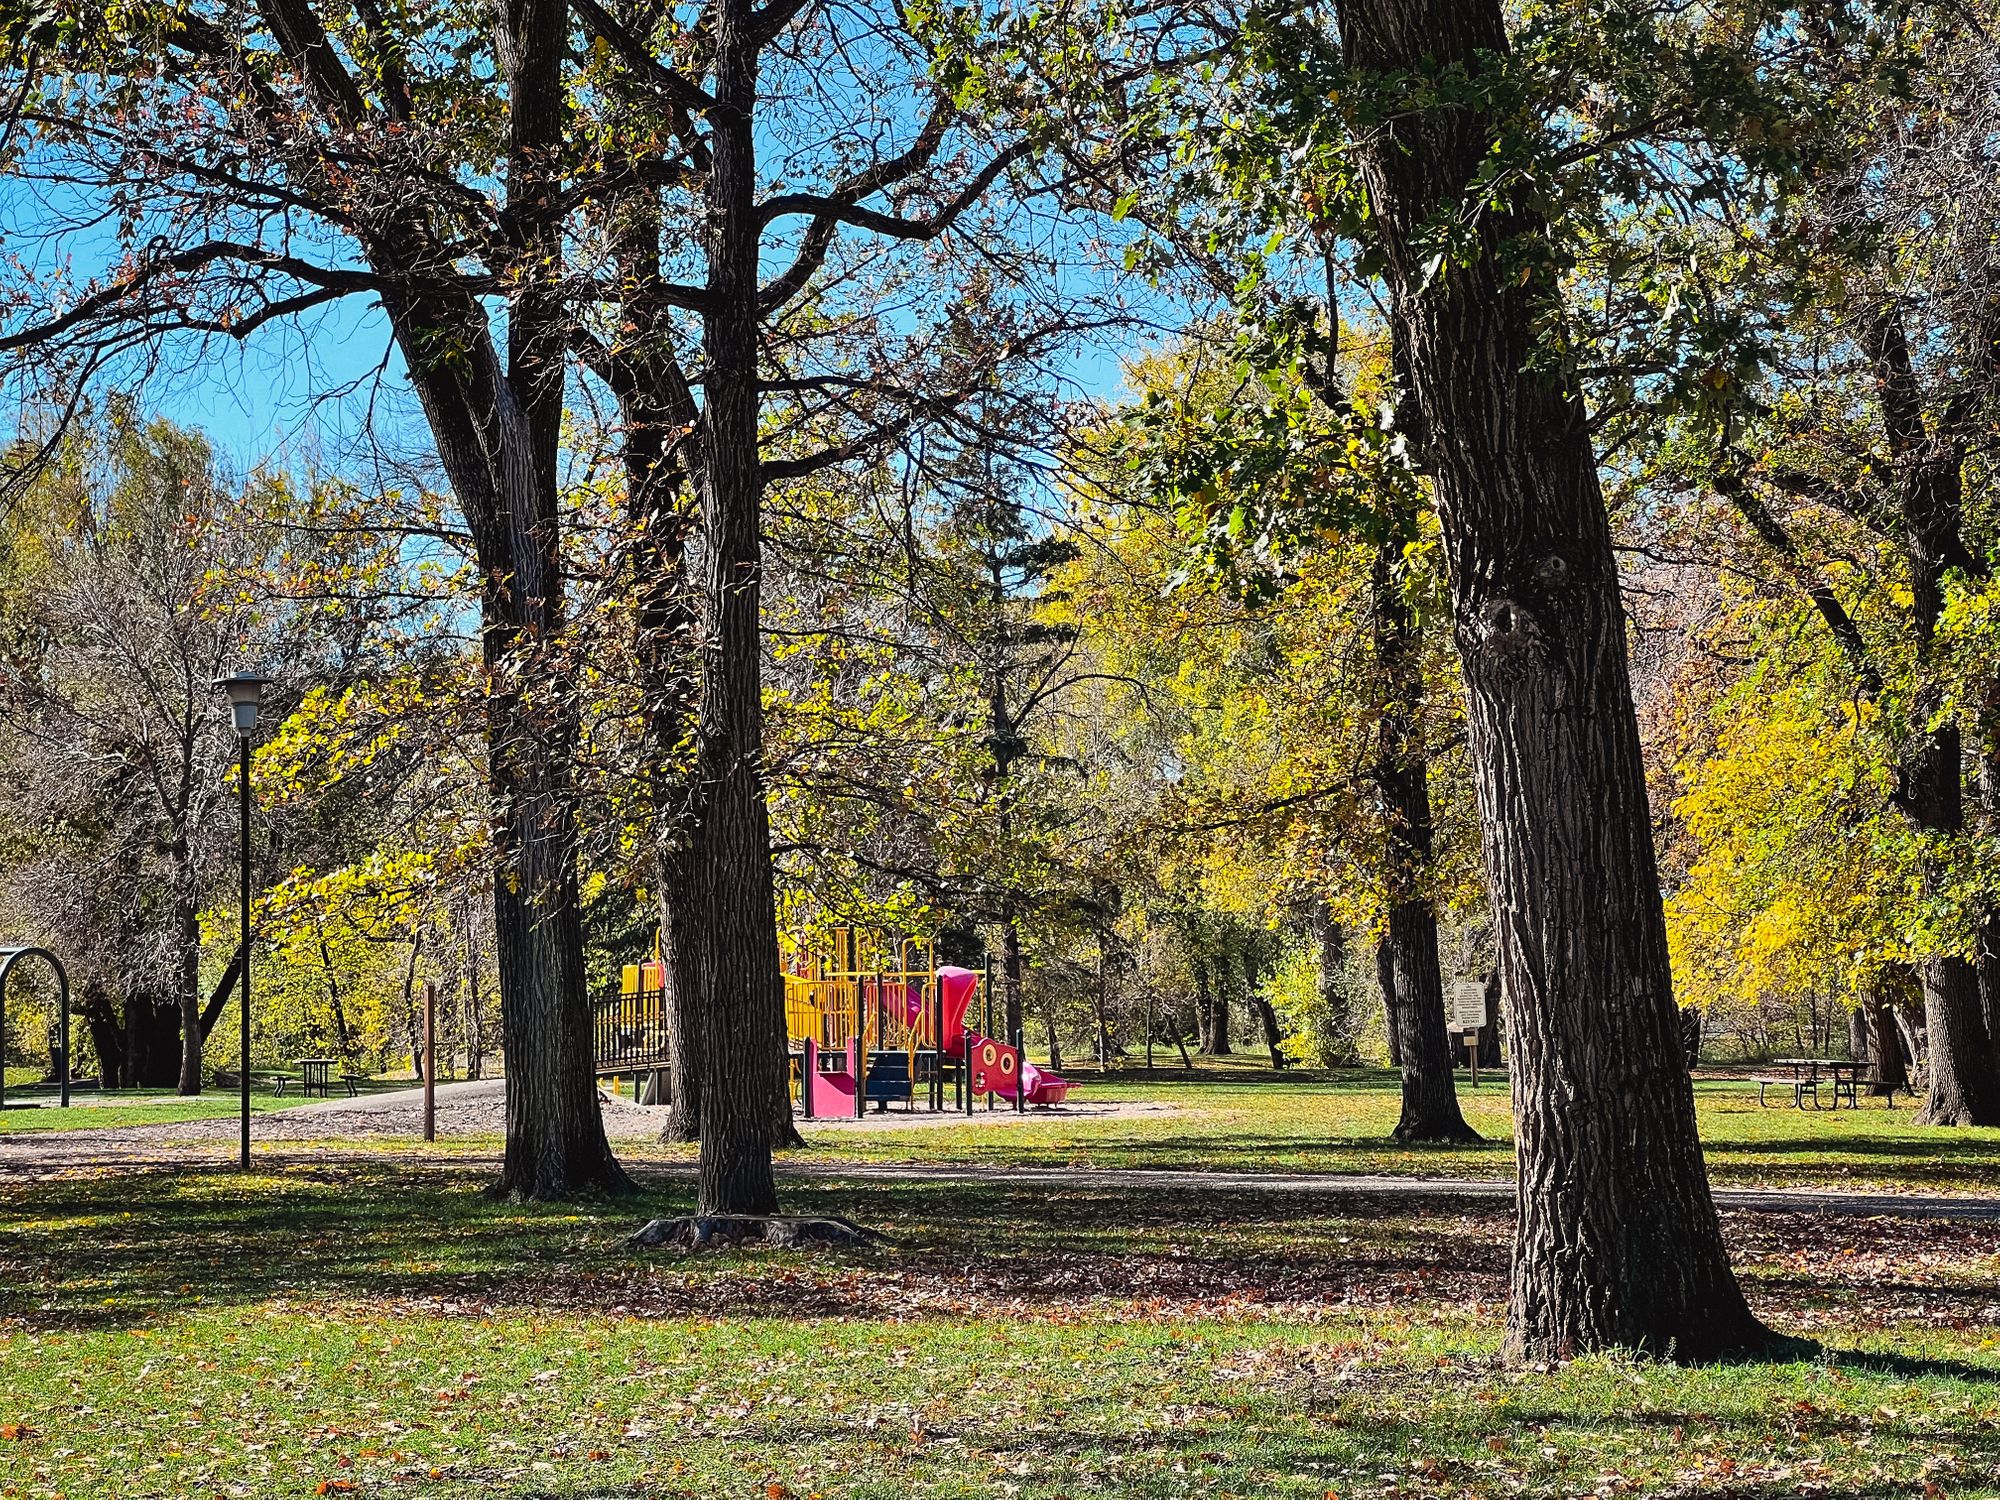
Exhibit II: This is a bit of curveball — neither of the two photos in this comparison were shot in ProRAW. On the left is a Live Photo .HEIC and the right is an edited version of the JPEG. The iPhone's tendency to oversharpen is really on display here, which is unfortunate. The level of sharpening and detail in the tree leaves are distracting to my eye. And editing the photo didn’t do it any favours. It’s just so, so sharp. Too sharp.

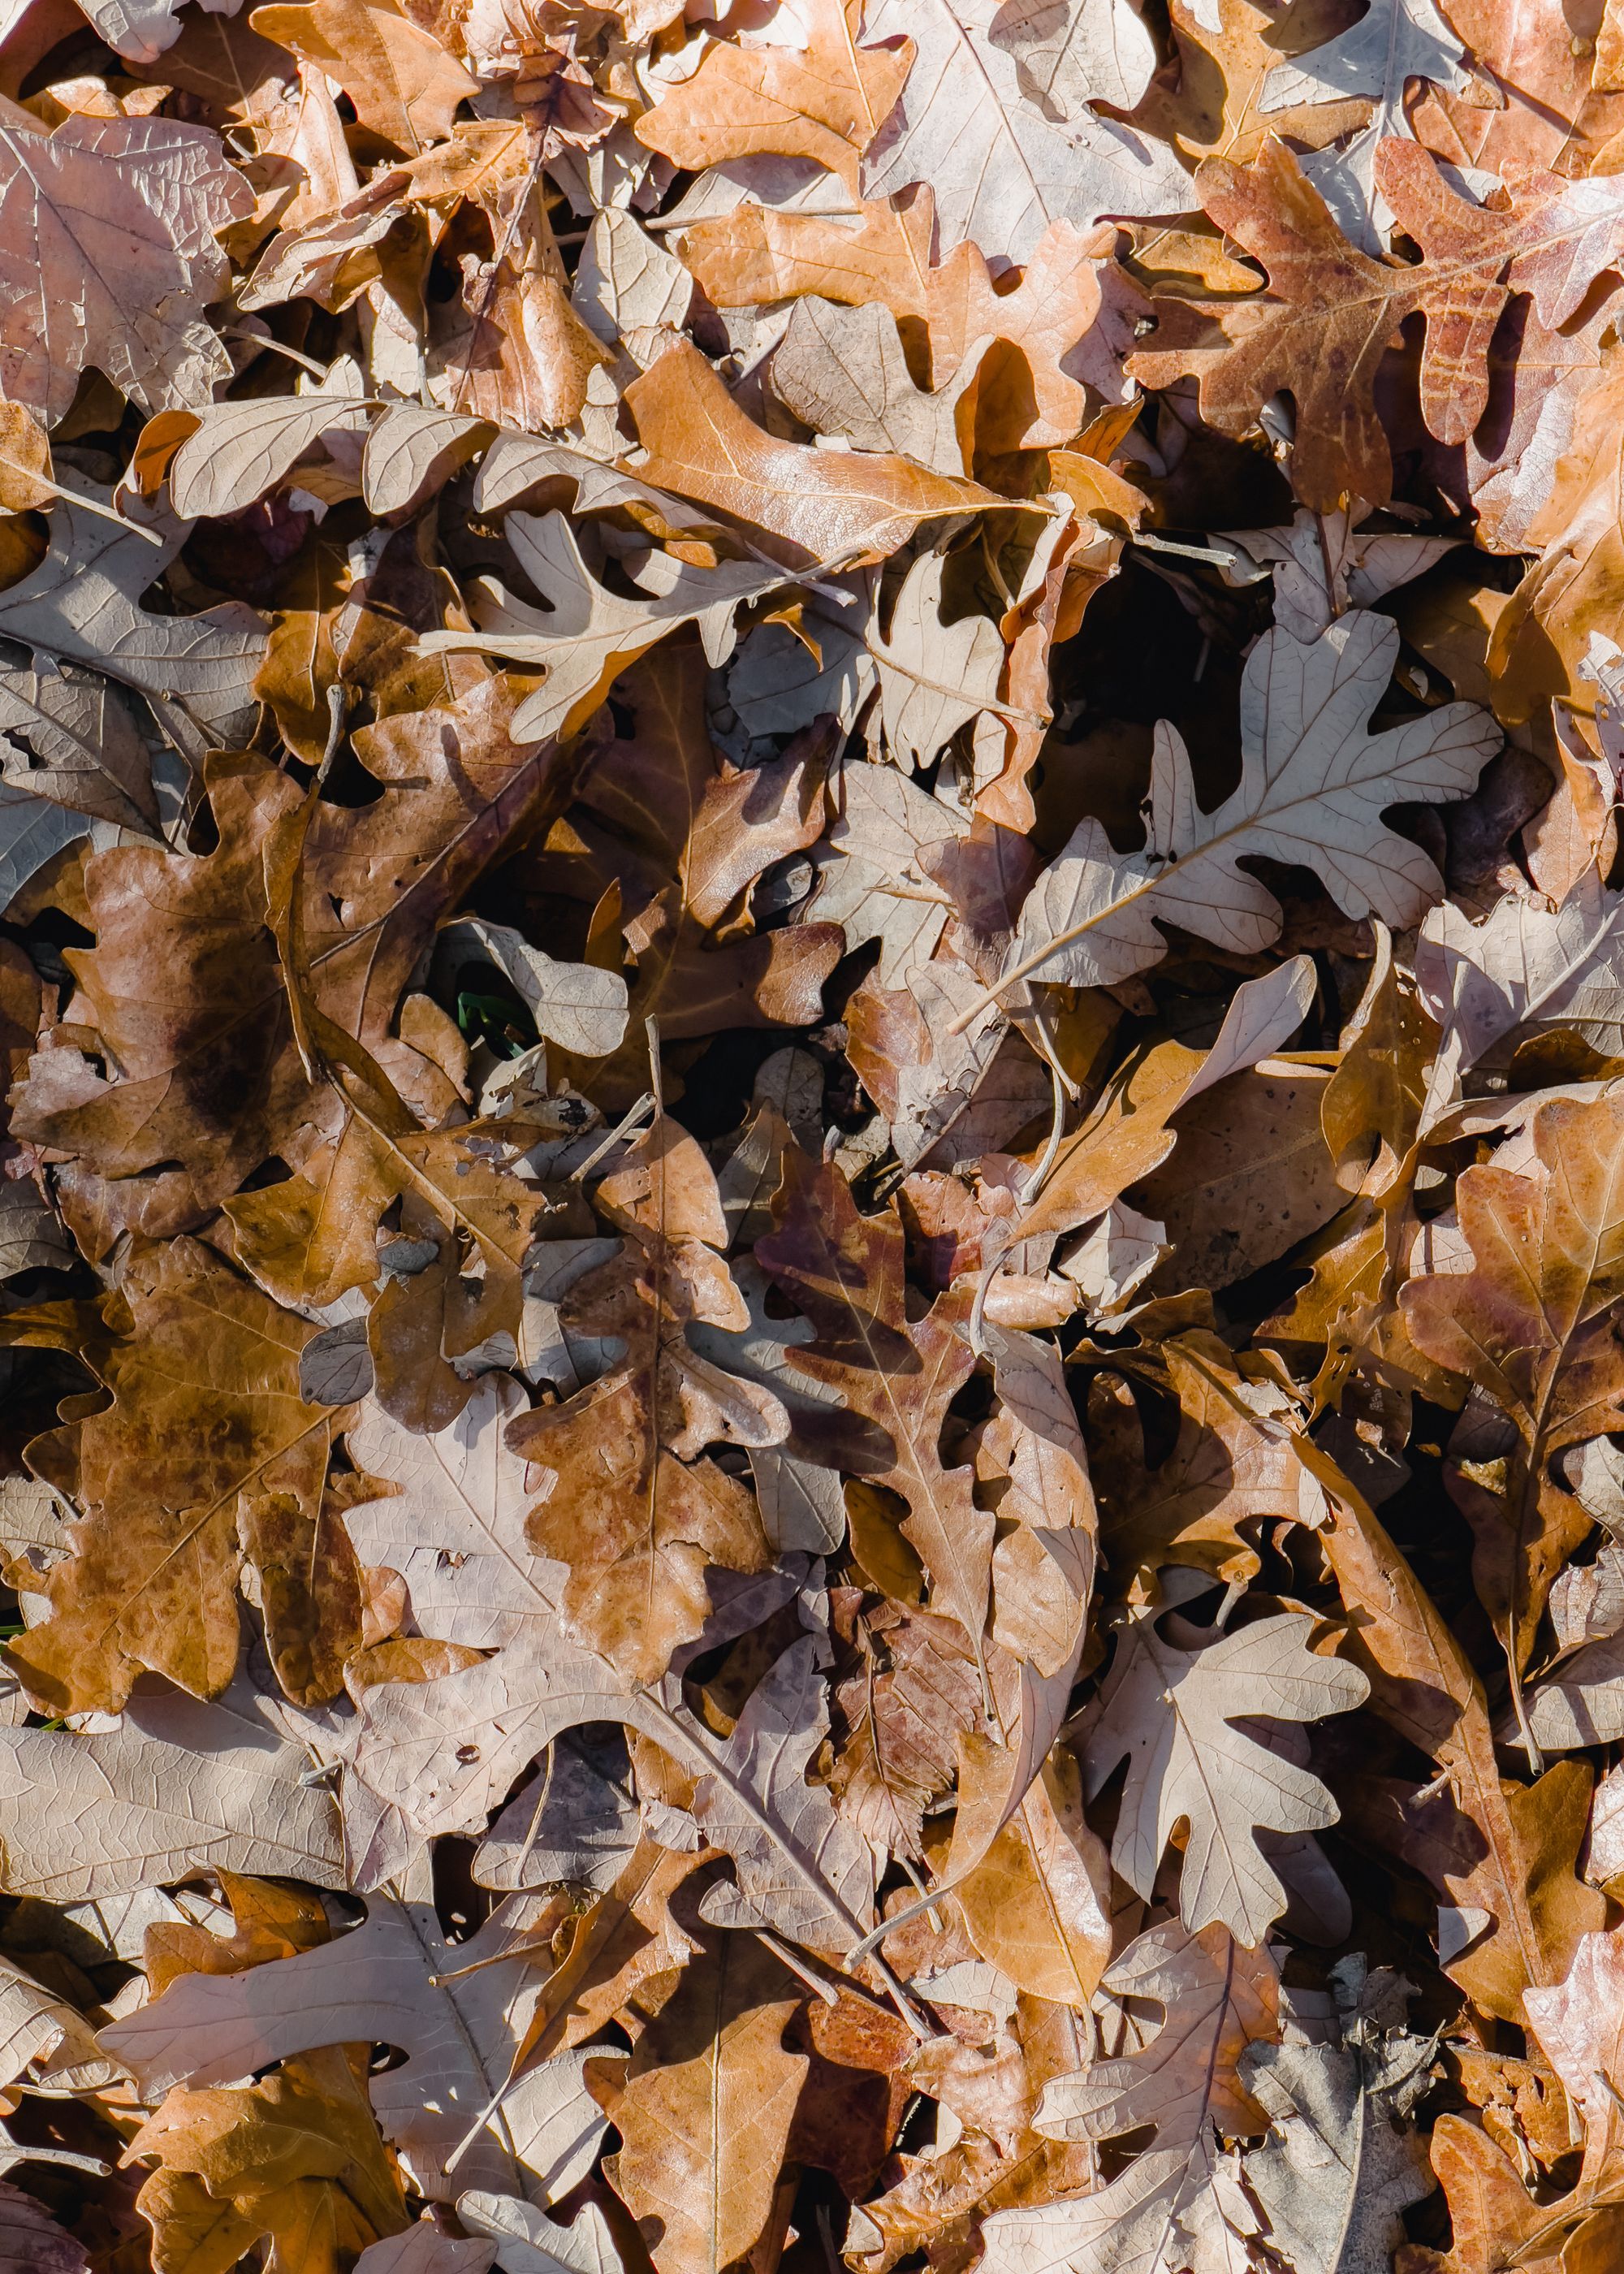
Exhibit III: Here’s a telephoto shot in ProRAW showcasing the differences in high and low contrast leaves. Again, I’m a fan of how the ProRAW photo can maintain the highlights, deepen the shadows, and increase contrast to make a fun photo. The edits here are more subtle, but I’d have a truly hard time picking this iPhone photo out of a group of mirrorless or DSLR shots.
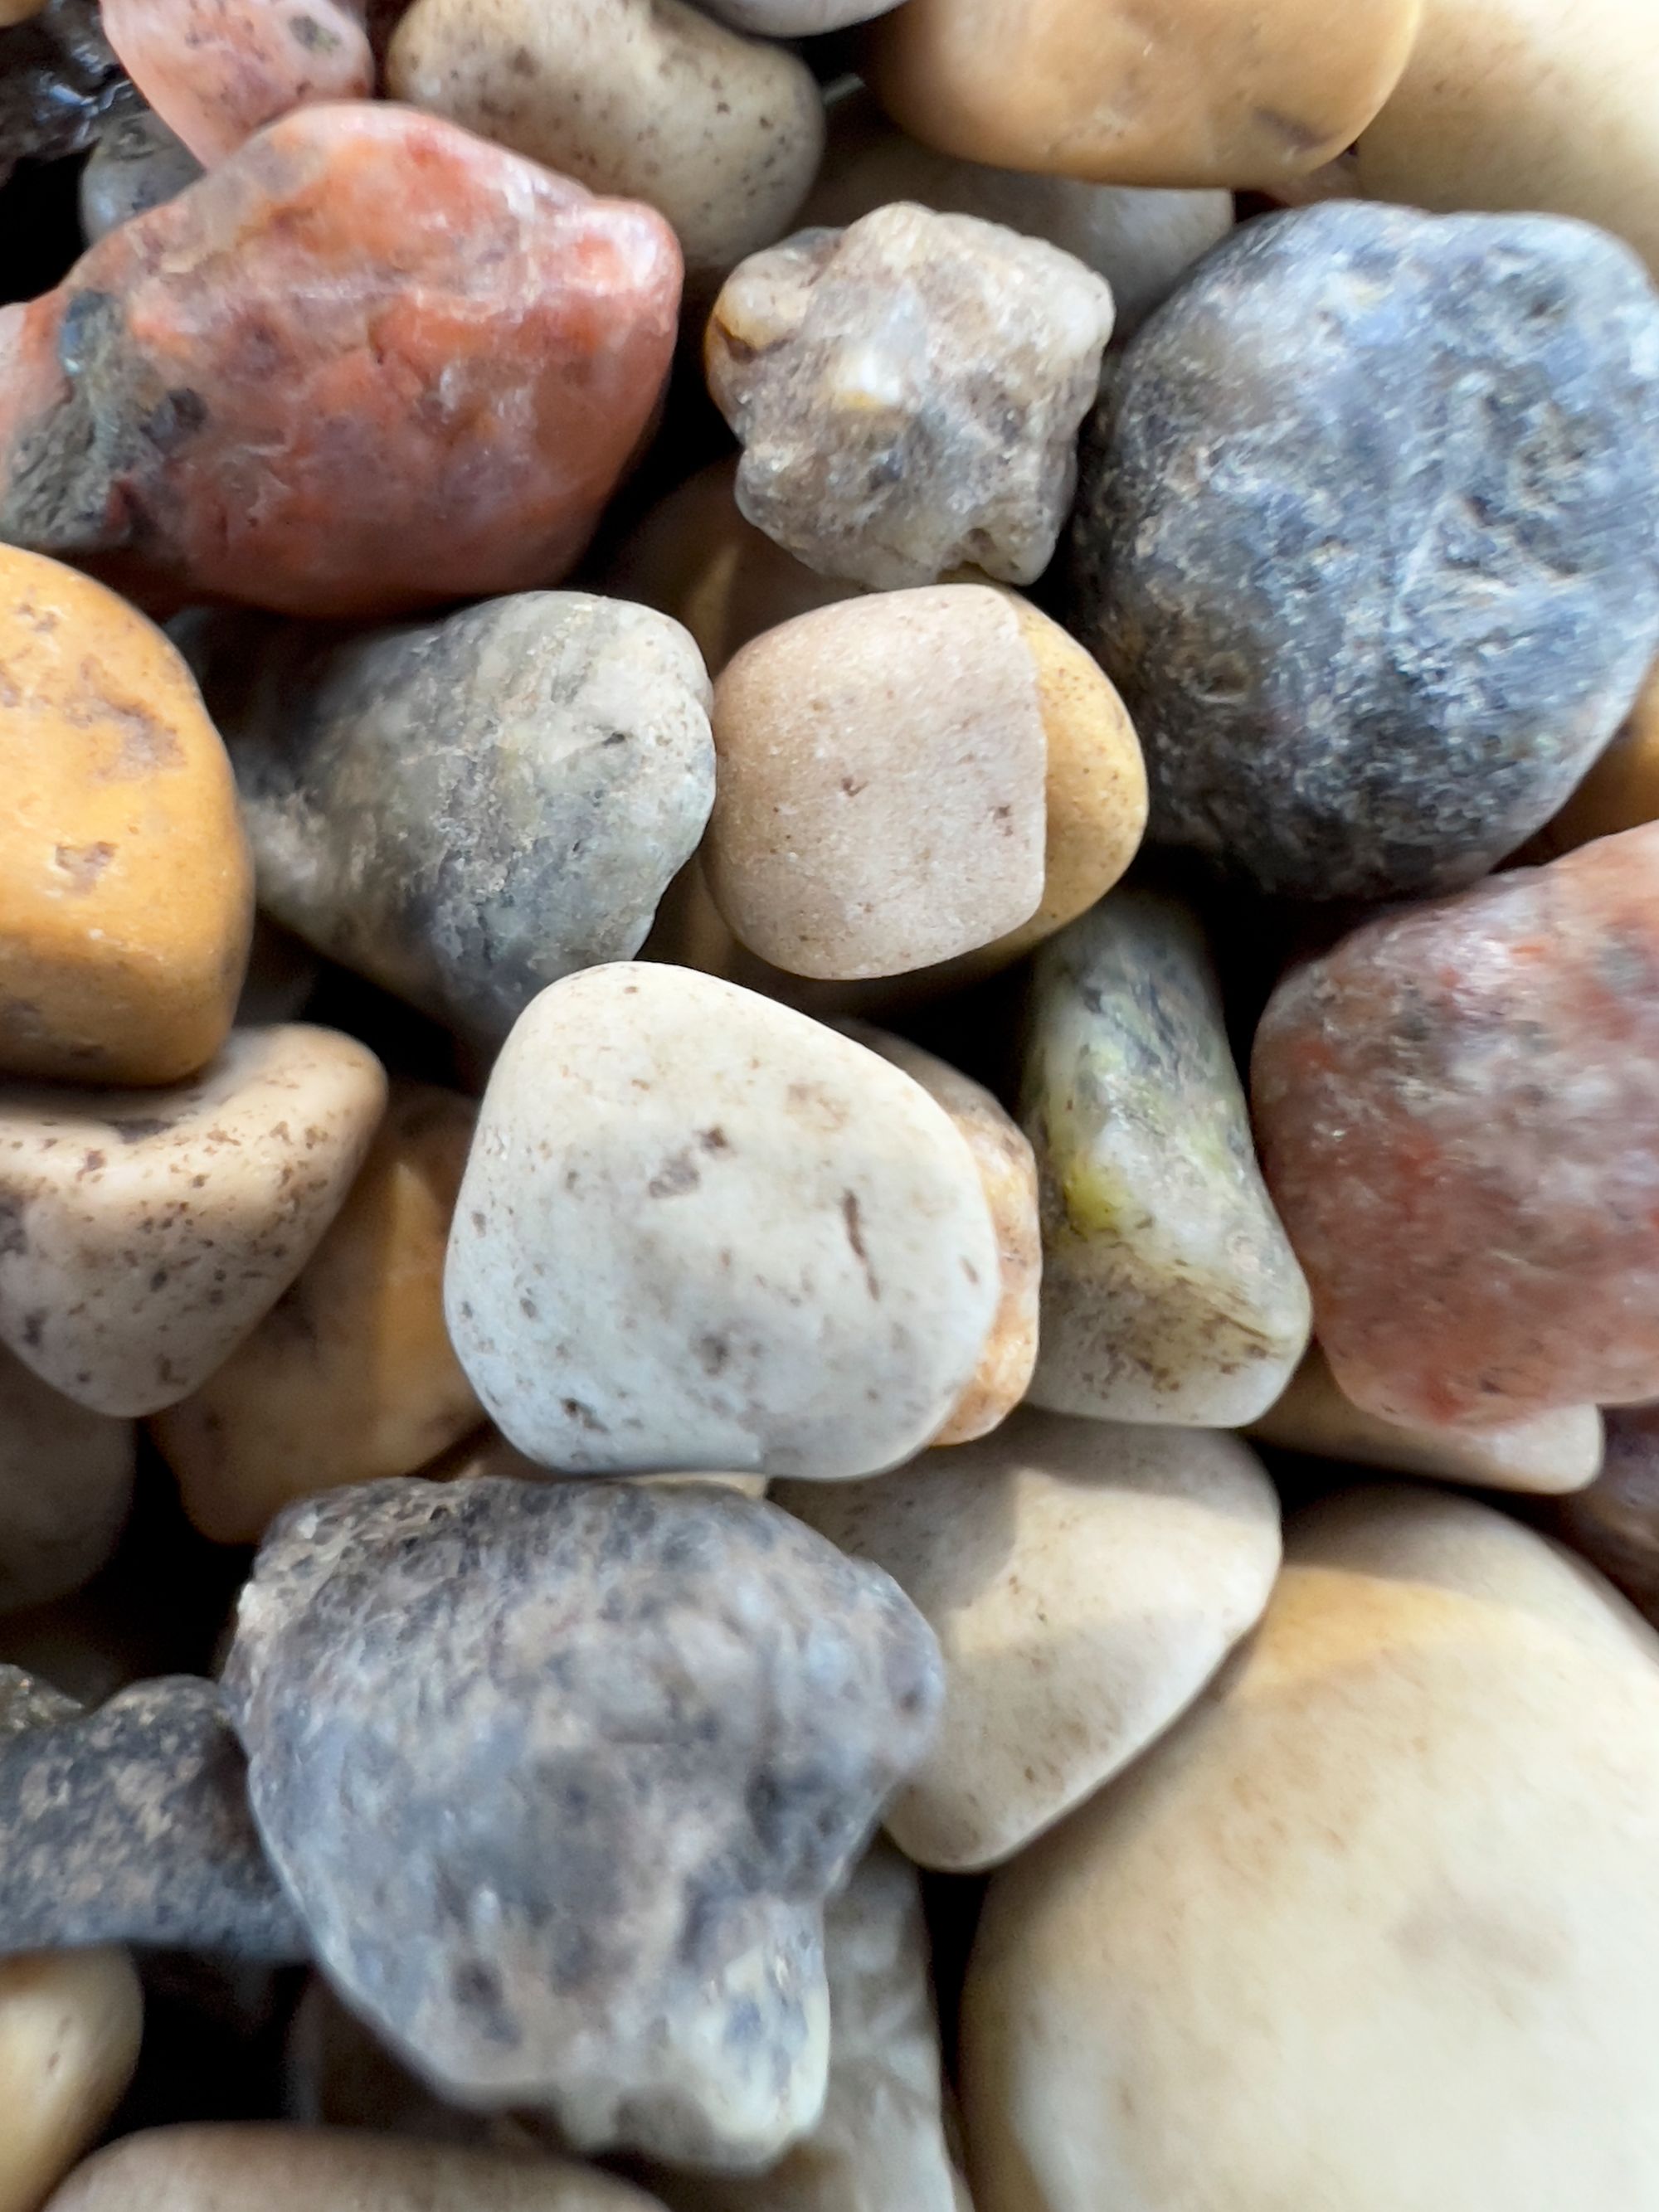
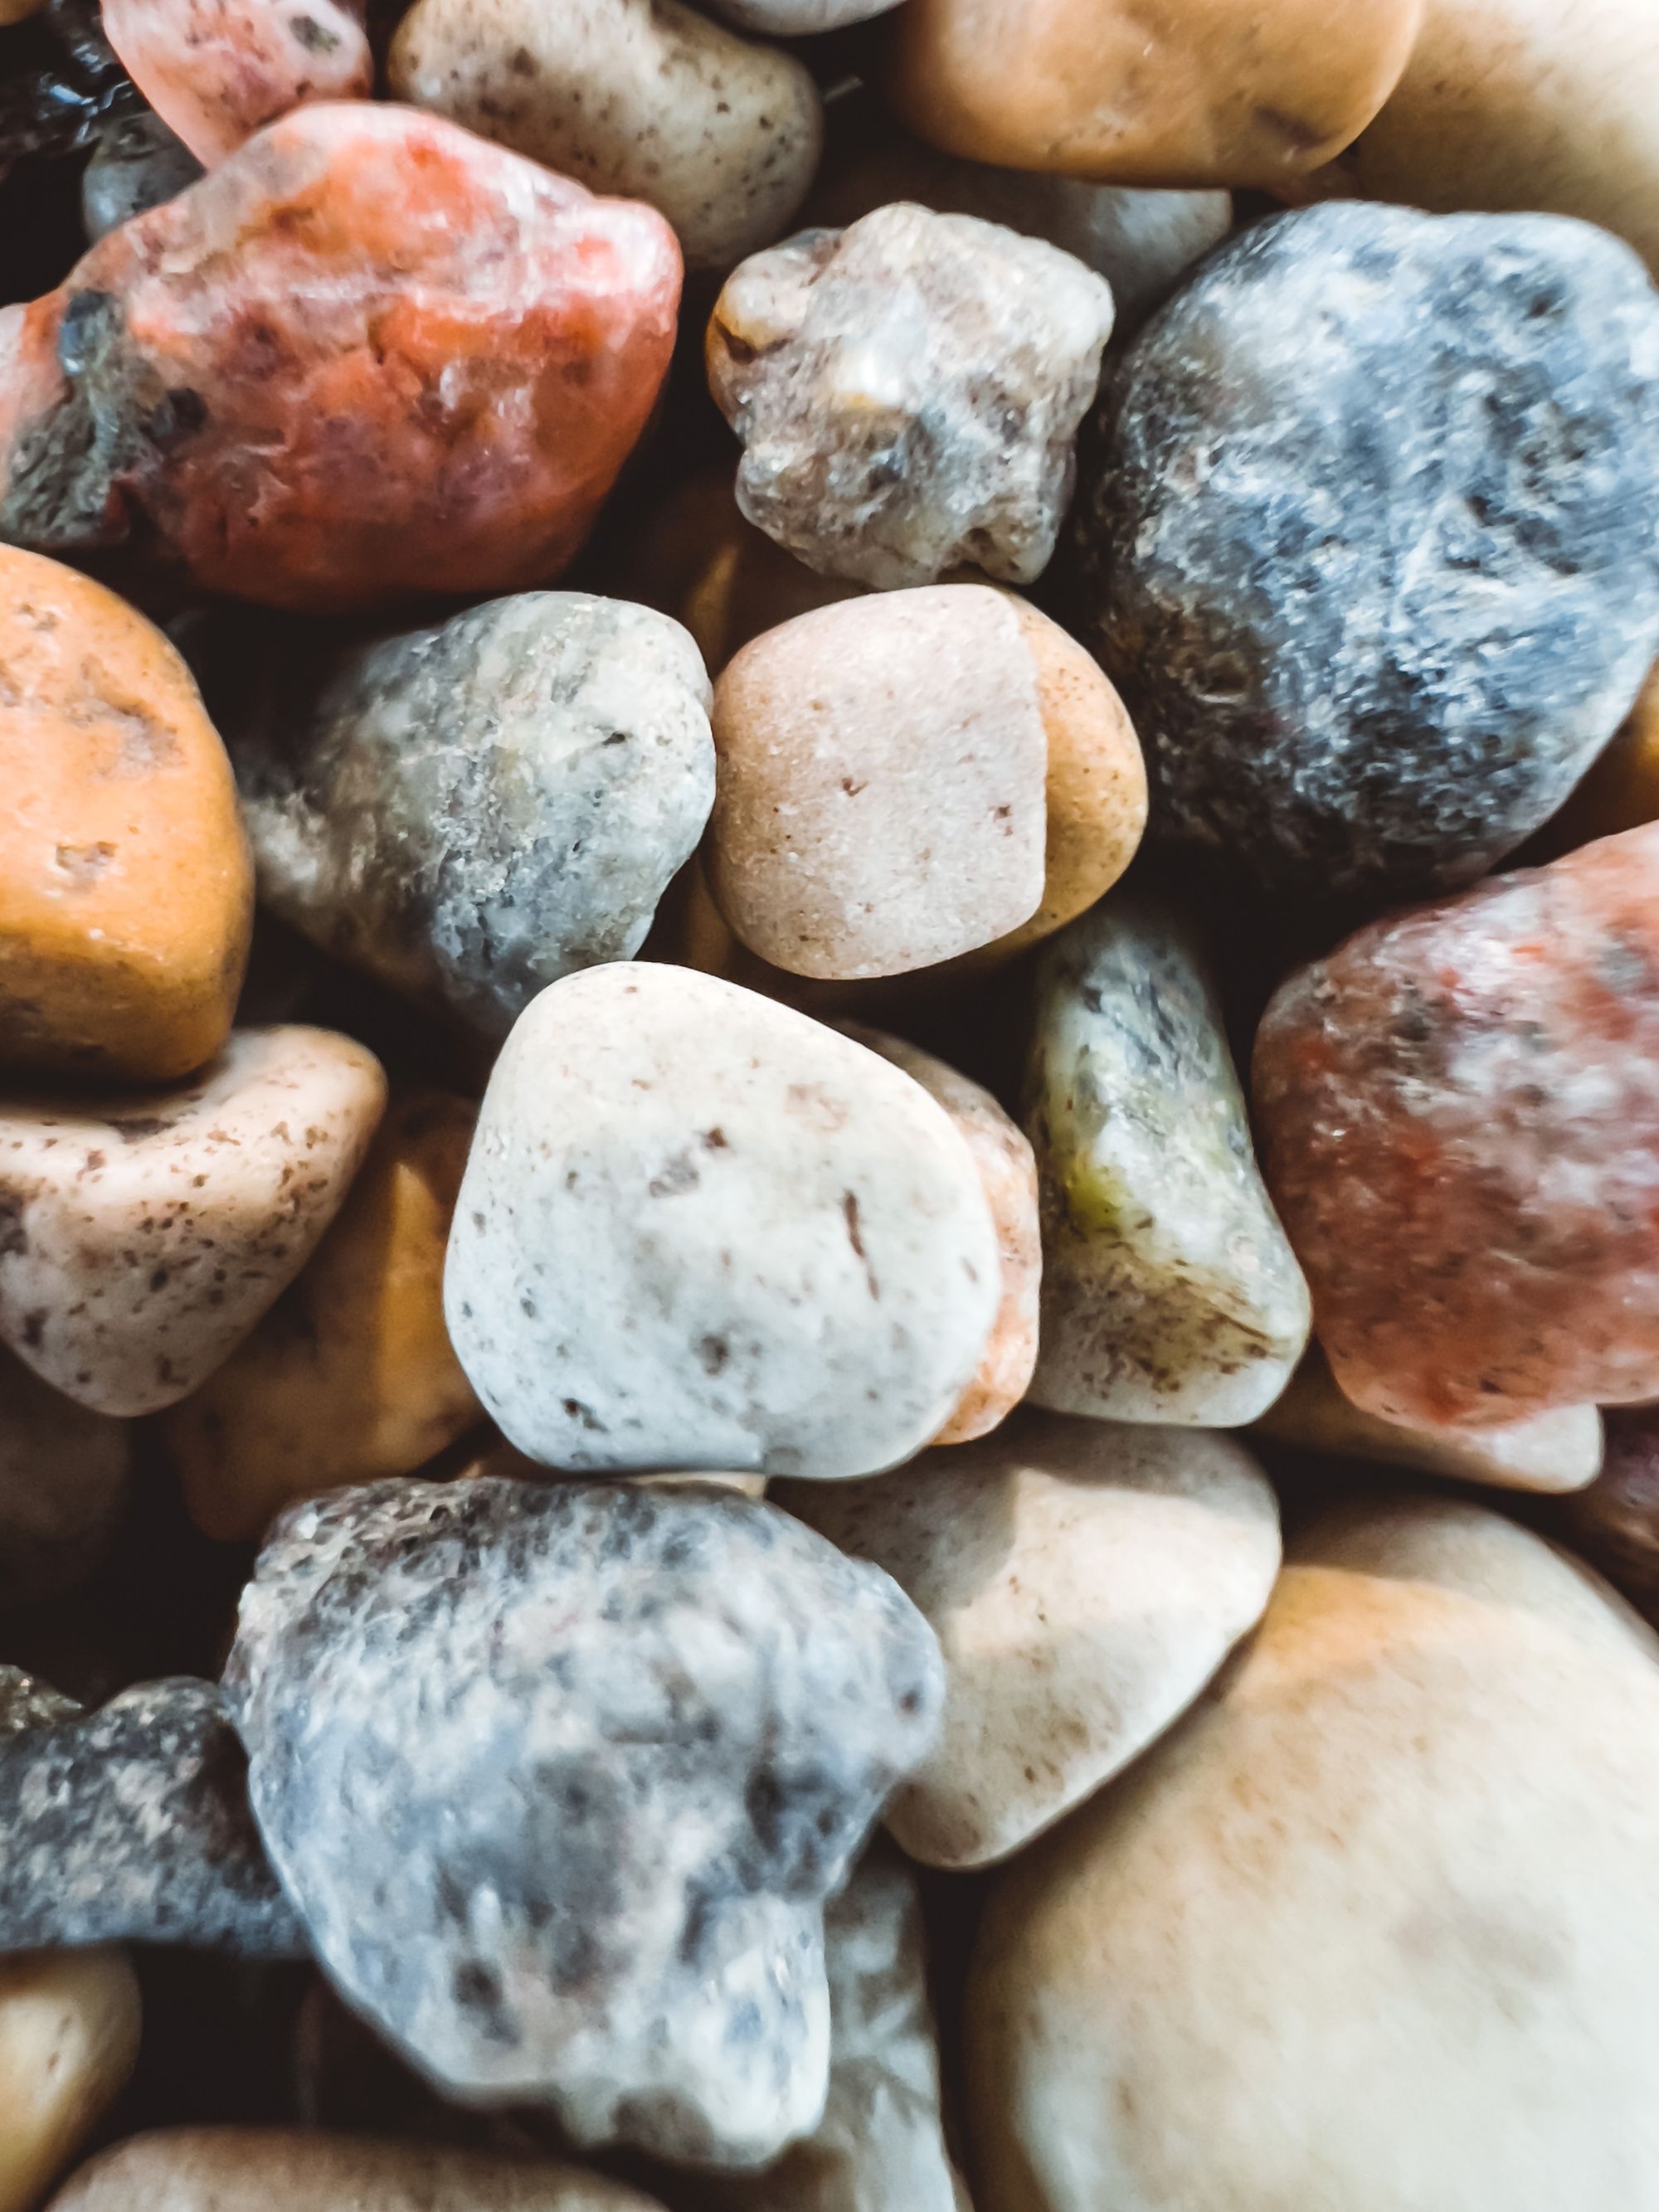
Exhibit IV: This is ProRAW macro in action. I’m a bit disappointed in my inability to keep the iPhone stable. There’s some serious handheld camera shake going on here. In fact, this might be my biggest frustration with macro mode thus far. It appears to be best used with a tripod.

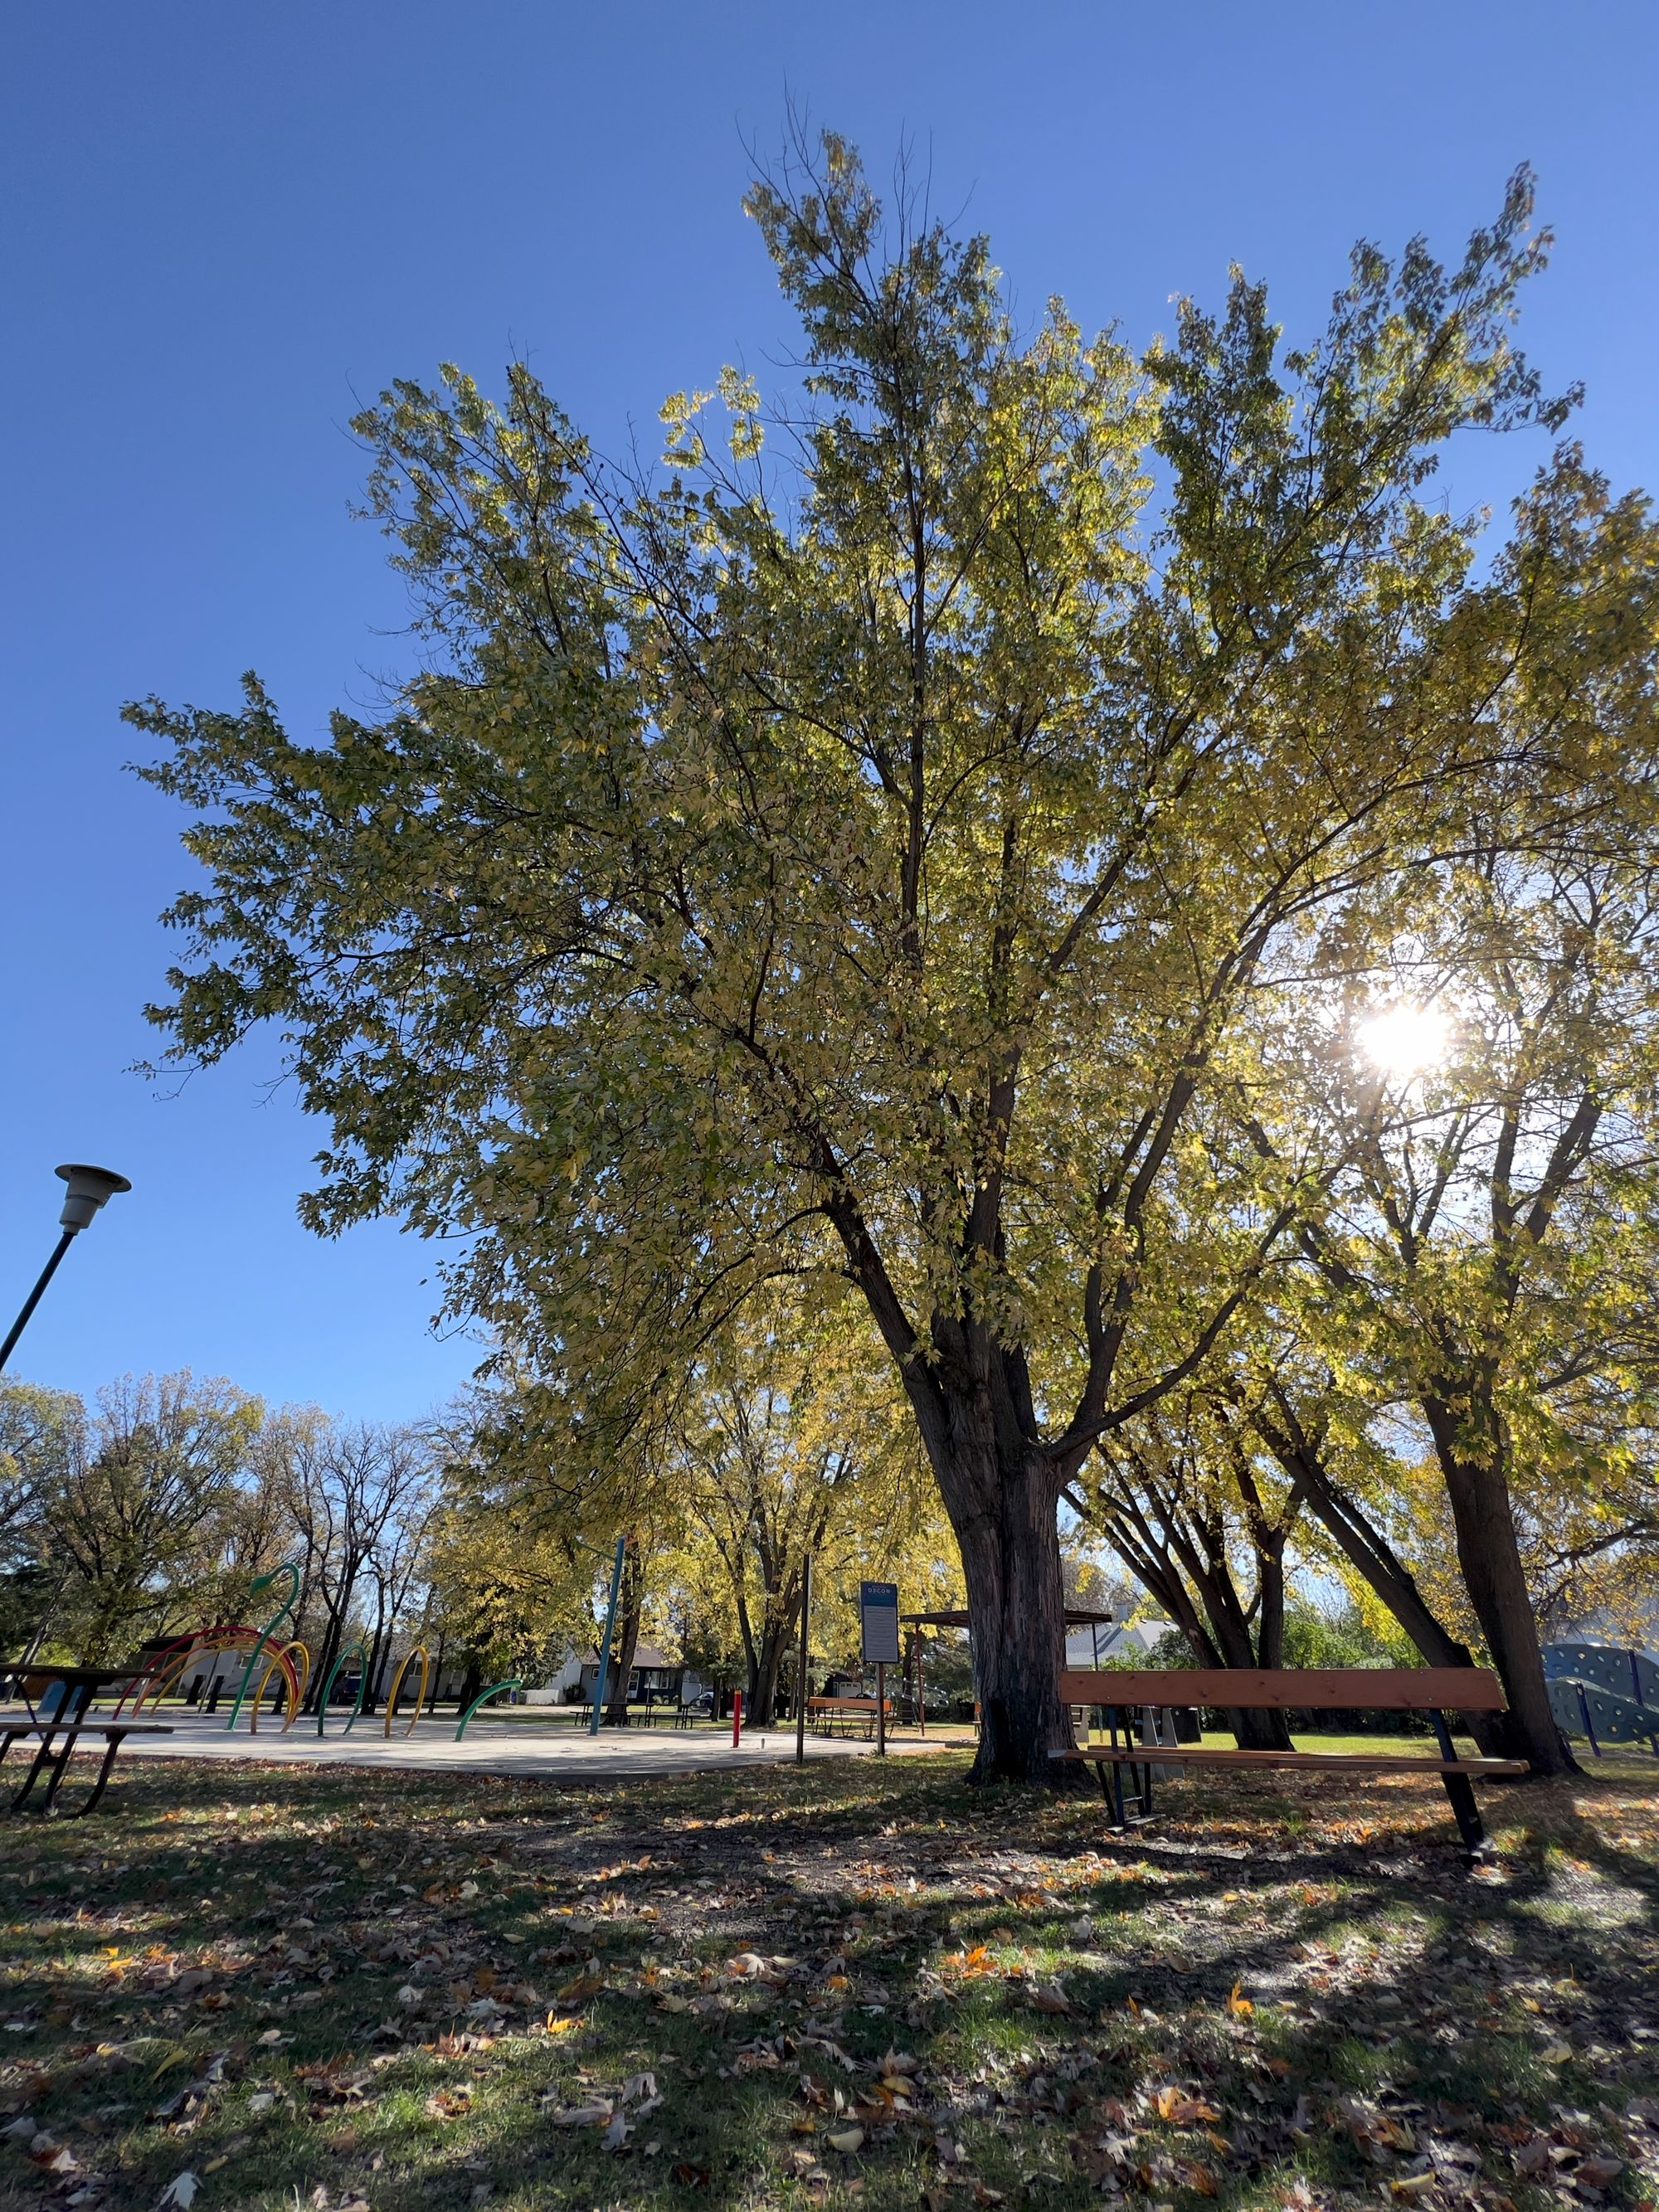

Exhibit V: This is one of my favourite comparison photos so far. I've provided a gallery of the photos to stay consistent, but I've also provided some larger copies below to showcase the impacts of the iPhone's oversharpening of Live Photos and ProRAW.
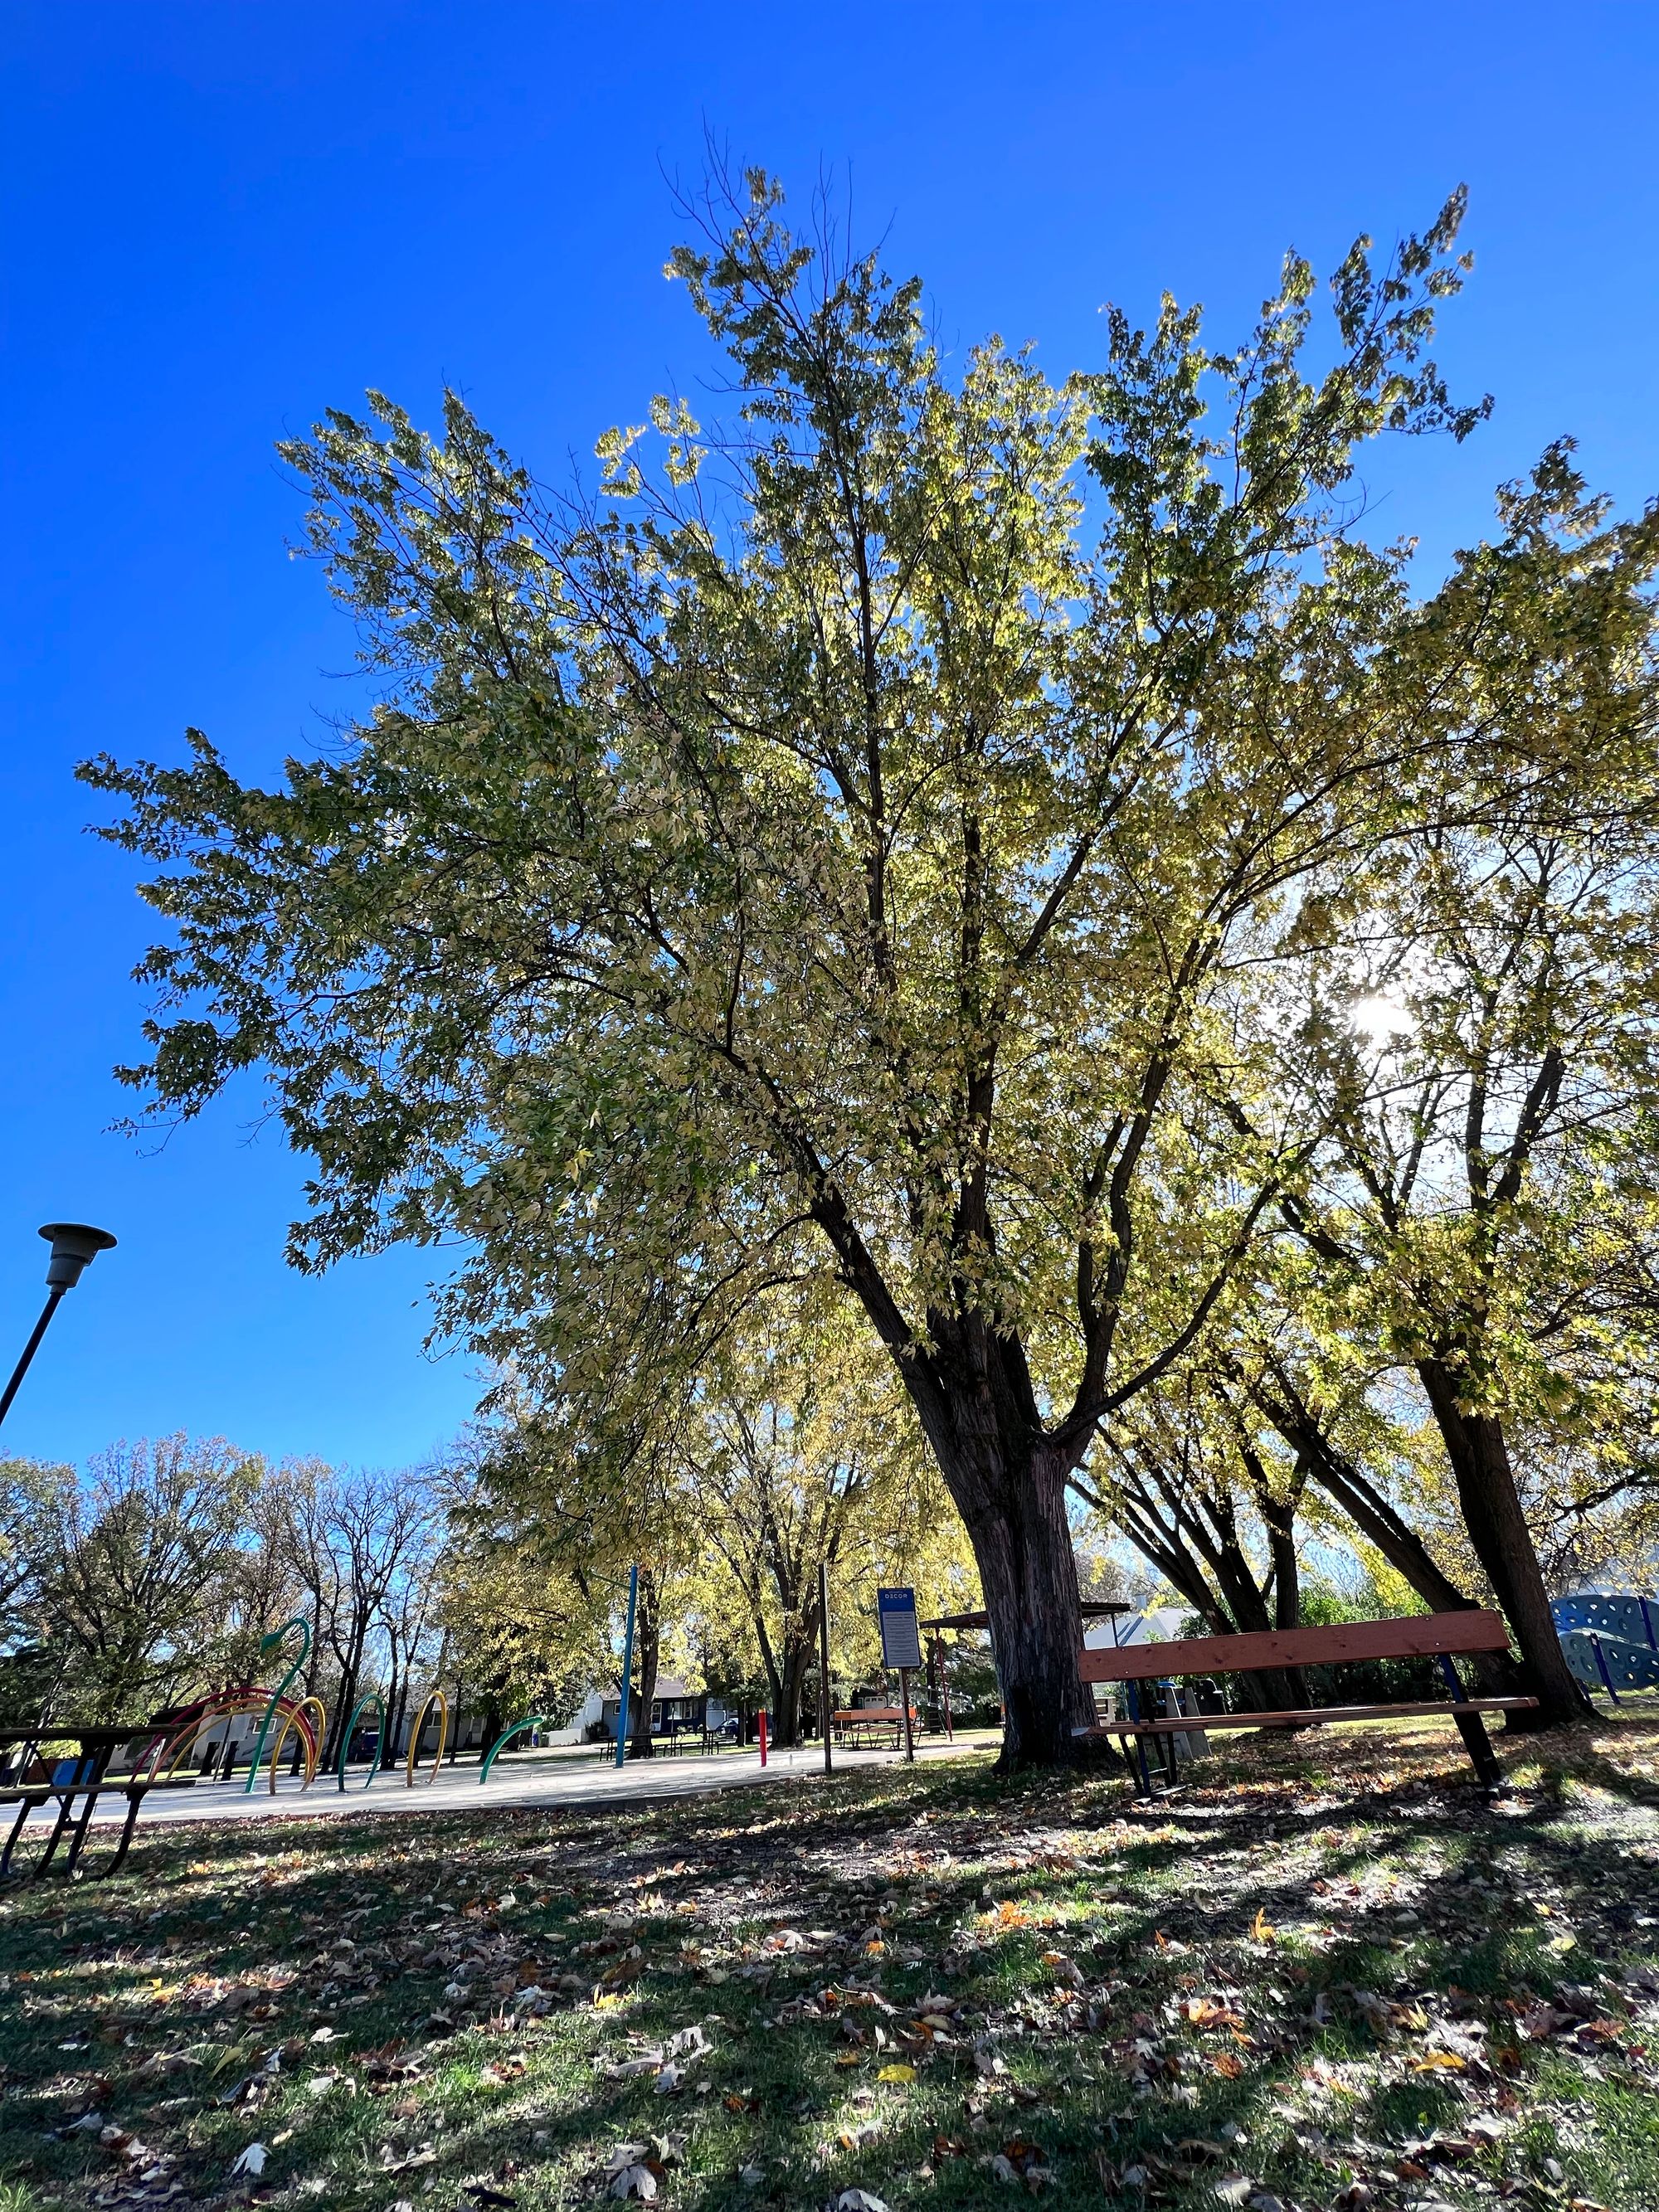

The left Live Photo very visibly suffers from the iPhone's JPEG-sharpening overreach. It has loads of detail and the sun rays are kept to a minimum to ensure an evened-out photo. On its own, it could be considered quite nice, right? I think there’s too much sharpening going on, but overall I imagine some folks would like this Live Photo.
Then the unedited ProRAW photo in the middle looks more bland but without sharpened details all over the place. It needs some editing, of course.
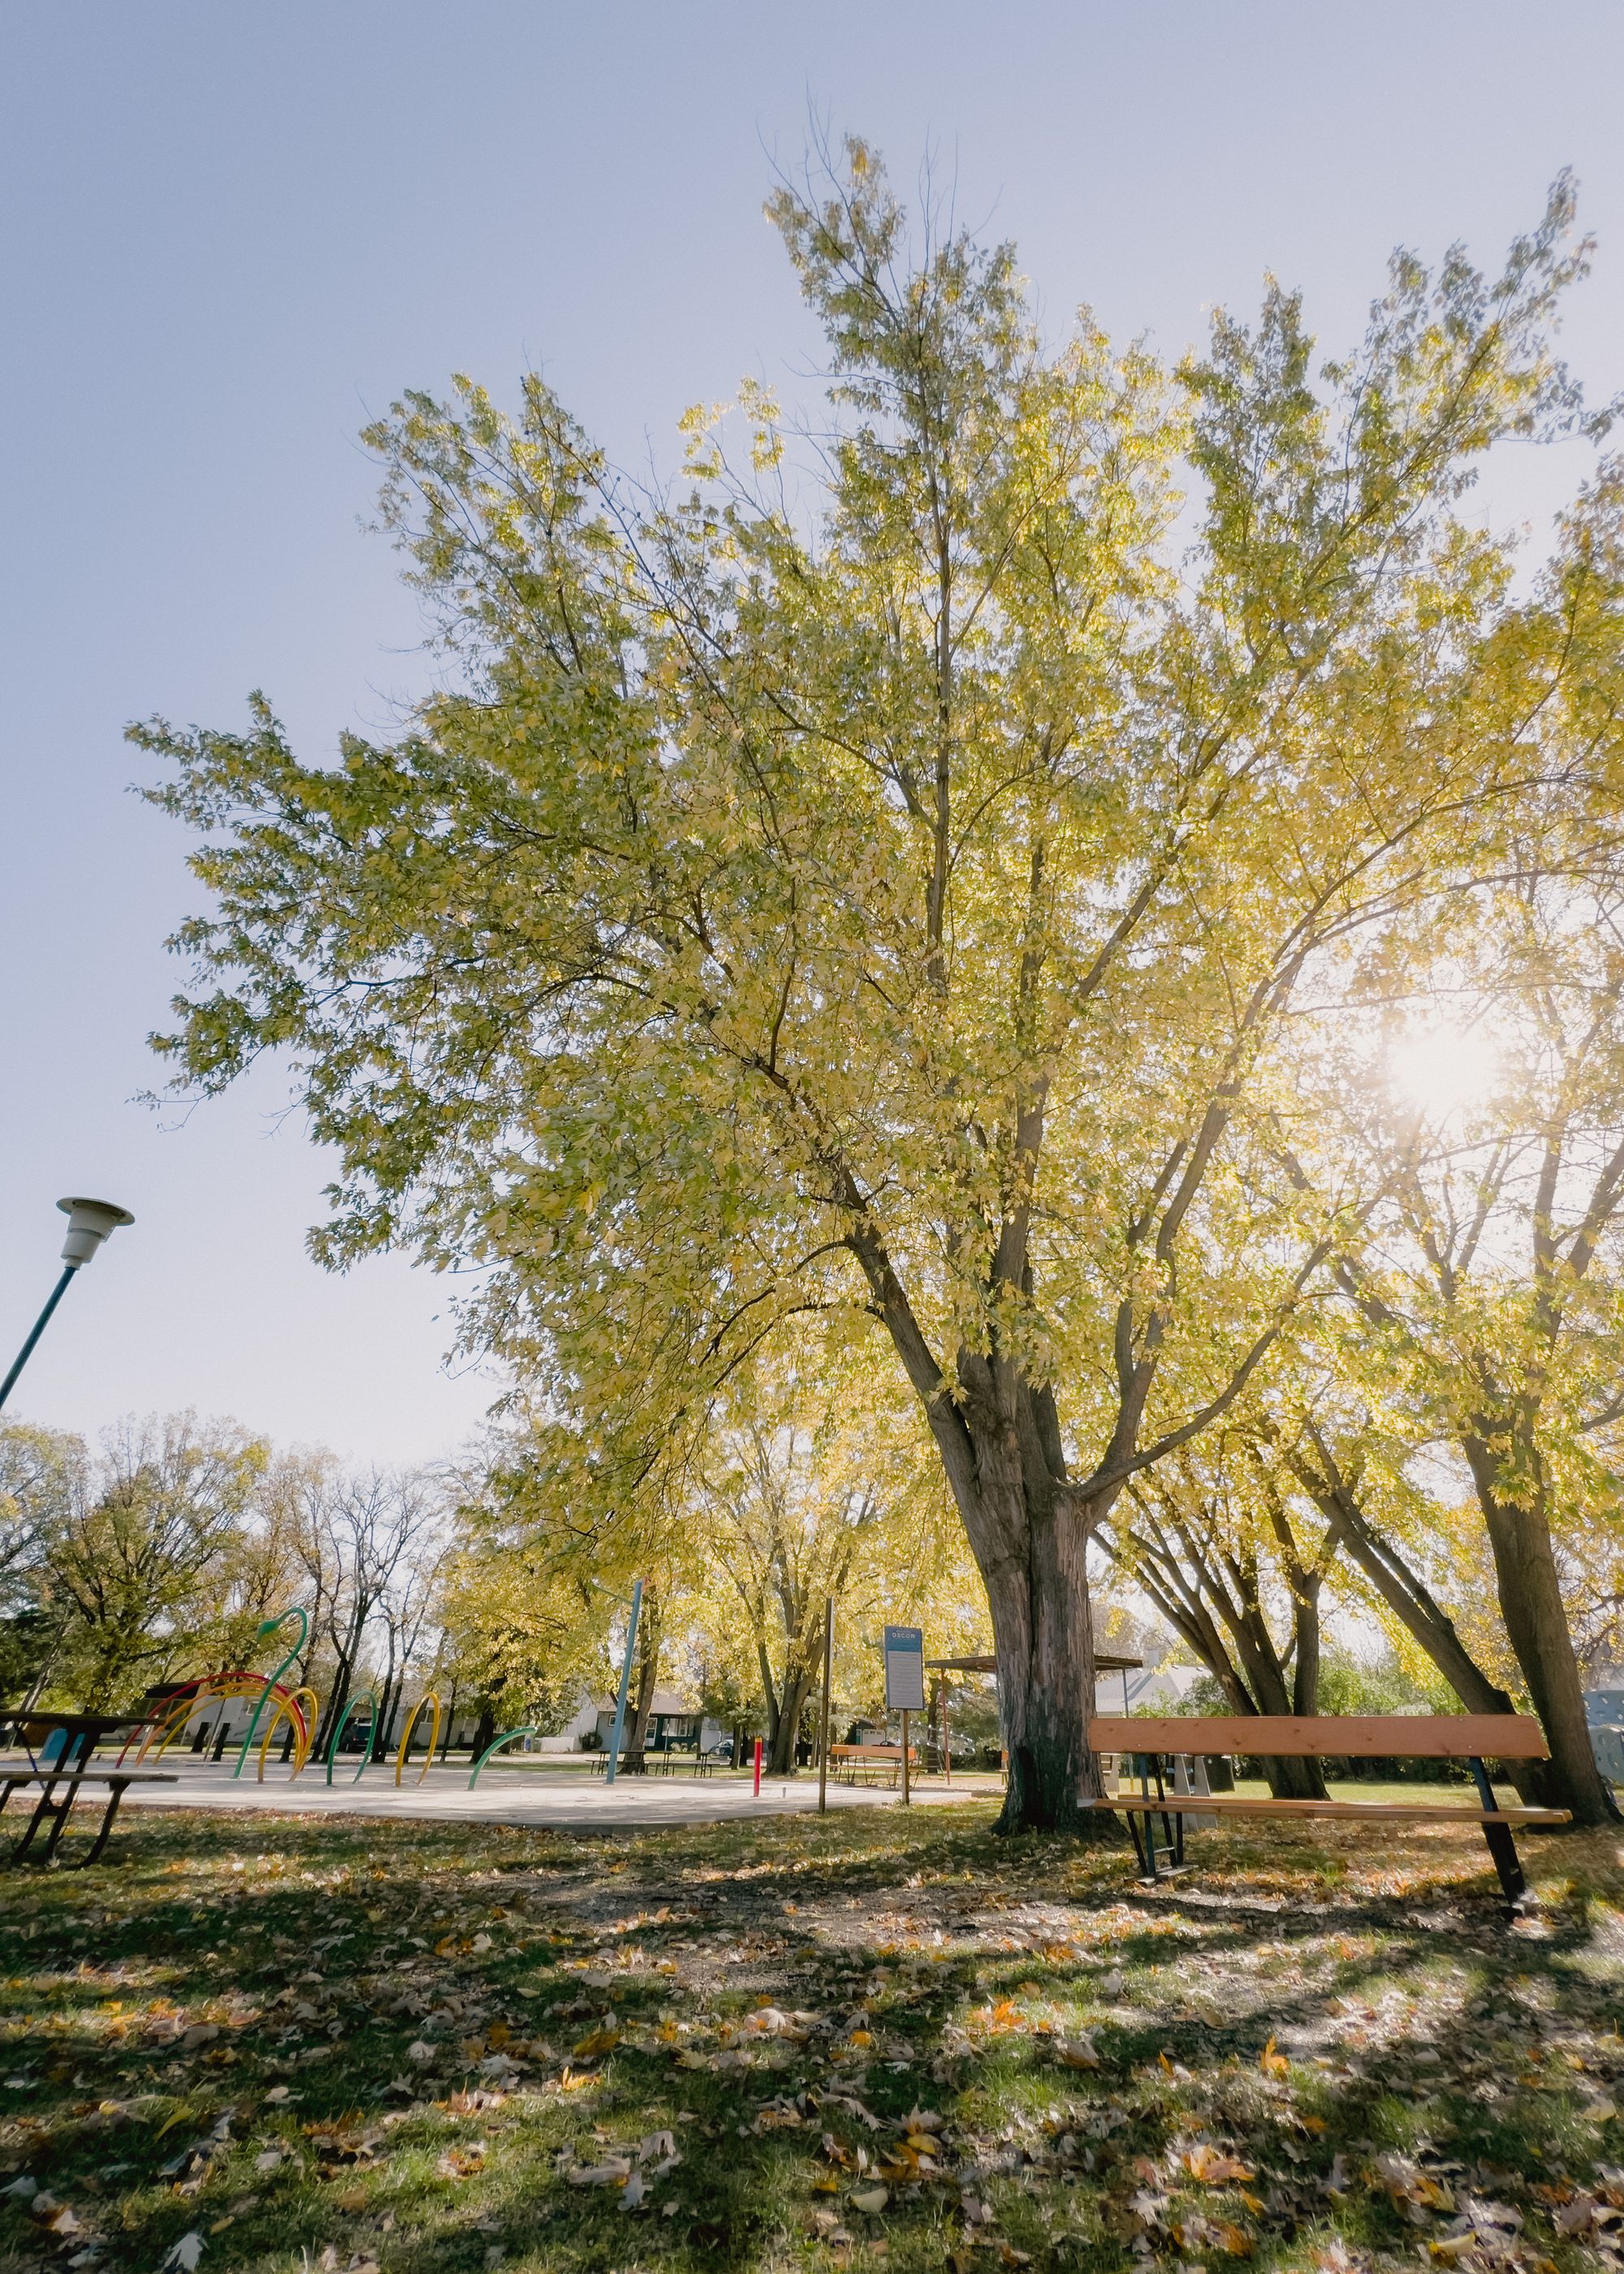
So then look at the edited ProRAW. It has more emotion. The sun peaks through in a more profound way. This photo is just so much better. Say what you will about my taste in colour, but this photo is one I’d share on my Glass profile.
I'm not sure anyone would guess this is an iPhone photo. I almost guarantee they'd scream "iPhone Photo" if they looked at the first Live Photo.
I think Live Photos — especially of foliage — suffer pretty heavily from the iPhone's drive to provide the highest level of detail. ProRAW skips out on Deep Fusion and provides more control for clarity, texture, and sharpness in post. I prefer the ProRAW workflow myself.
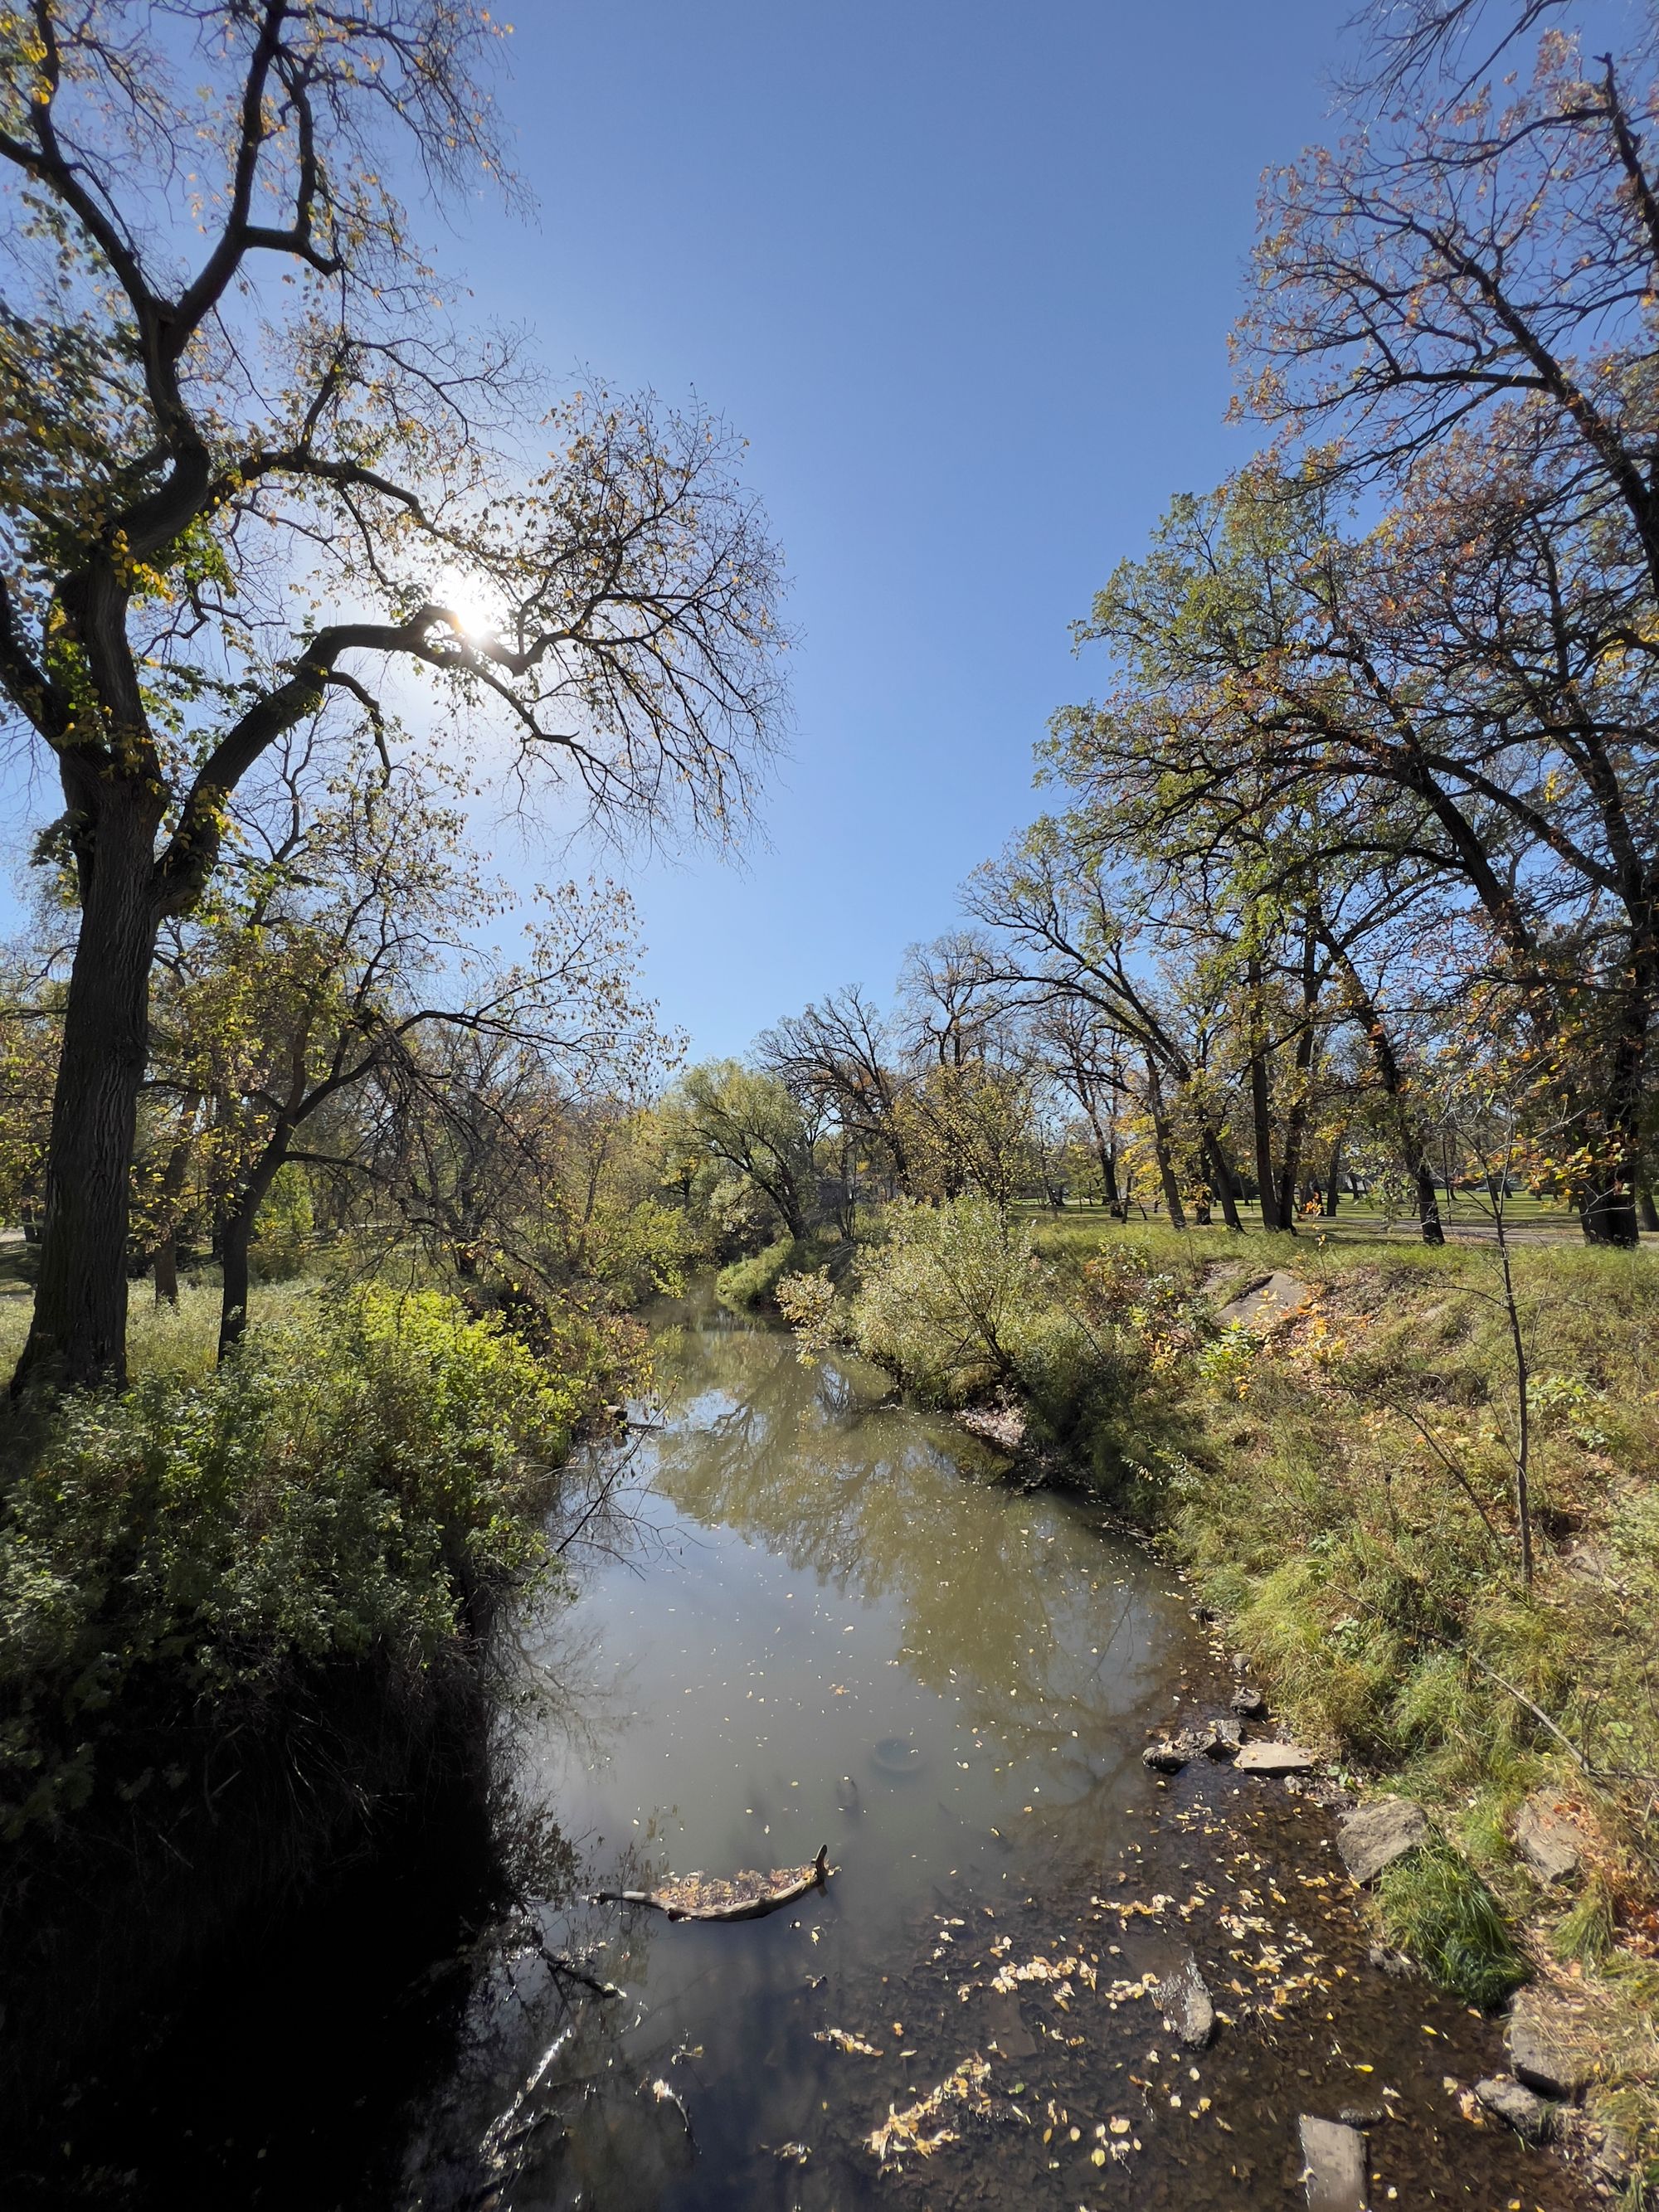
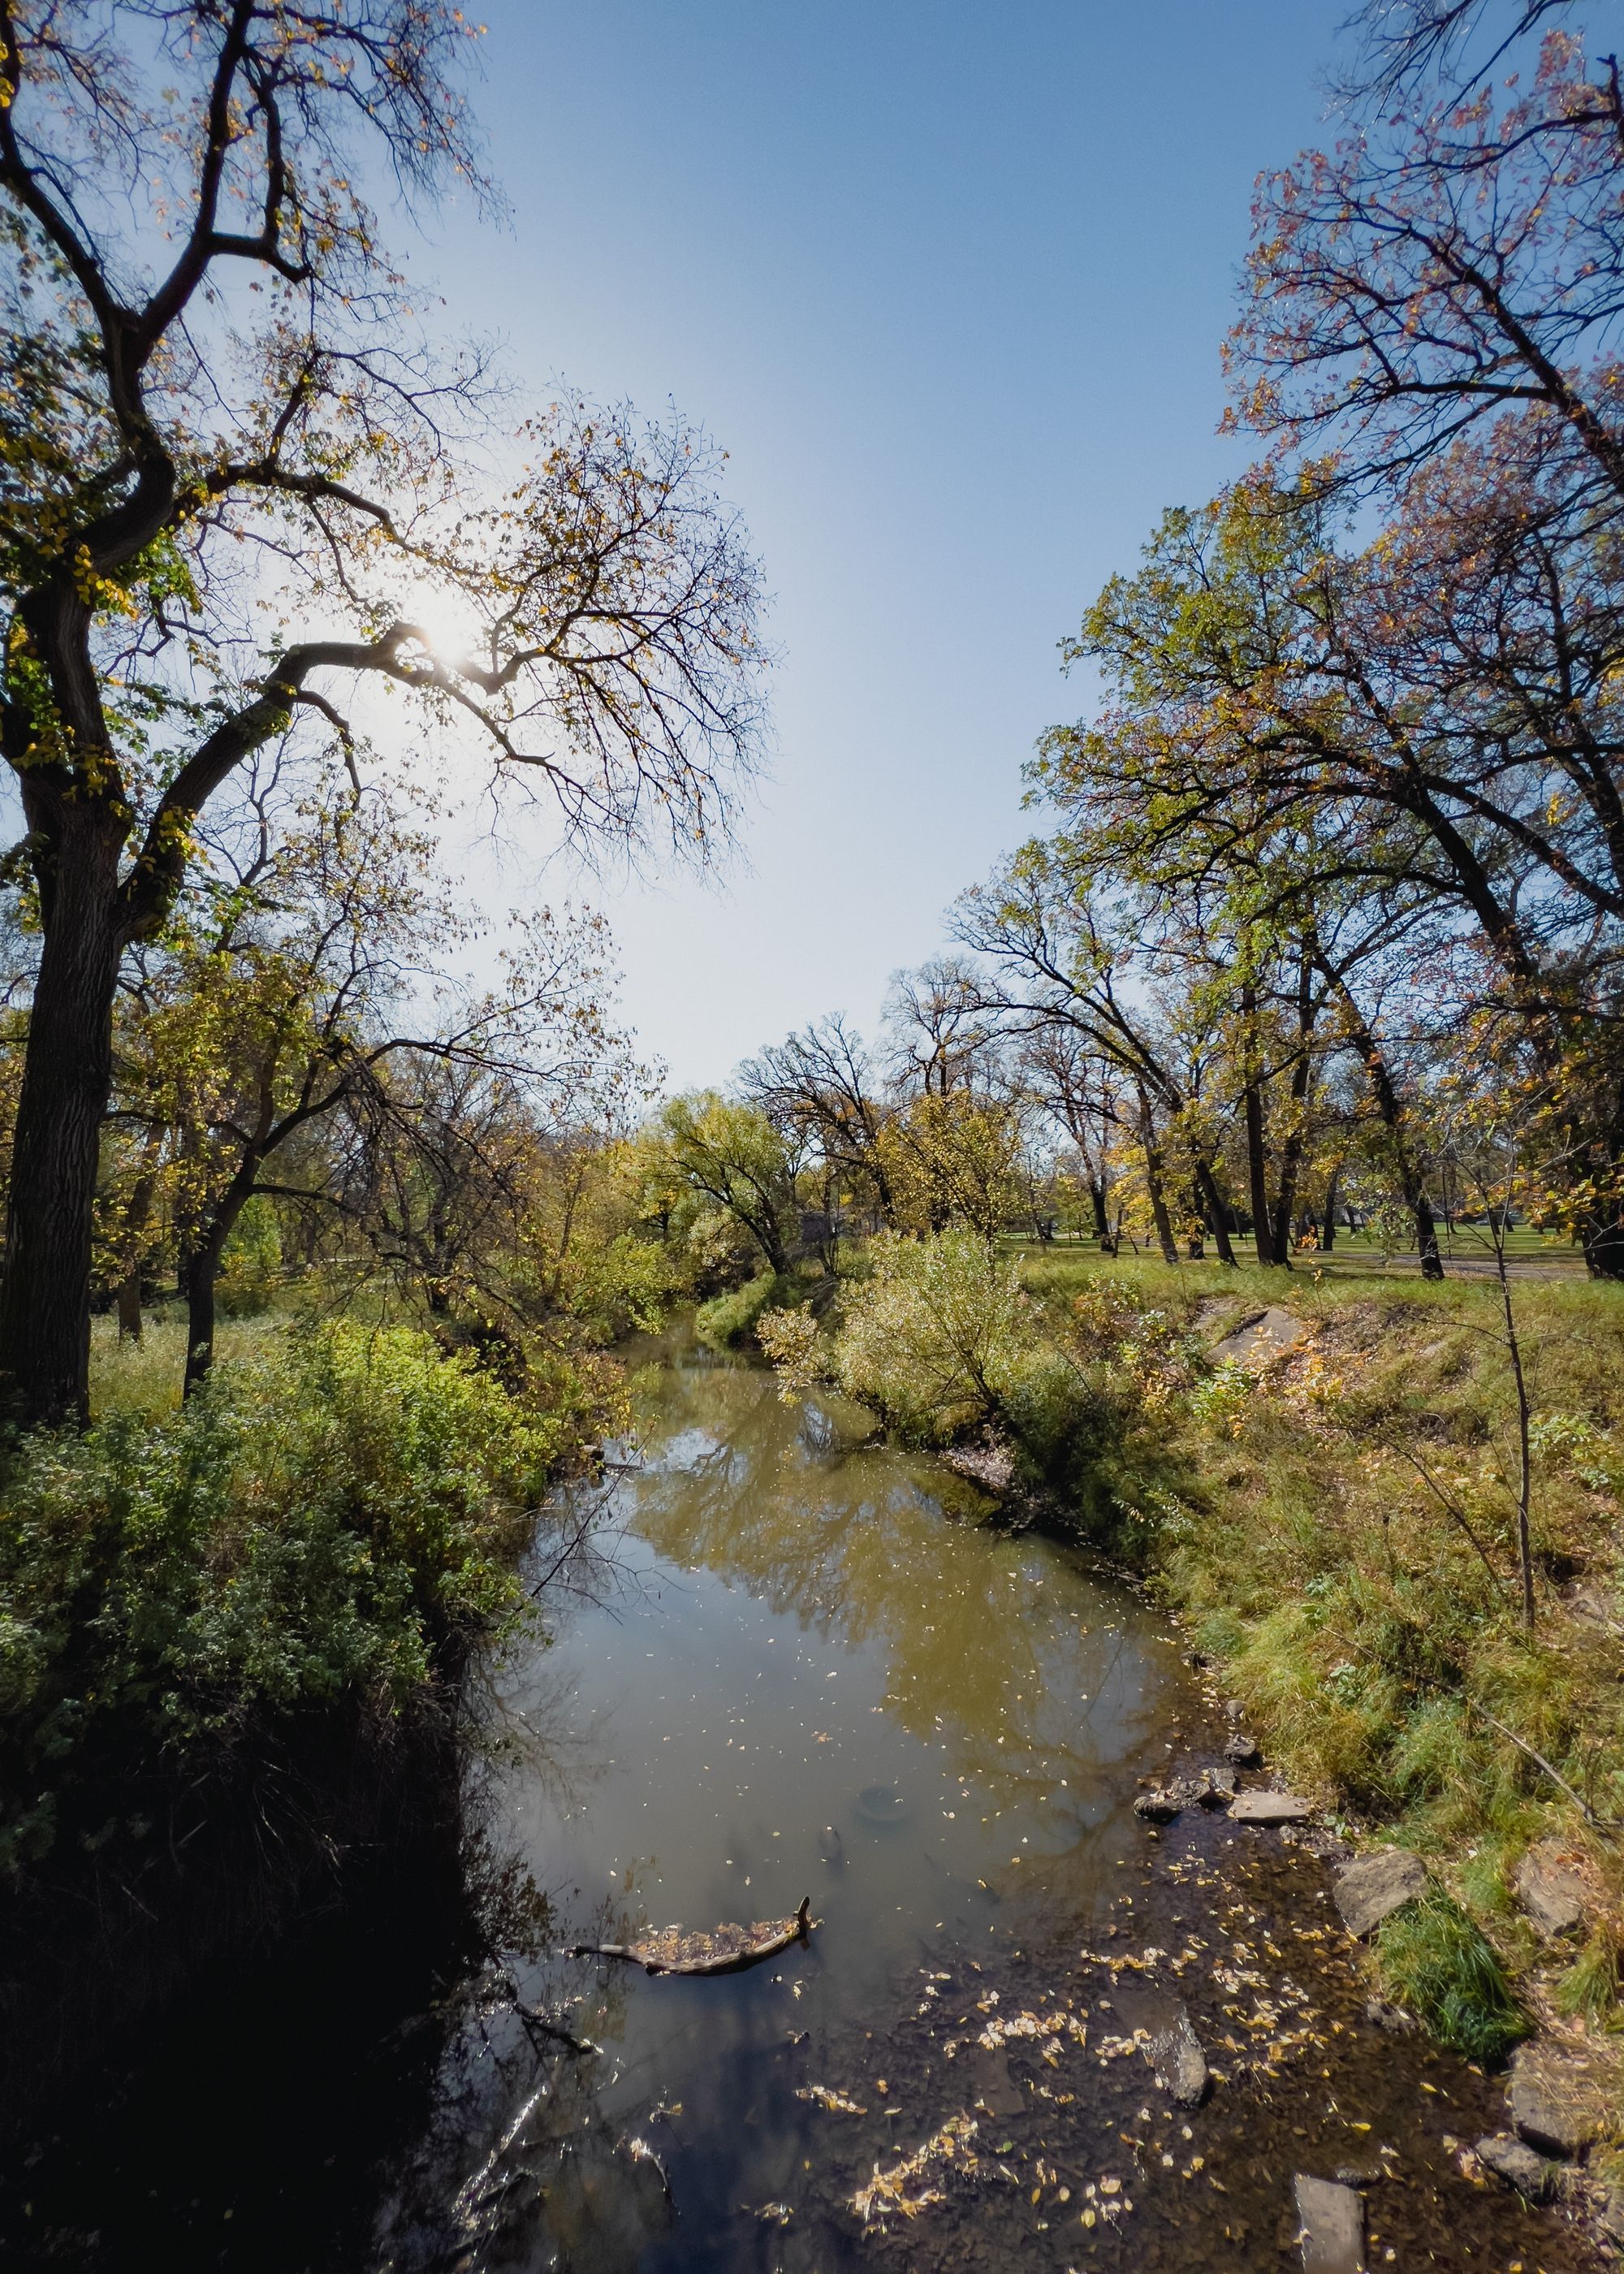
Exhibit VI: This set is a lot like the three-photo comparison above. The ProRAW photo has a little more sunbeam going on, but the detail in the shadows in the creek are much more controlled. This is a very subtle change, but there should be a noticeable difference in contrast and colour in the edited photo on the right.
If you look at the small bush on the creek's right bank, you'll notice more detail in the Live Photo on the left. You'll probably find more detail across the entire photo on the left. But my personal preference is for the ProRAW on the right — a little less clarity, texture, and detail, and a little more colour and better dynamic range.
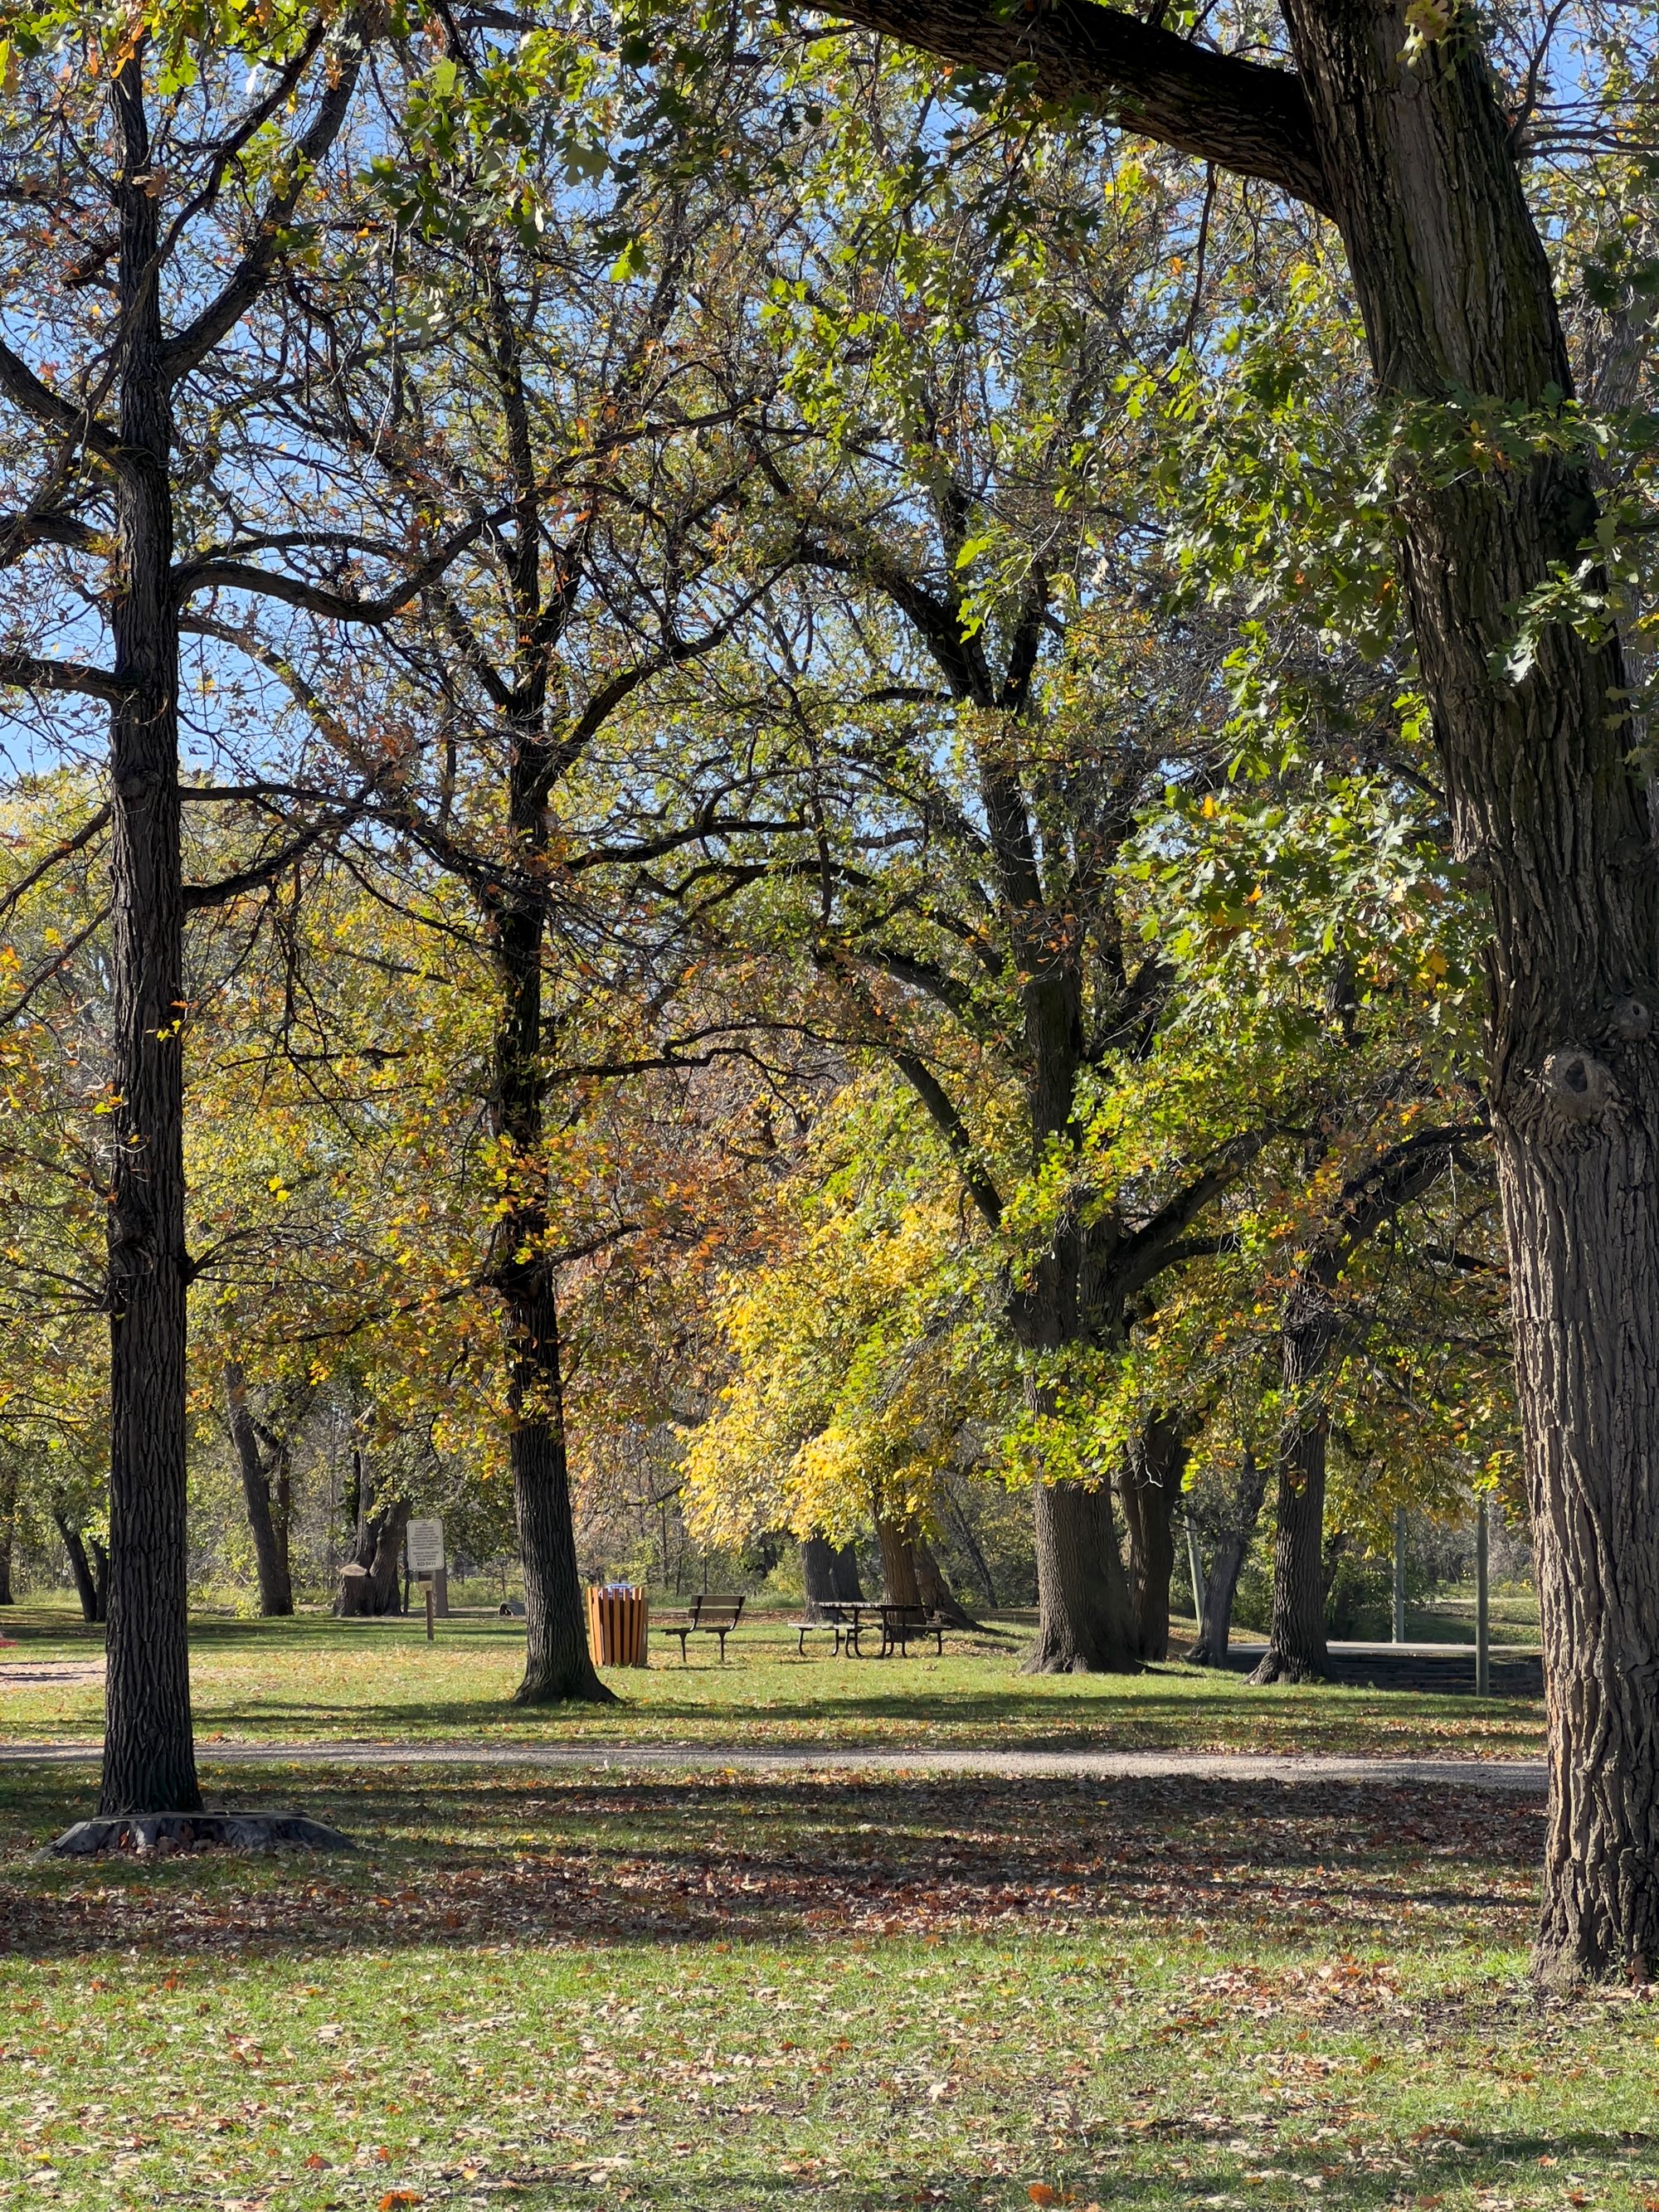
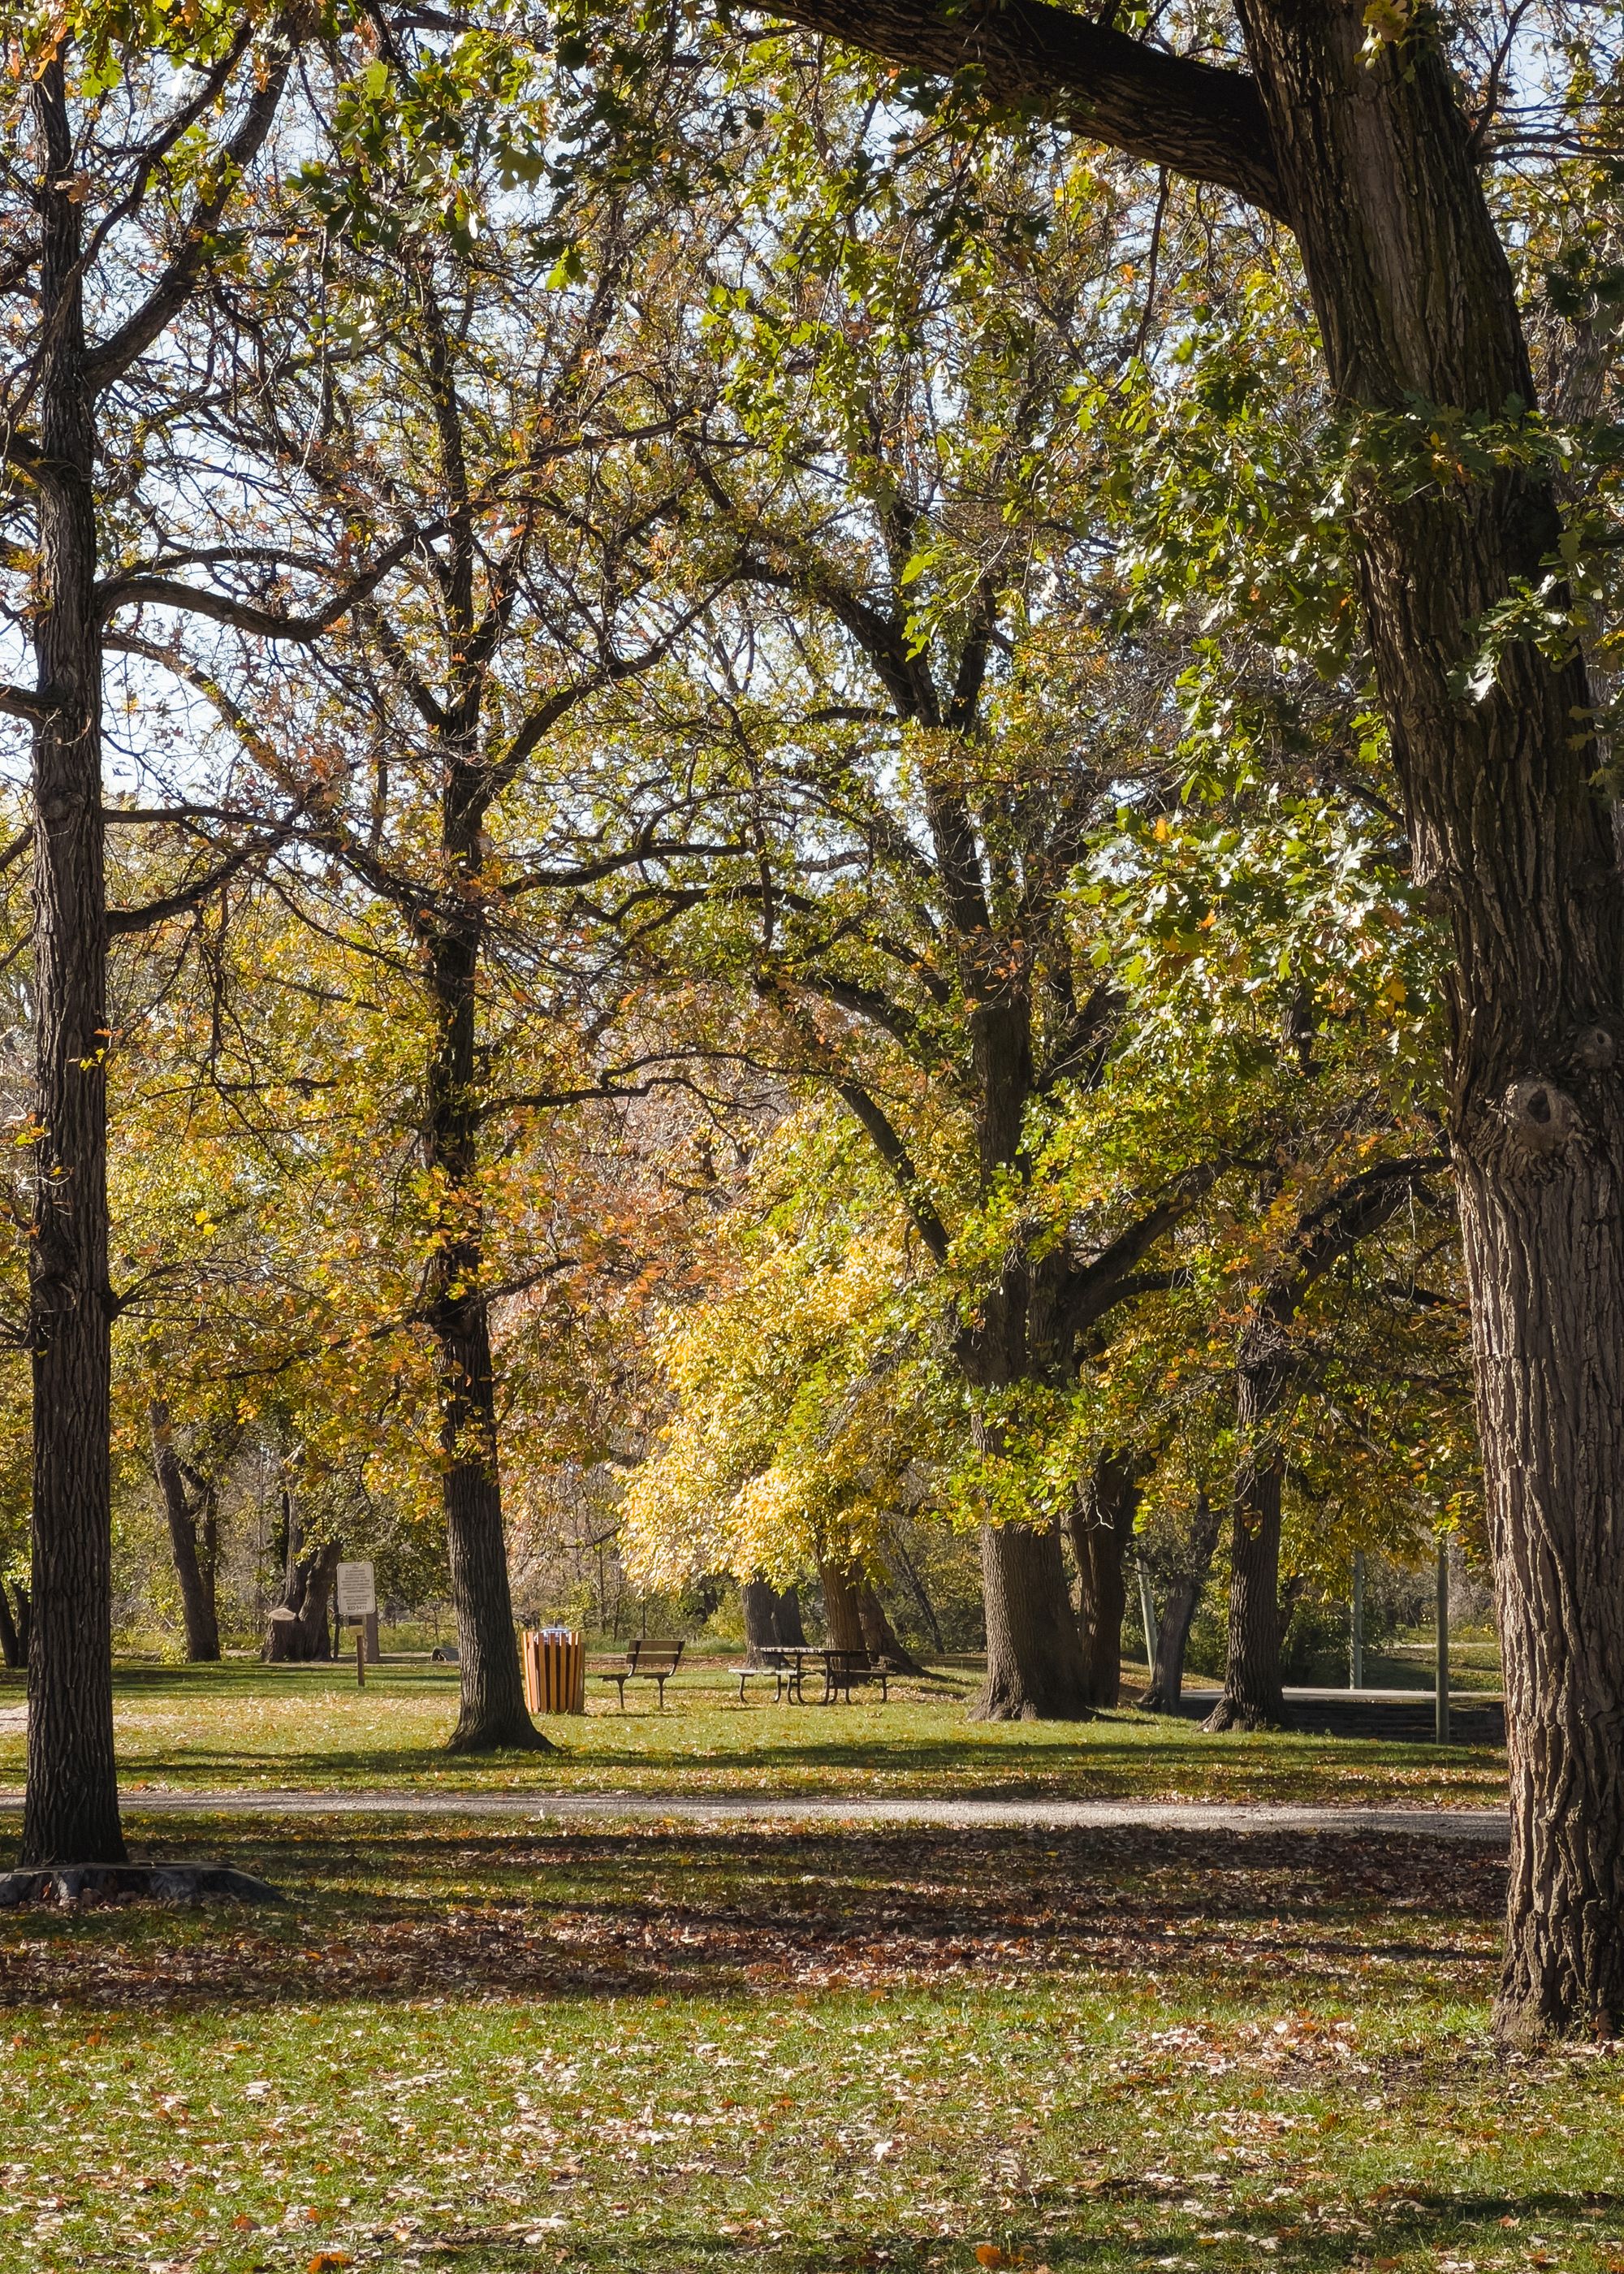
Exhibit VII: This photo largely showcases the telephoto camera’s new 3X field of view versus last year’s 2.5X field of view. But I quite like (again) how the ProRAW photo skips out on the iPhone's sharpening. I've said it over and over — the iPhone's sharpening tendencies are great for detail-specific photos (like fashion and clothing, or macro nature photos, or photos of patterns), but I don’t think it's good for foliage. Instead, I’m much more drawn to the warmth and softness of the ProRAW photo on the right.
Wrap Up
Are the above perfect apple-to-apple comparisons? Probably not. Though I still am impressed with some of the malleability of the first few ProRAW examples. It could be that I chose an imperfect context to showcase how the iPhone auto-edits Live Photos/JPEGs. I appreciate high levels of texture and clarity in clothing, but I’m not a big fan of the result with foliage.
More than anything, I think I’m most happy with understanding how little I’m compromising by shooting on an iPhone in a pinch. It’s not like I’m carrying an EOS-R around everywhere — far from it. But there’s less and less reason to ever consider carrying an EOS-R when the iPhone can produce results like this.
ProRAW enables a new level of iPhone photo control I’ve never experienced before.
For the first time, I have iPhone photos stored in my Lightroom library. Until now, that library only housed dedicated-camera photos.
Perhaps the iPhone has graduated to a new level in my book.