A couple weeks ago, I wrote about using good lenses to capture better photographs. However, in slight contradiction to the “using proper equipment” argument, I composed the entire piece with an iPad only.
I imported all the photos directly from the camera with the Olympus Image app. I then edited and exported the photos with VSCO Cam before uploading them to The Newsprint’s media server with Transmit. From there, I wrote the piece, copied the URLs for the photos, and inserted them into the article using Ulysses. Finally, I published the piece with Editorial.
I completed the experiment to see if completing the task was feasible and to document my experience. The long and short of that experience: Although feasible, there are elements of the blogging process that are better performed on a full-blown desktop computer.
The process of using only an iPad is becoming easier by the day though. I’m proud to claim that The Newsprint is written “mainly on an iPad Air 2” — so much so that it sits nicely at the top of my colophon.1 In reality though, it’s nice to be able to compose a piece from anywhere in the world on any device.
Below is an outline of my process for the “Great Glass” article. There are holes in the process that I’ve already found and I aim to patch those holes the next time I go through the process. Don’t let that deter you from emailing me some tips — I’d be excited to learn new and improved ways of using this piece of glowing glass.
Step 1: Photo Import
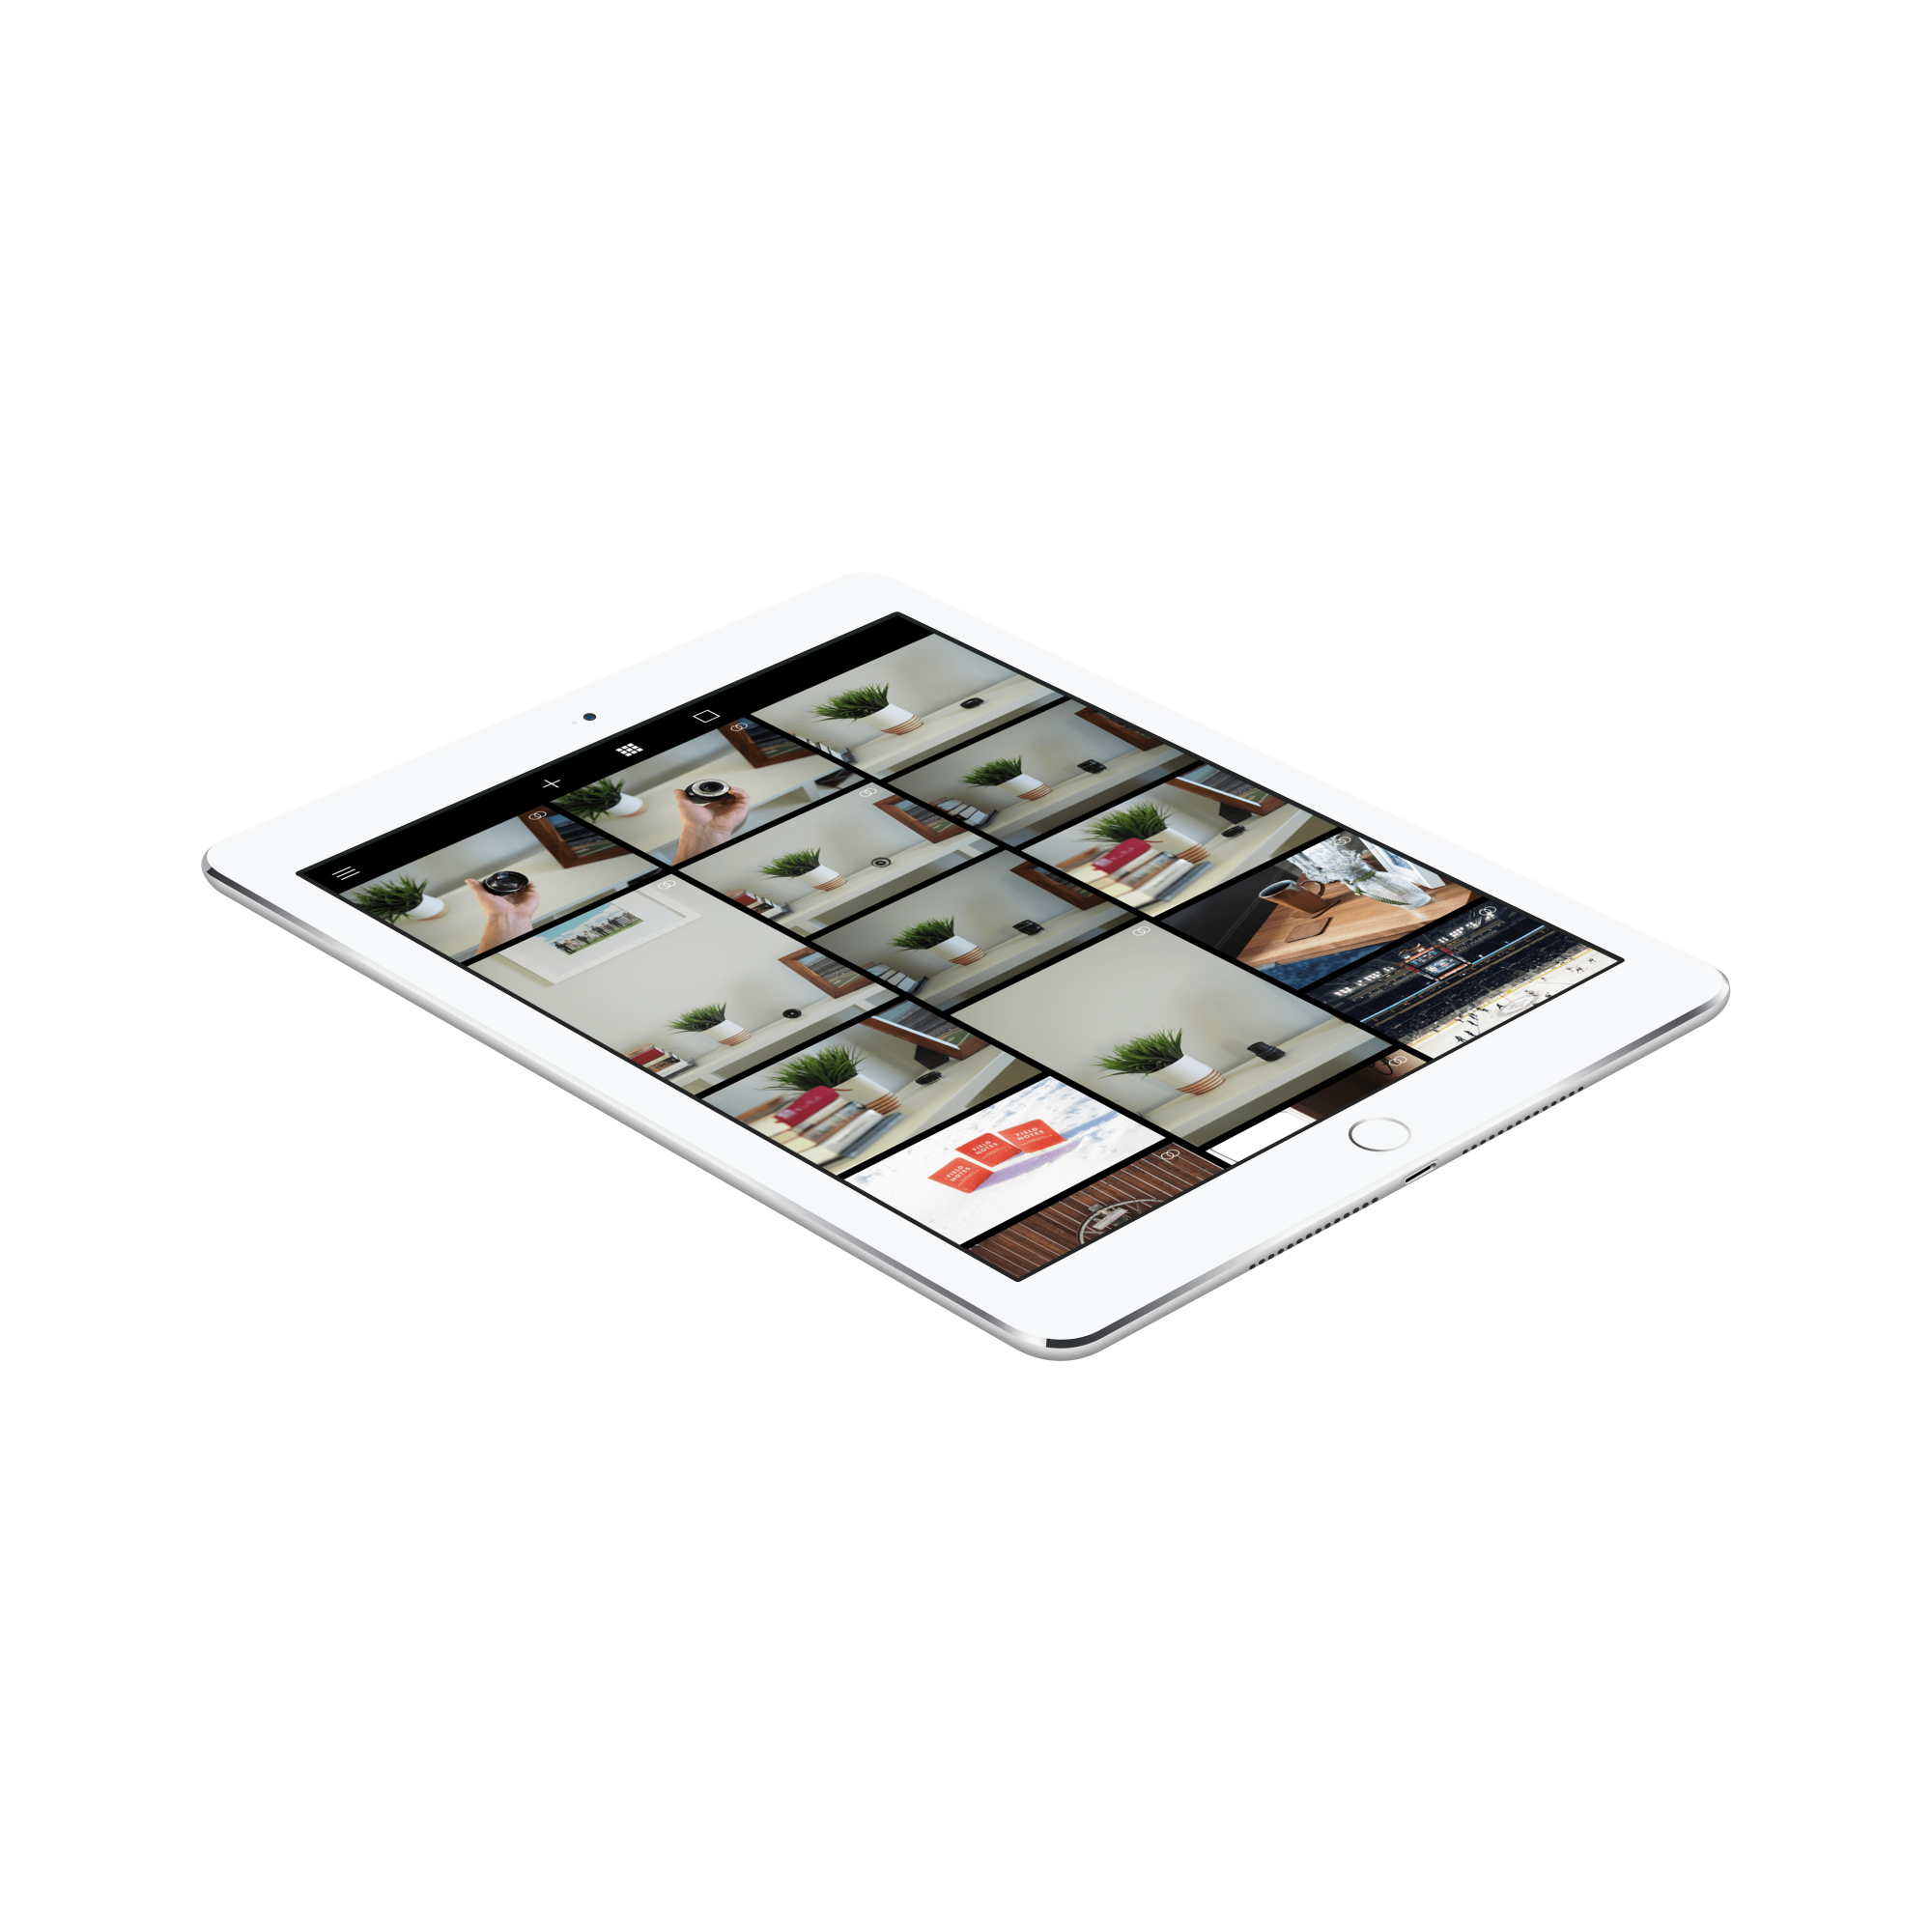
I shoot my photographs with an Olympus OM-D E-M10. The E-M10 has a well documented wifi feature that allows for direct import of images to an iPhone or iPad. The Olympus Image Share iOS app is a bit clunky and a bit slow when importing hundreds of images, but it got the job done. I imported the photos directly to the iOS Camera Roll and moved on from there.

Of note to some enthusiasts: I shoot .jpeg images only and have stayed away from RAW format. I realize RAW has incredible qualities, but I don’t do enough editing to extract the true RAW potential and I also like to keep my file size down. Moreover, I didn’t test this process with a RAW file, so it may through a hiccup into the process down the road.
Step 2: Photo Editing
For this particular piece, I chose to re-import my photos into VSCO Cam for editing purposes. There are a thousand different ways to edit photos on iOS these days, but I still like to stick to VSCO Cam for my mobile needs. I’ve purchased many presets in the VSCO Cam app and I find it enjoyable to apply a quick preset and move on.
In Lightroom on a Mac, there is considerable control when using a brush edit — some areas of a photo can be sharpened while others can be blurred. In VSCO Cam for iPad, all sliders apply to the image as a whole. Take that as you see fit, but it’s the single major reason why I try to edit my photos in Lightroom on a Mac. I don’t edit a whole lot, but the few edits I do complete tend to be finetuning edits that are hard to replicate by sliding your finger on the VSCO scale.
Lastly, with VSCO Cam’s latest update for iOS, all imports and edits are automatically synced to VSCO Cam on my iPhone. It makes the whole process universal and also allows me to upload the photos later on via an LTE connection on my iPhone if my wifi connection is poor. Syncing photos in the cloud is also worthwhile for backup purposes.
Overall, despite VSCO’s slider edits, the experience of importing into the app and exporting out after you have completed your edits isn’t too cumbersome for my purposes.
Step 3: Photo Export
Now, after spitting all that out, the biggest factor that sways me to using VSCO Cam is how the app automatically exports the image into a smaller file size.
The photographs I shoot on the E-M10 are generally around 4MB in size. Loading many images of that size would take forever for The Newsprint’s readers, so I always try to use images that are 250KB or less in size.2 VSCO Cam automatically exports images down to about this size, so the app is ideal for the export process.
Step 4: Uploading to The Newsprint’s AWS Media Server
At this point, I jumped into Transmit, a new file sharing app that is groundbreaking for iOS as a whole. I don’t even understand the extent to which this app reaches, but I do know that I’m able to access my media server right on my iPad and upload or download files to my heart’s content.
Amazingly cool.
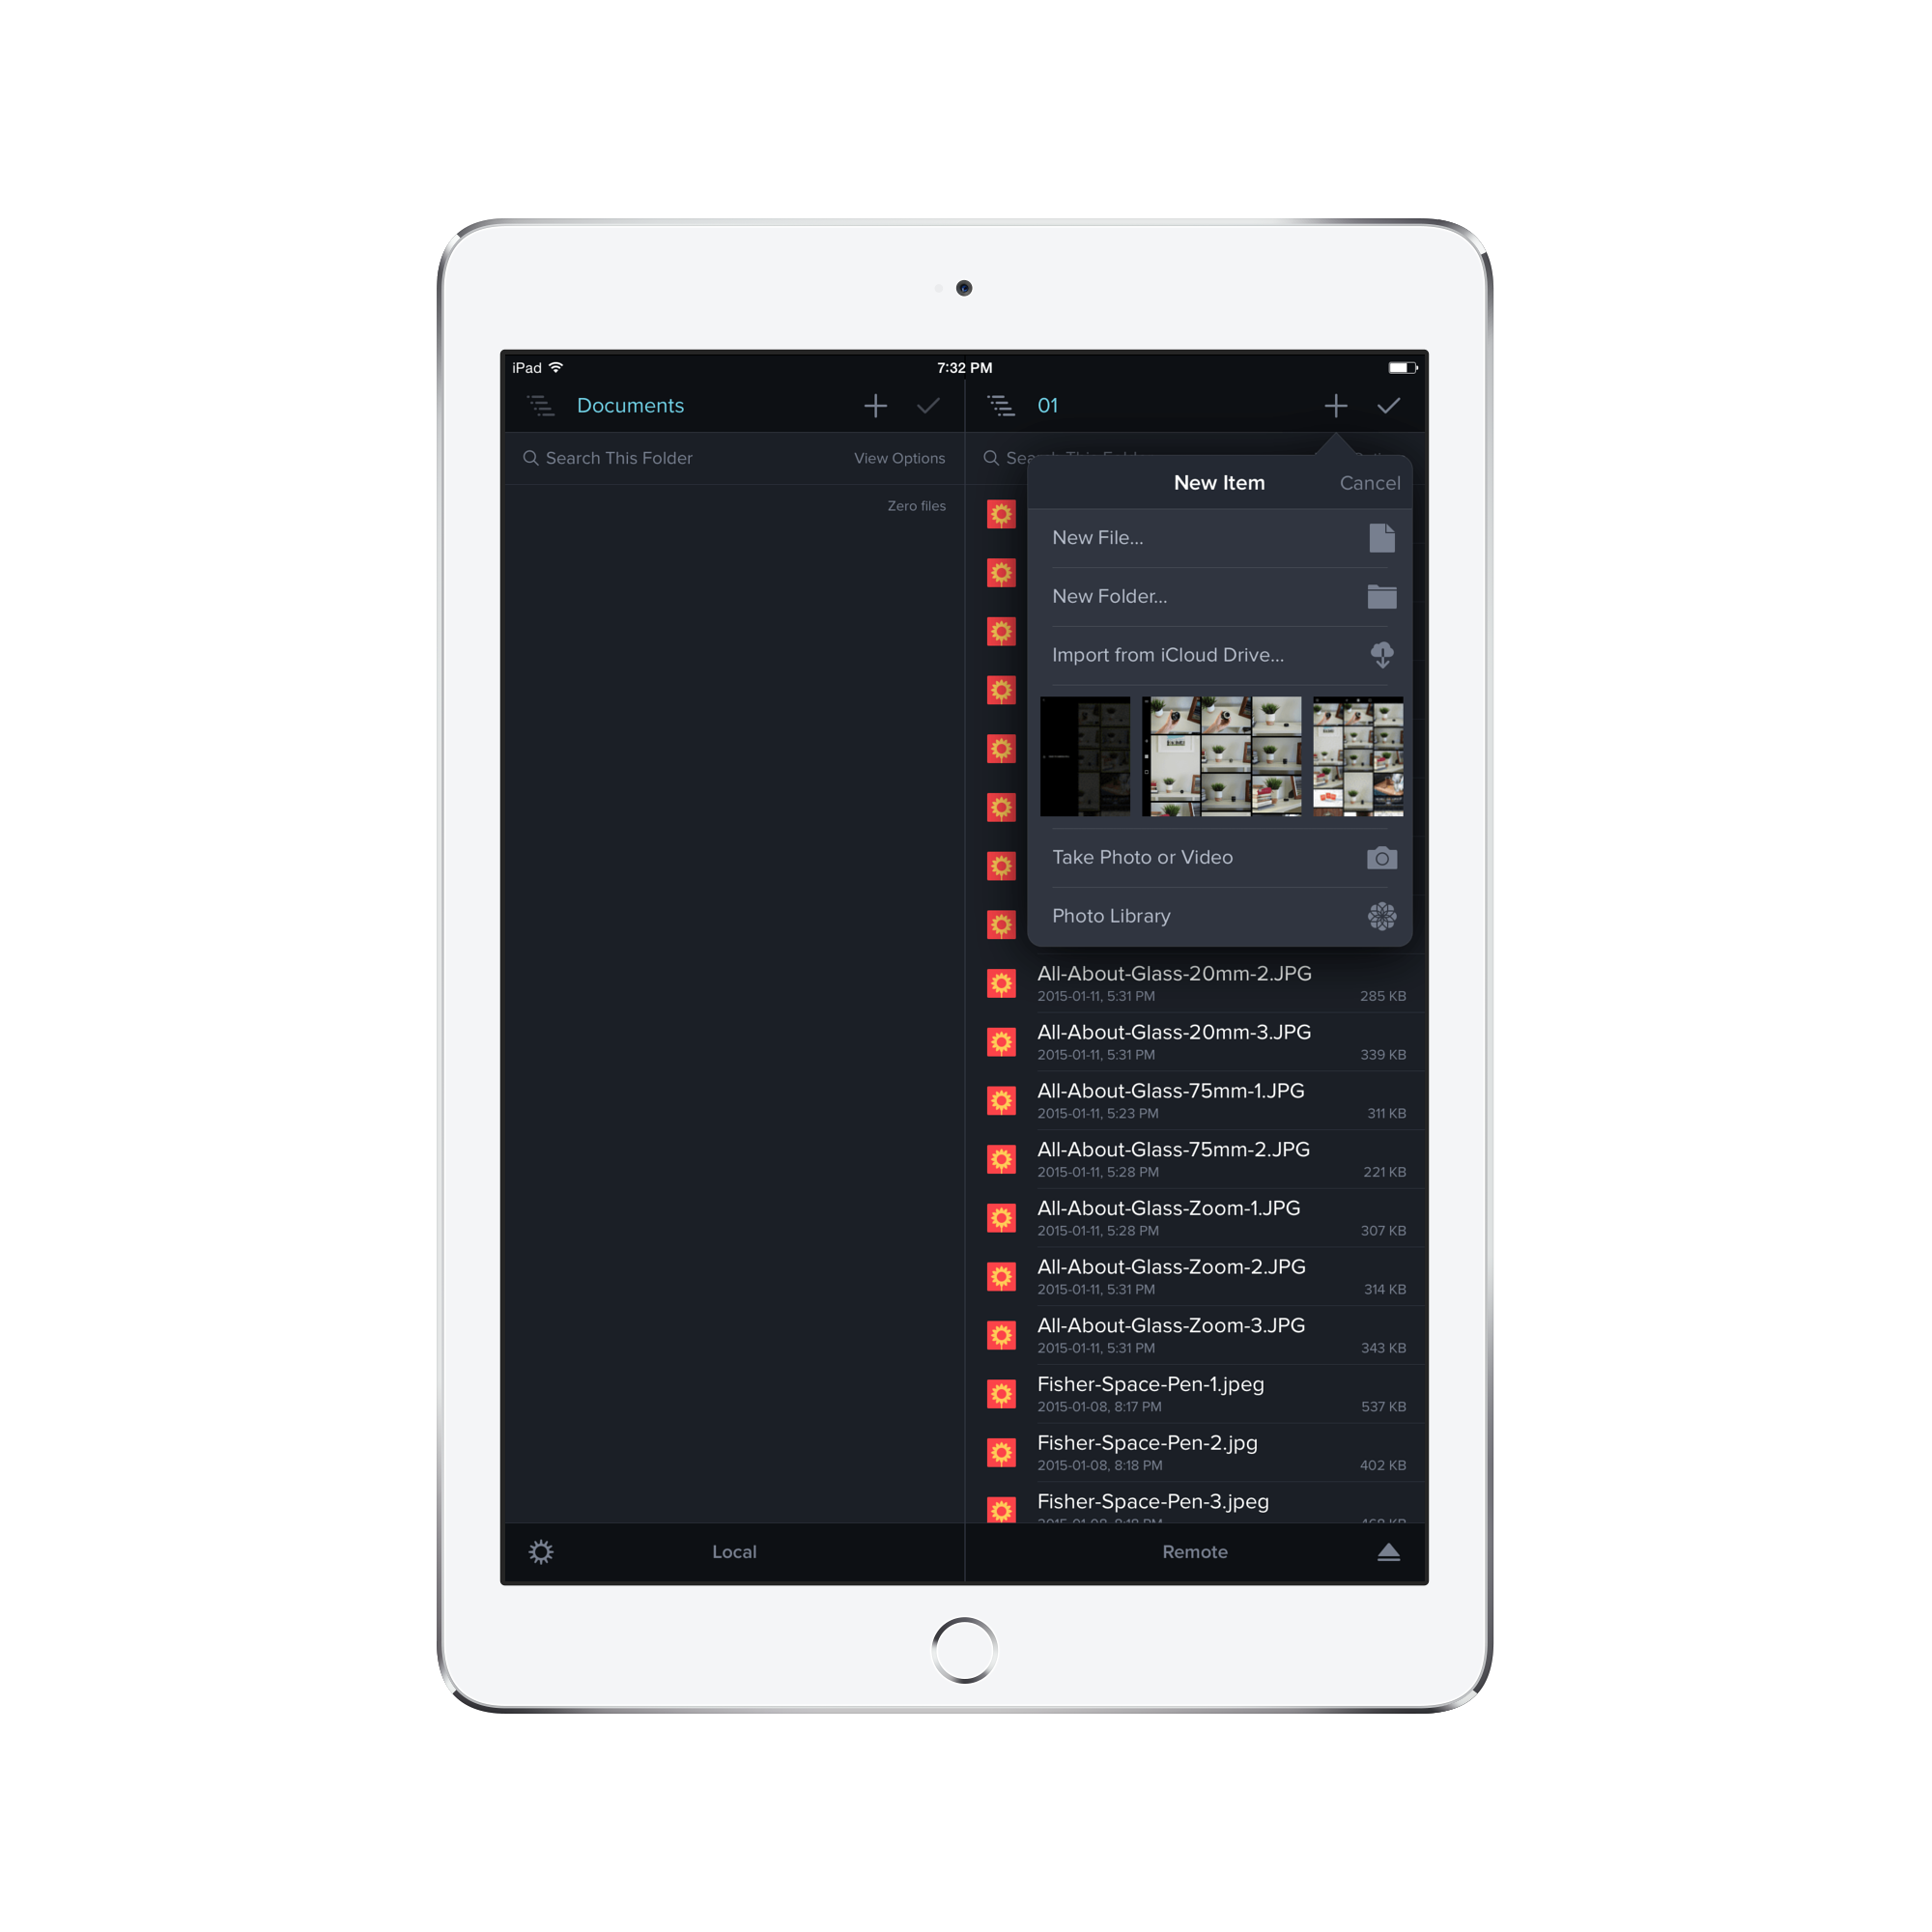
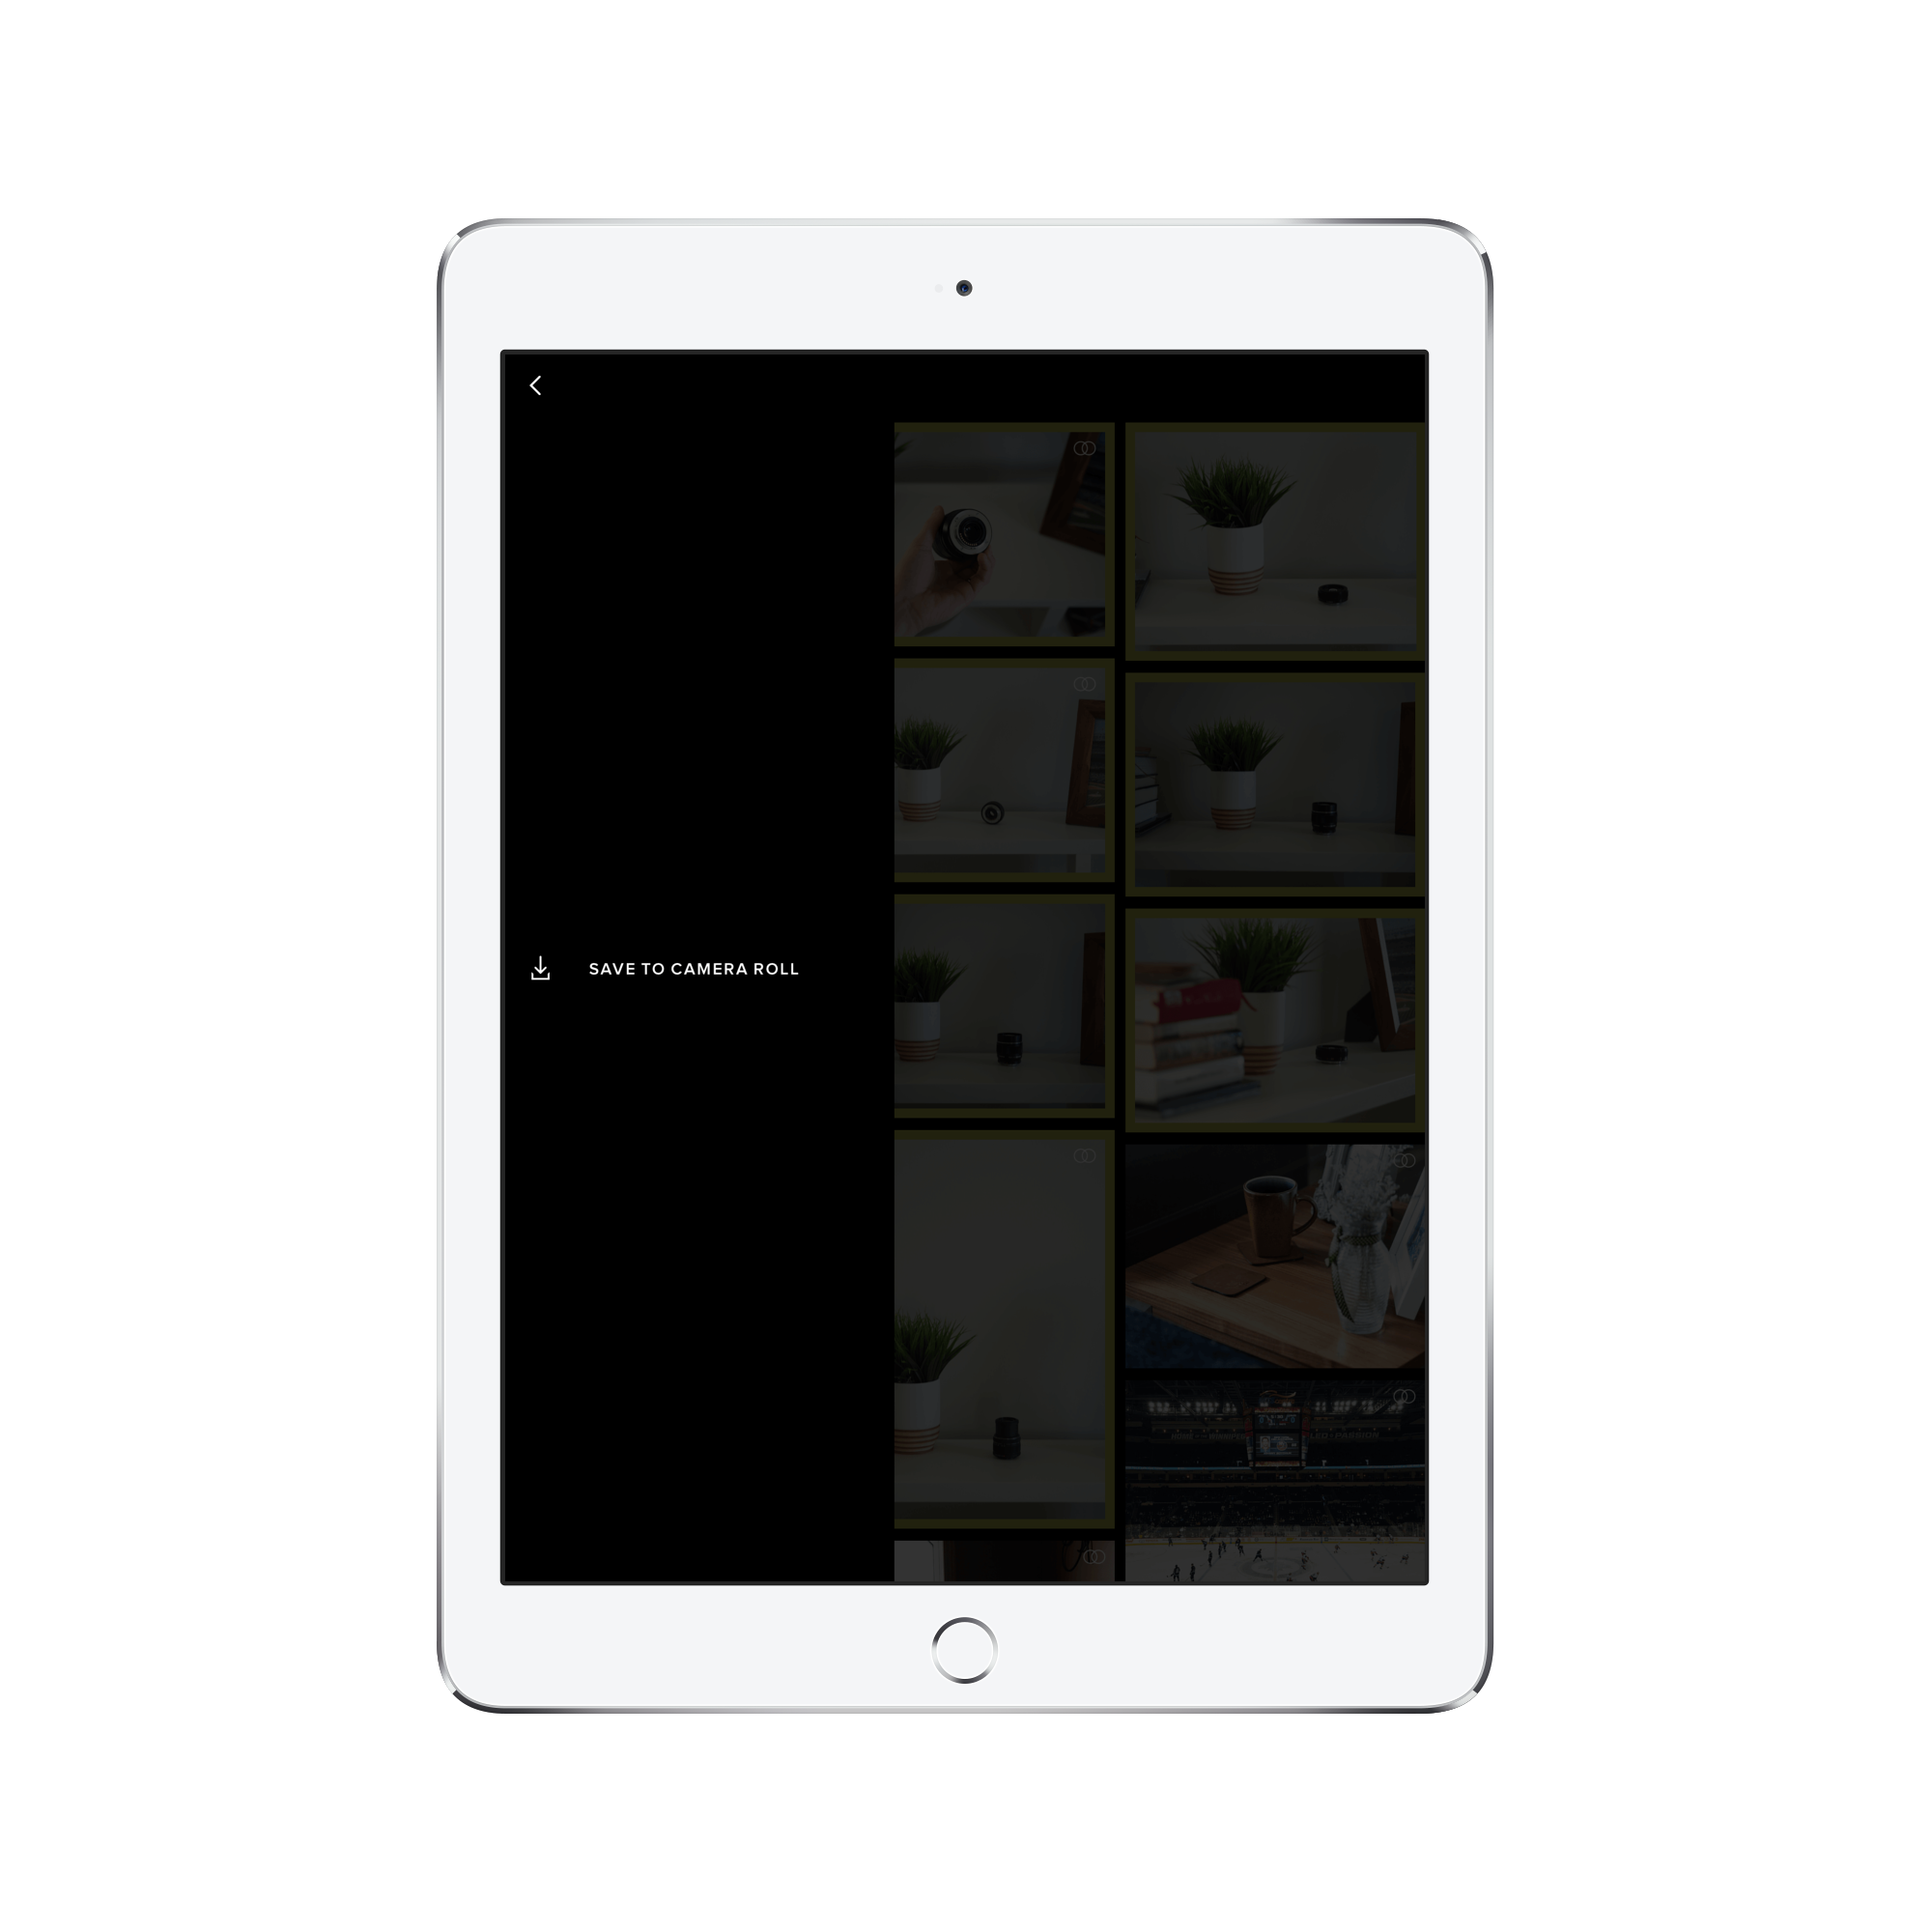
I logged into the server, navigated to the appropriate folder, and tapped the “+” button to upload the exported images from VSCO Cam in my Camera Roll. Of course, I now had duplicate images in my Camera Roll, so I had to be sure I was choosing the right images to upload to the server.
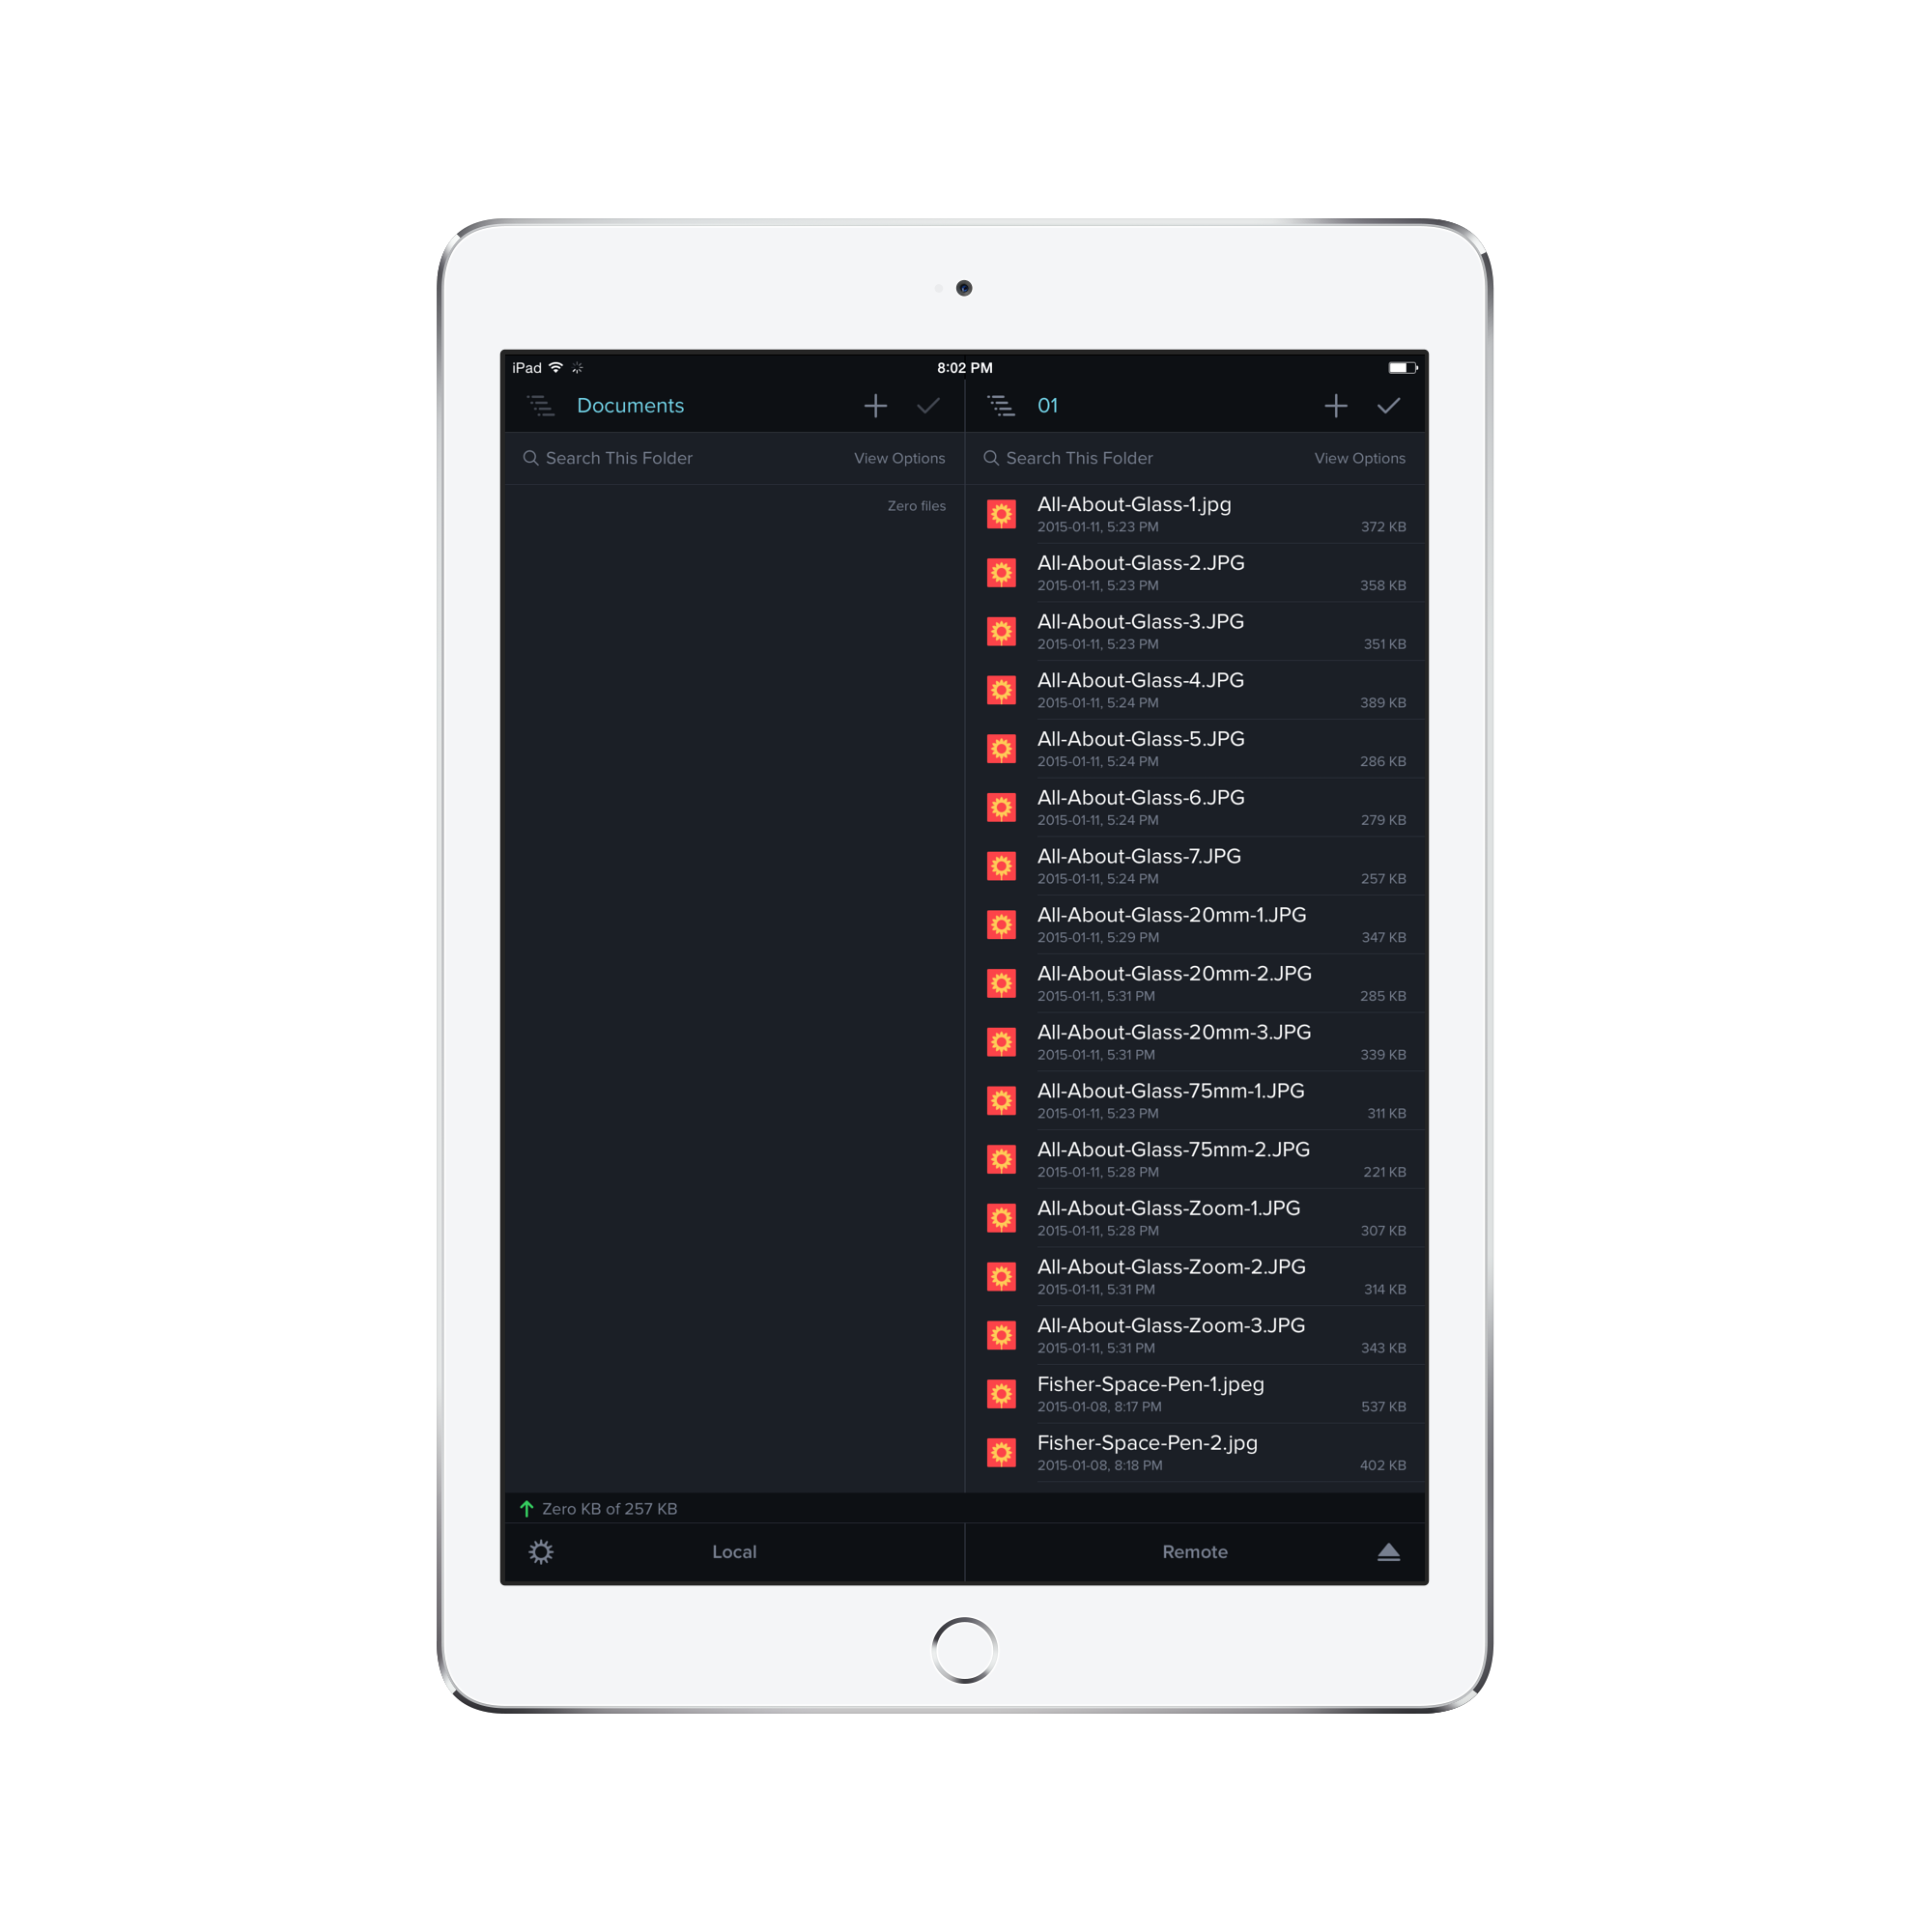
After uploading the photos to the server (which took an embarrassingly long time thanks to my shotty MTS internet connection), I was able to move into Ulysses and begin the writing process.
Step 5: Ulysses, Editorial, and Writing
First, I jumped into Ulysses for iPad. The app is currently in beta, but I absolutely love the workflow behind the app. Pieces start in an inbox much like Omnifocus and are then processed further. I like the ability to type something out quickly in the inbox, then fire it to where it needs to go at a later date. Other apps can complete this task as well, but I like the way Ulysses for iPad syncs seamlessly to Ulysses for Mac.
After I completed the actual writing, I copied over the written work to Editorial for editing and image inputs.
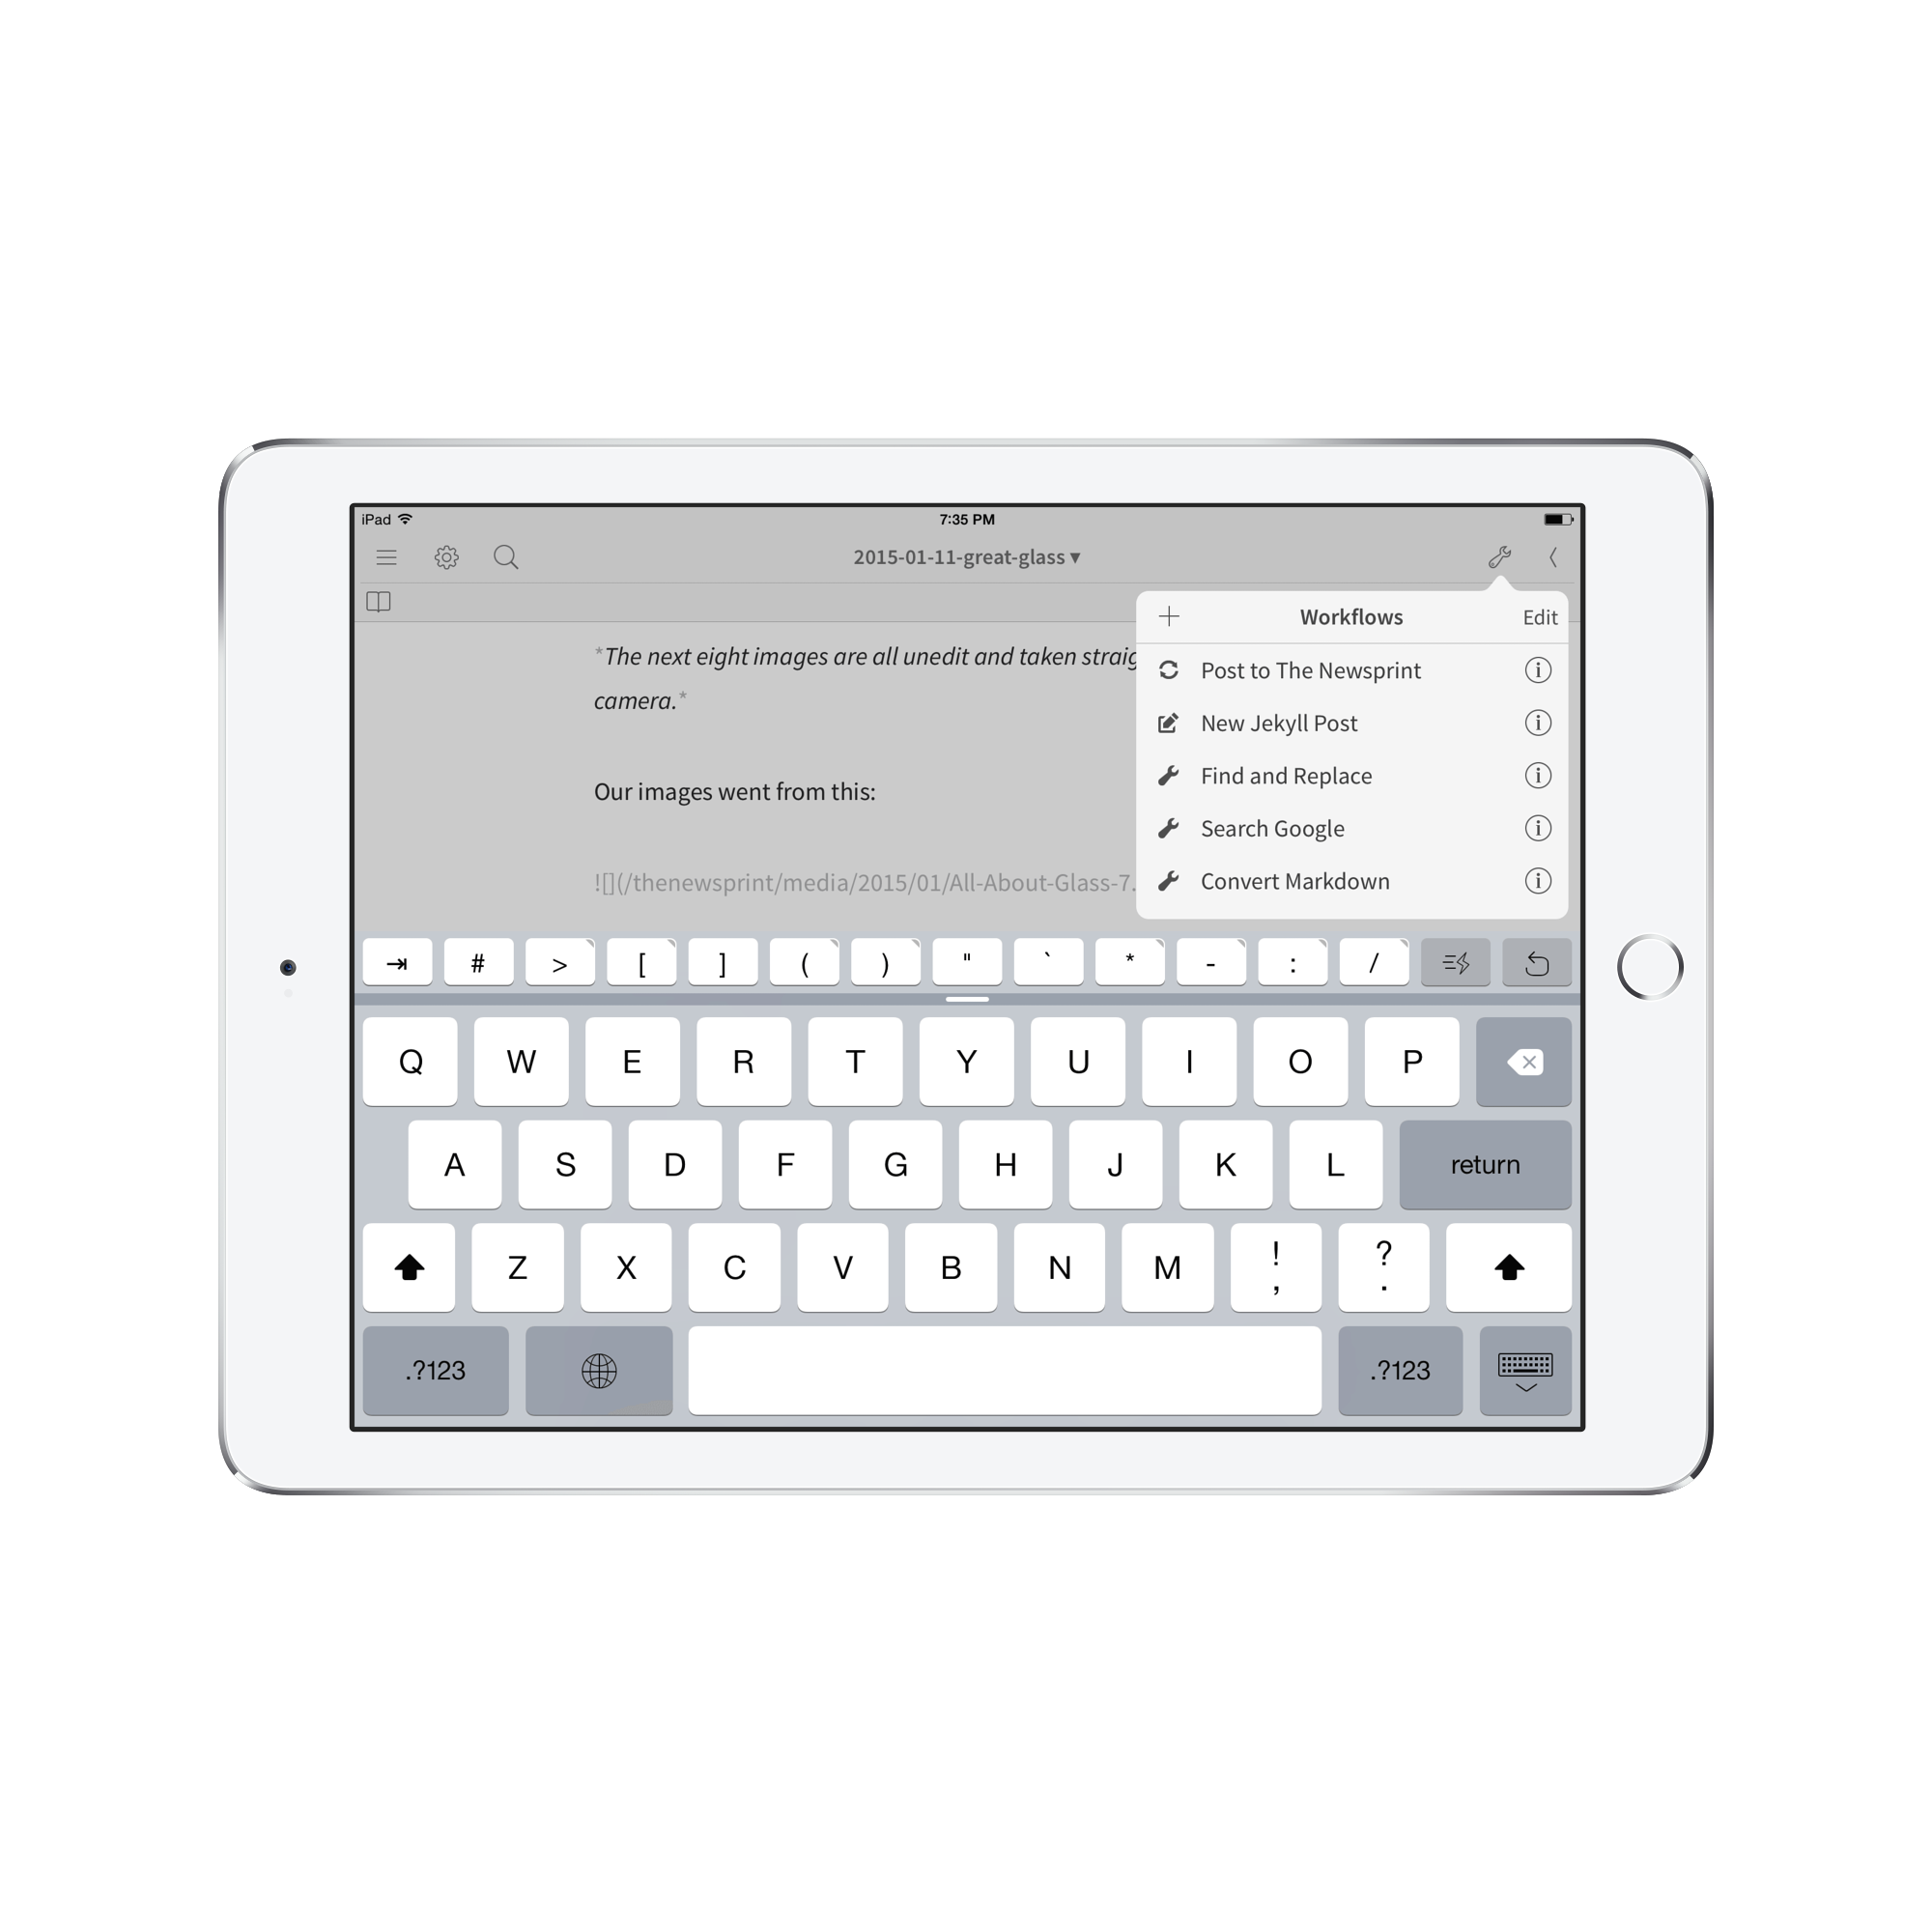
When Josiah redesigned The Newsprint back in the beginning of December, he created some nifty Editorial workflows that automated the process of posting to the now-static Newsprint Jekyll blog.
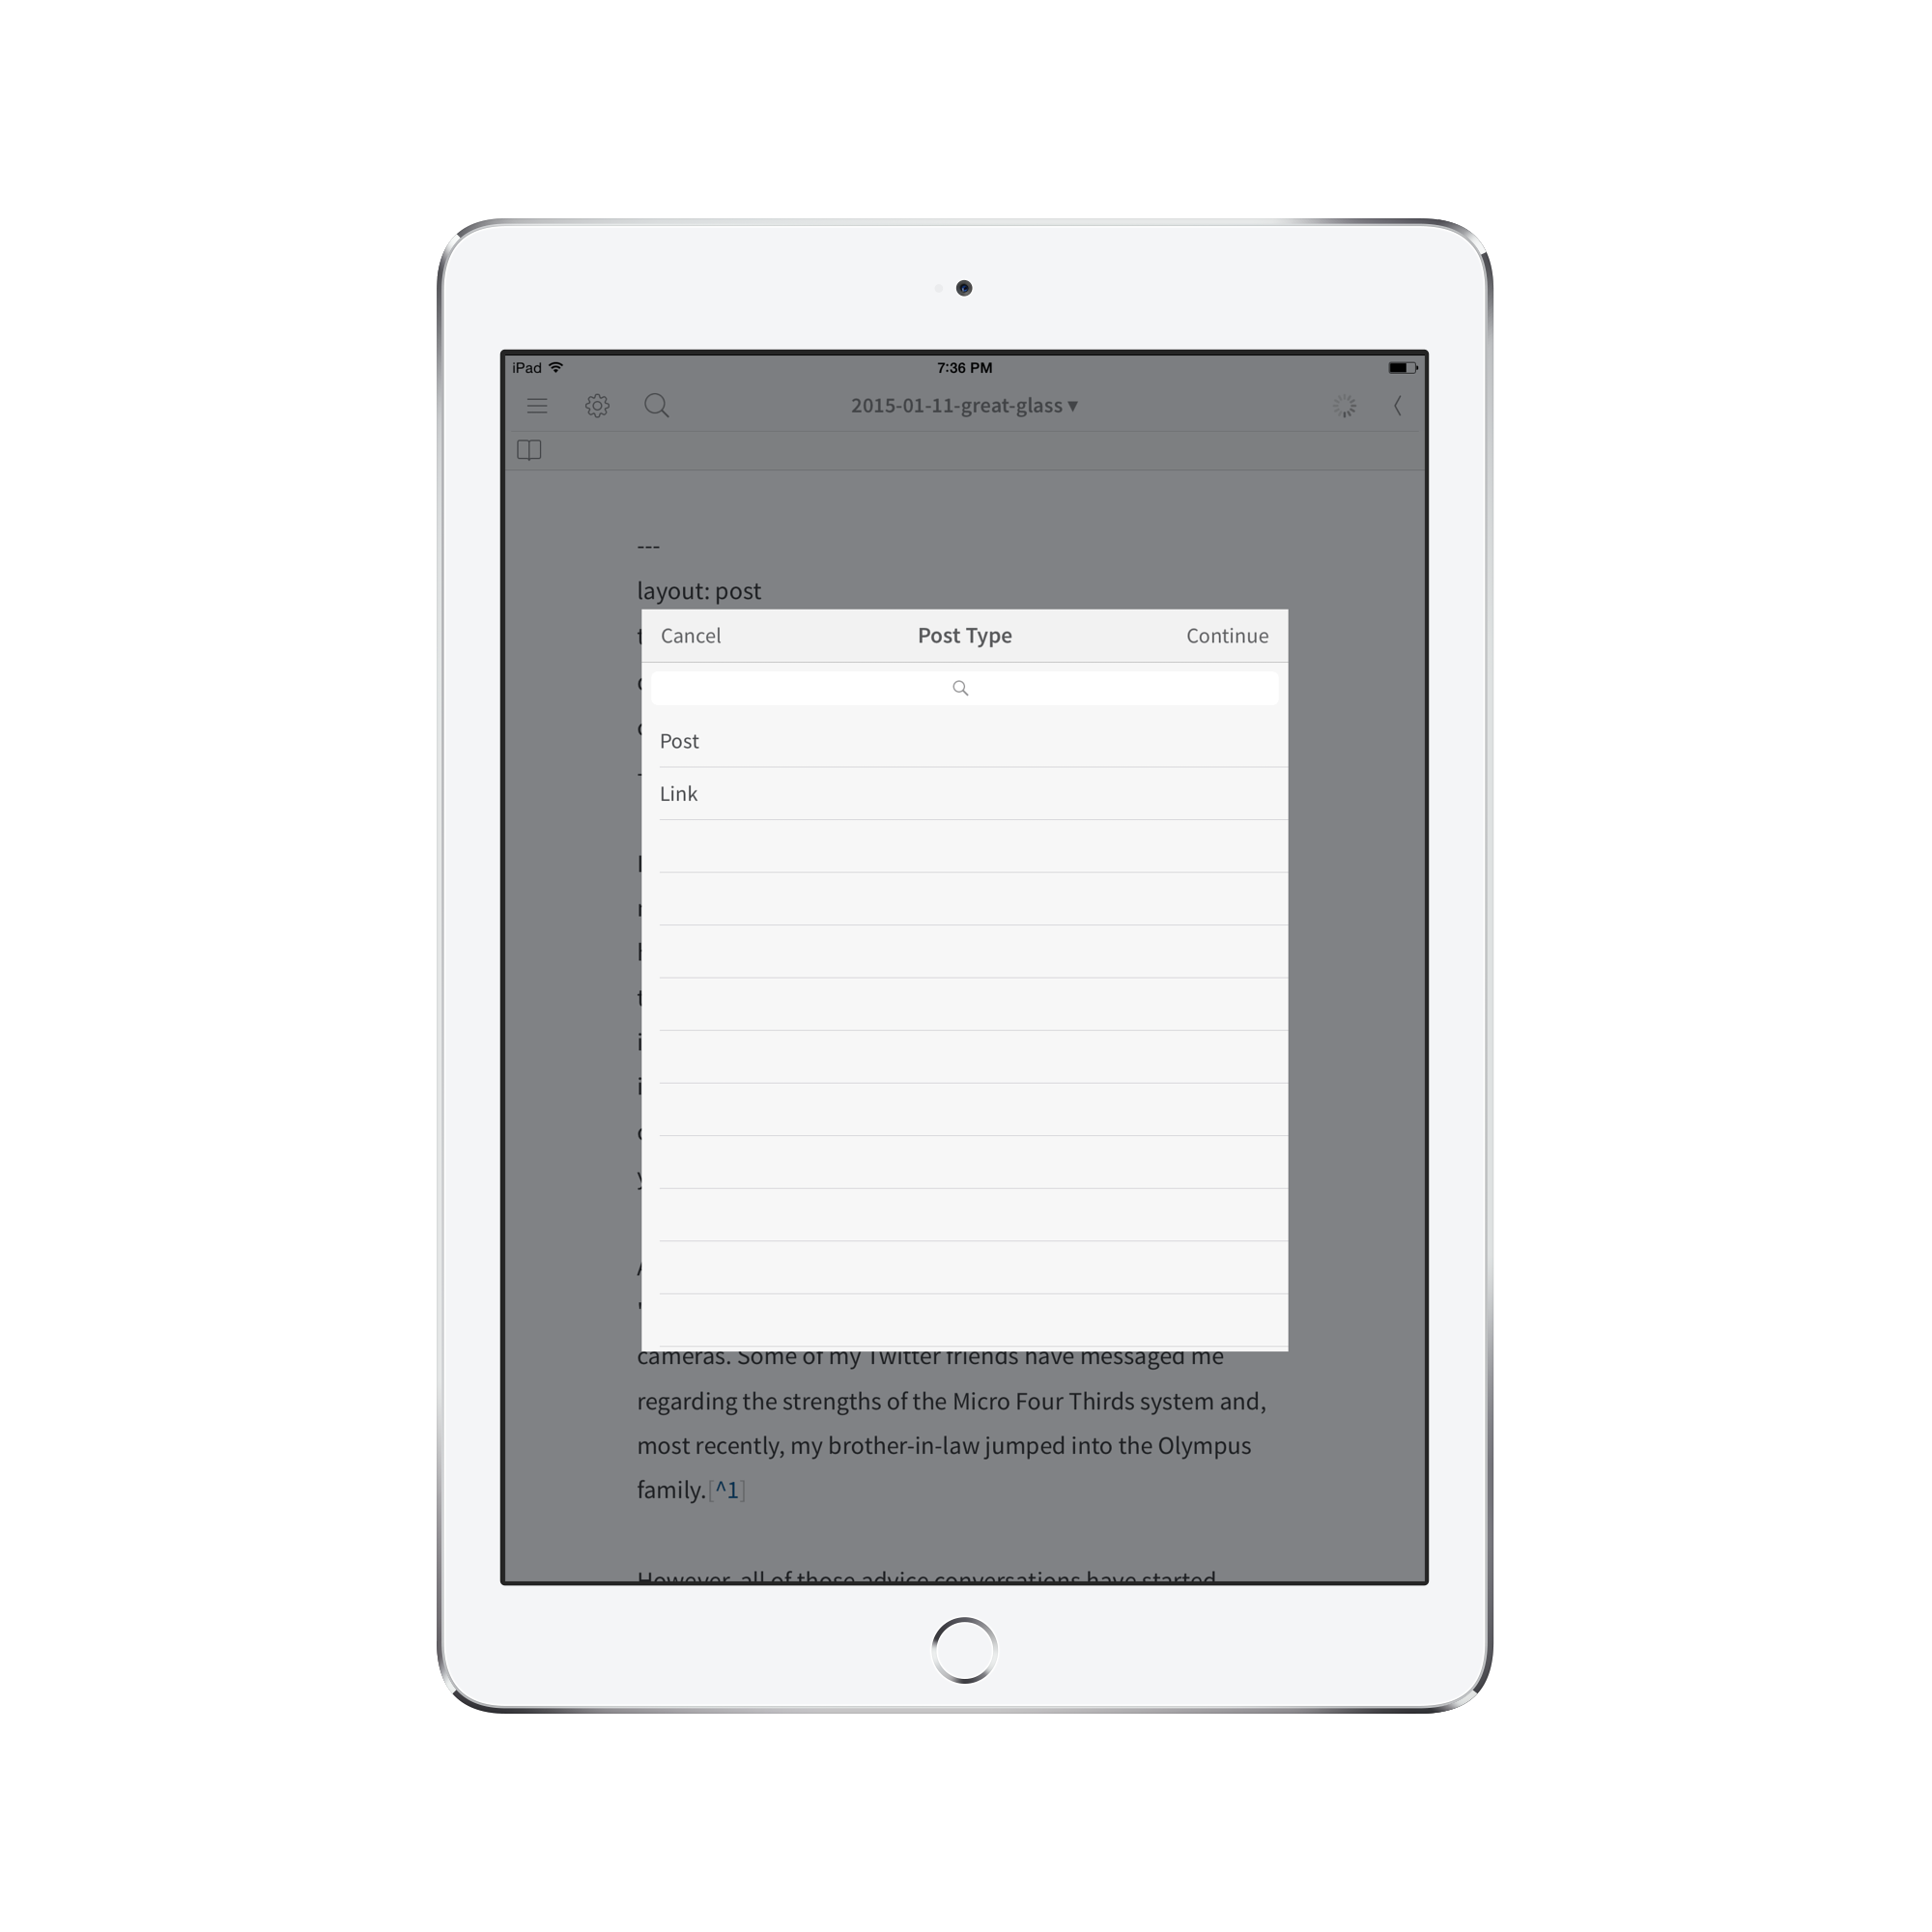
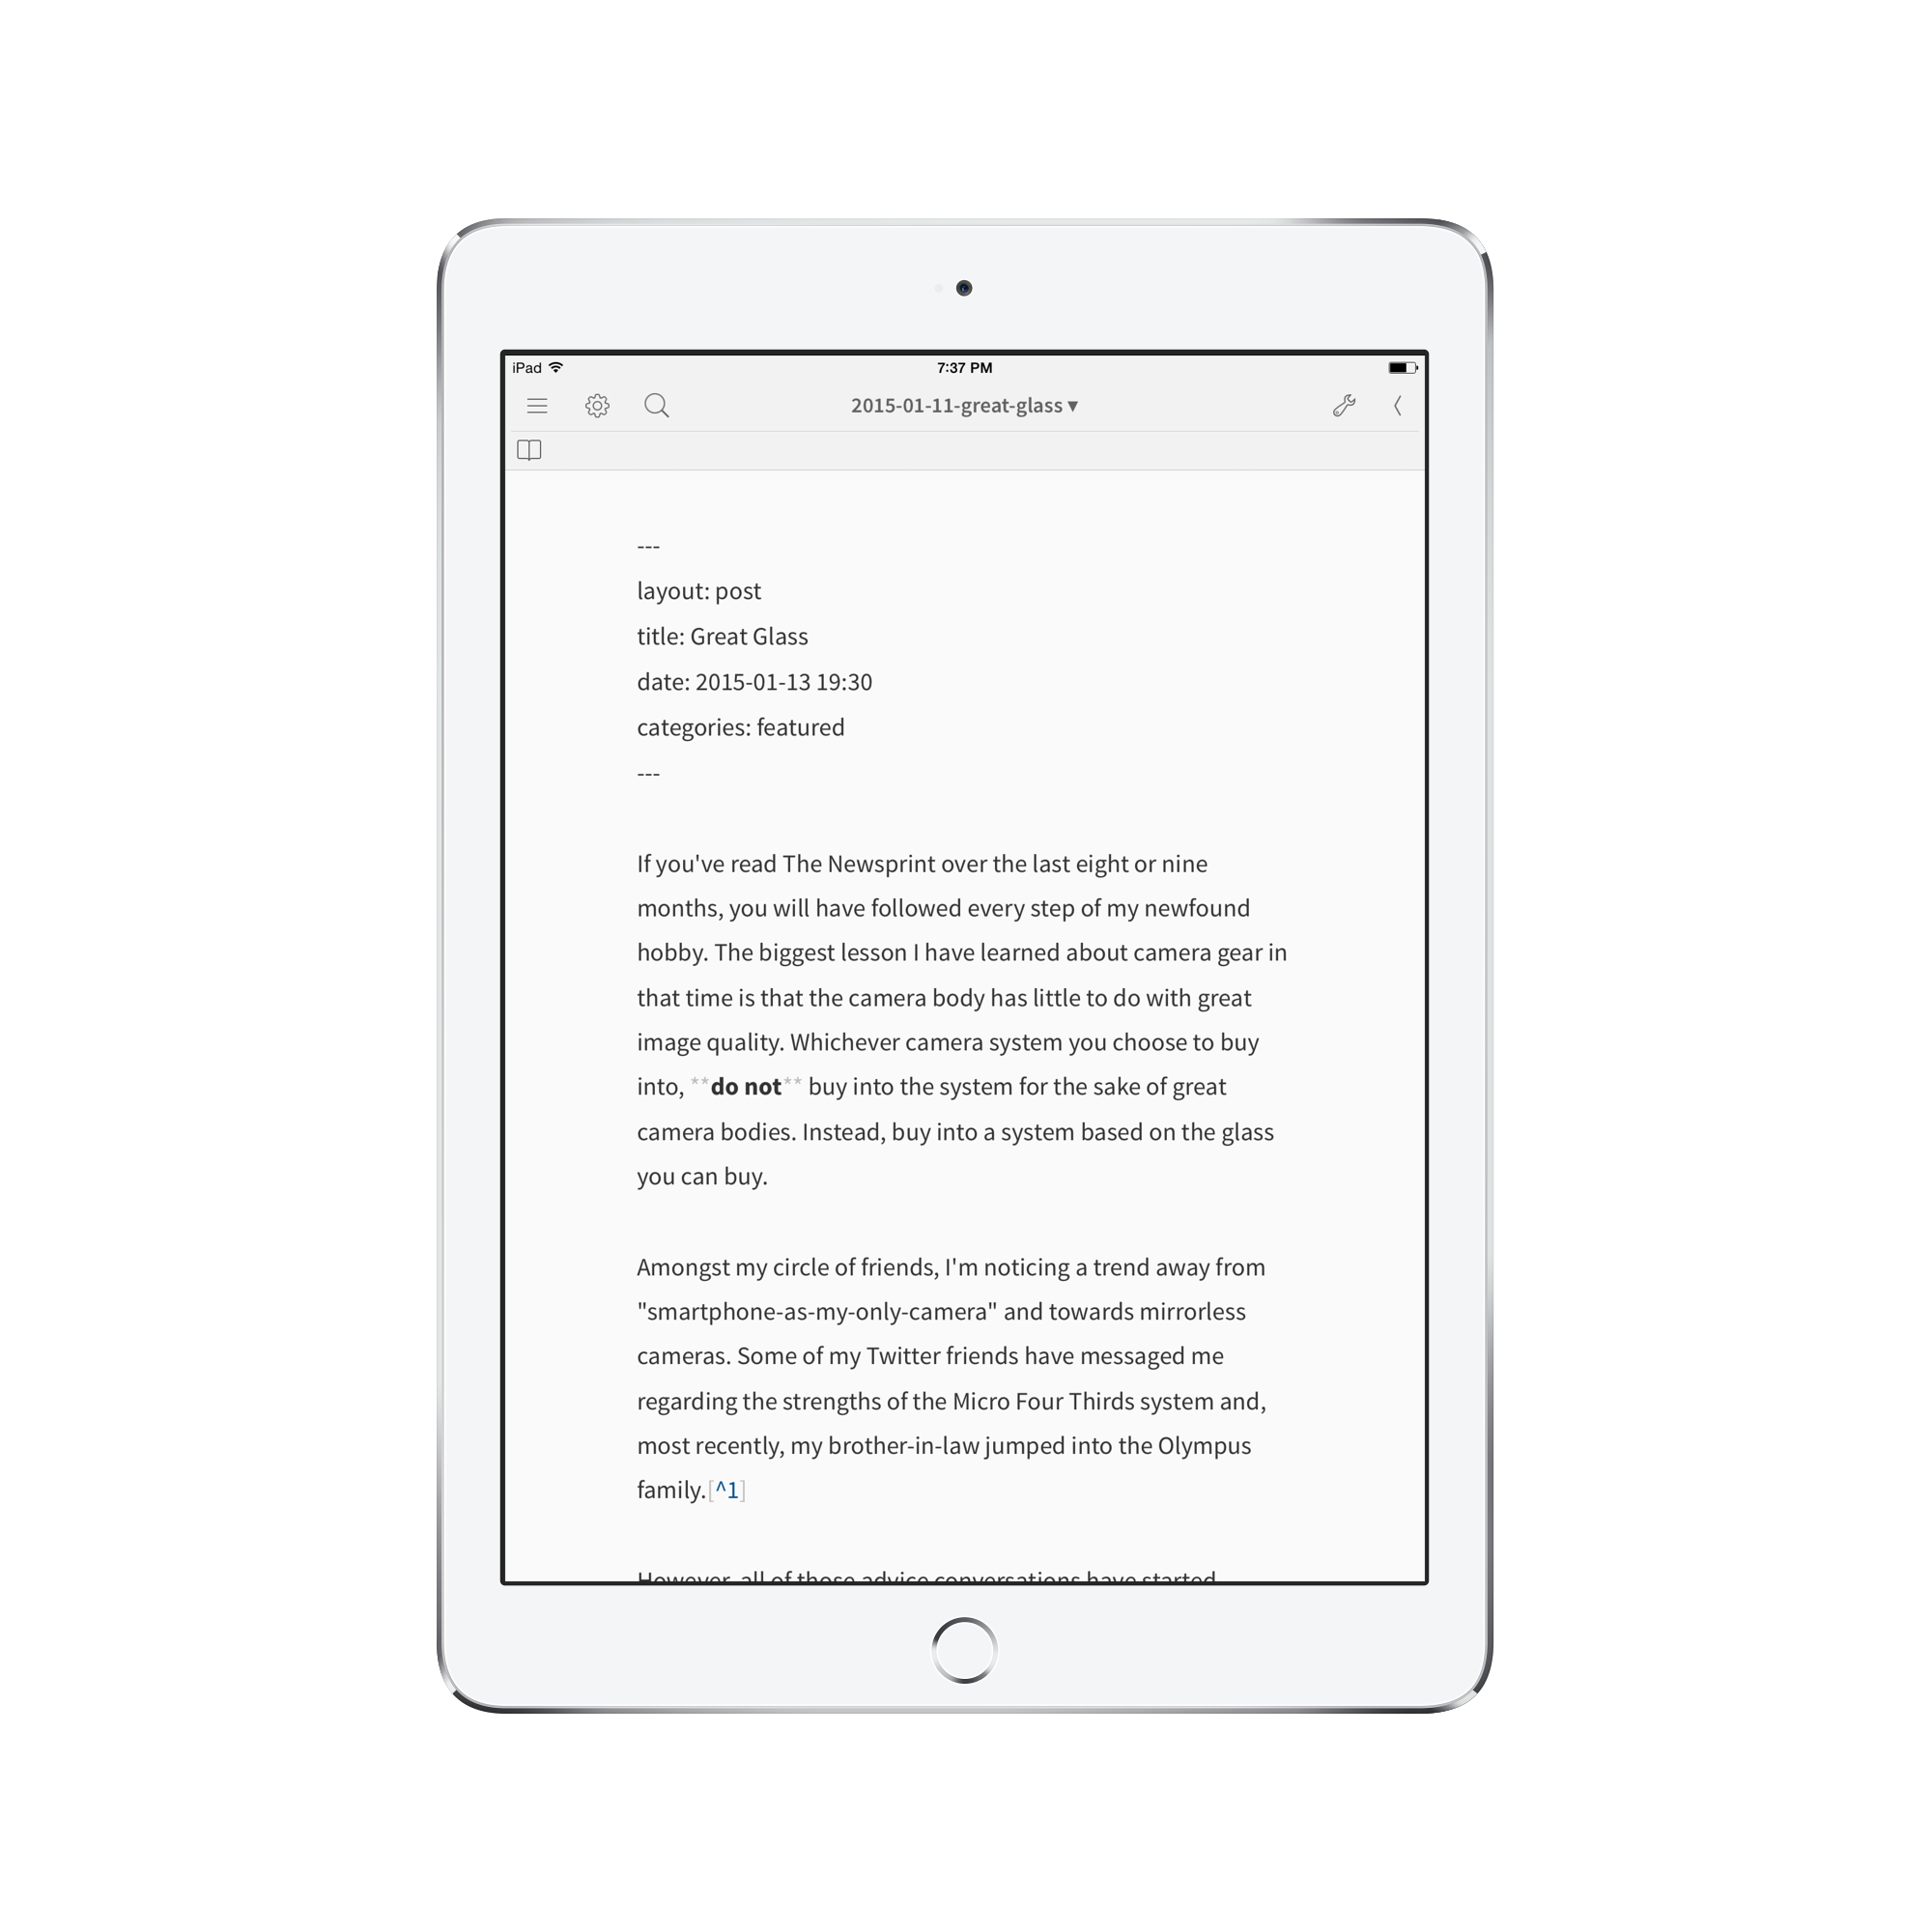
He created two workflows: a document generator with the appropriate documentation in the header, and a publisher that sent the document (complete with a proper filename) to The Newsprint’s server on Github Pages. These workflows work brilliantly and I encourage everyone to modify them for their own use.
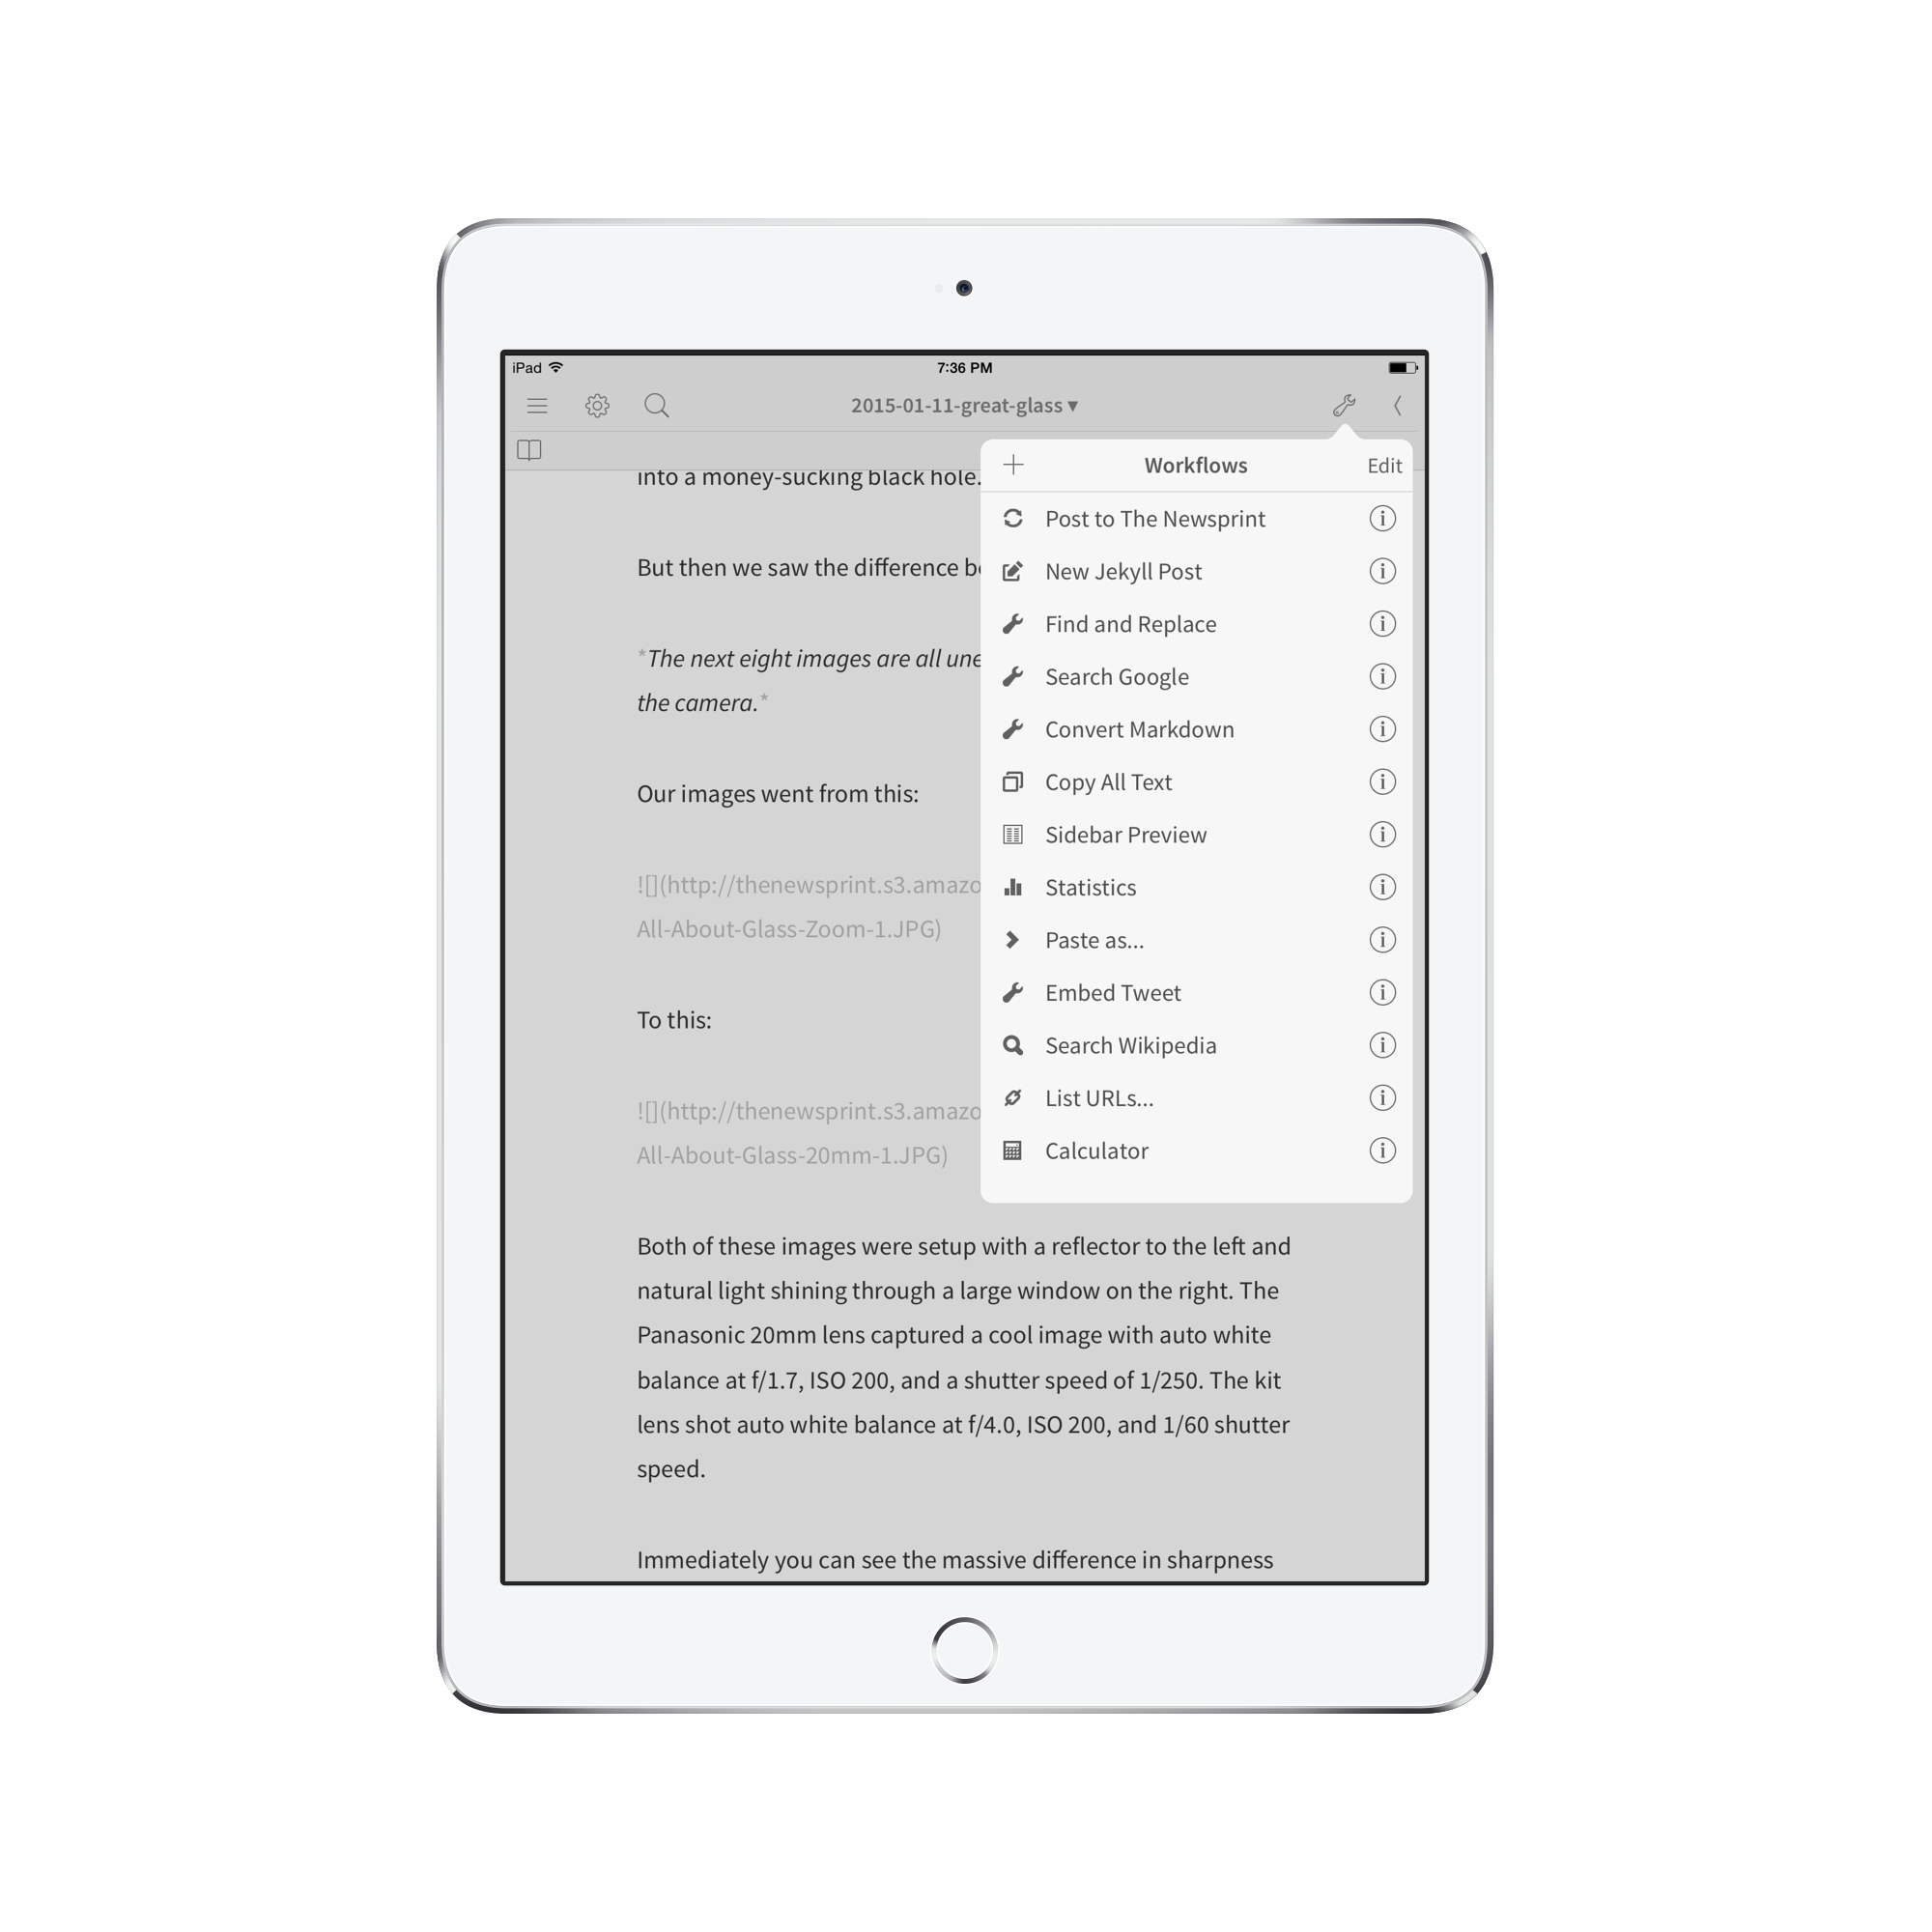
Step 6: Find and Replace
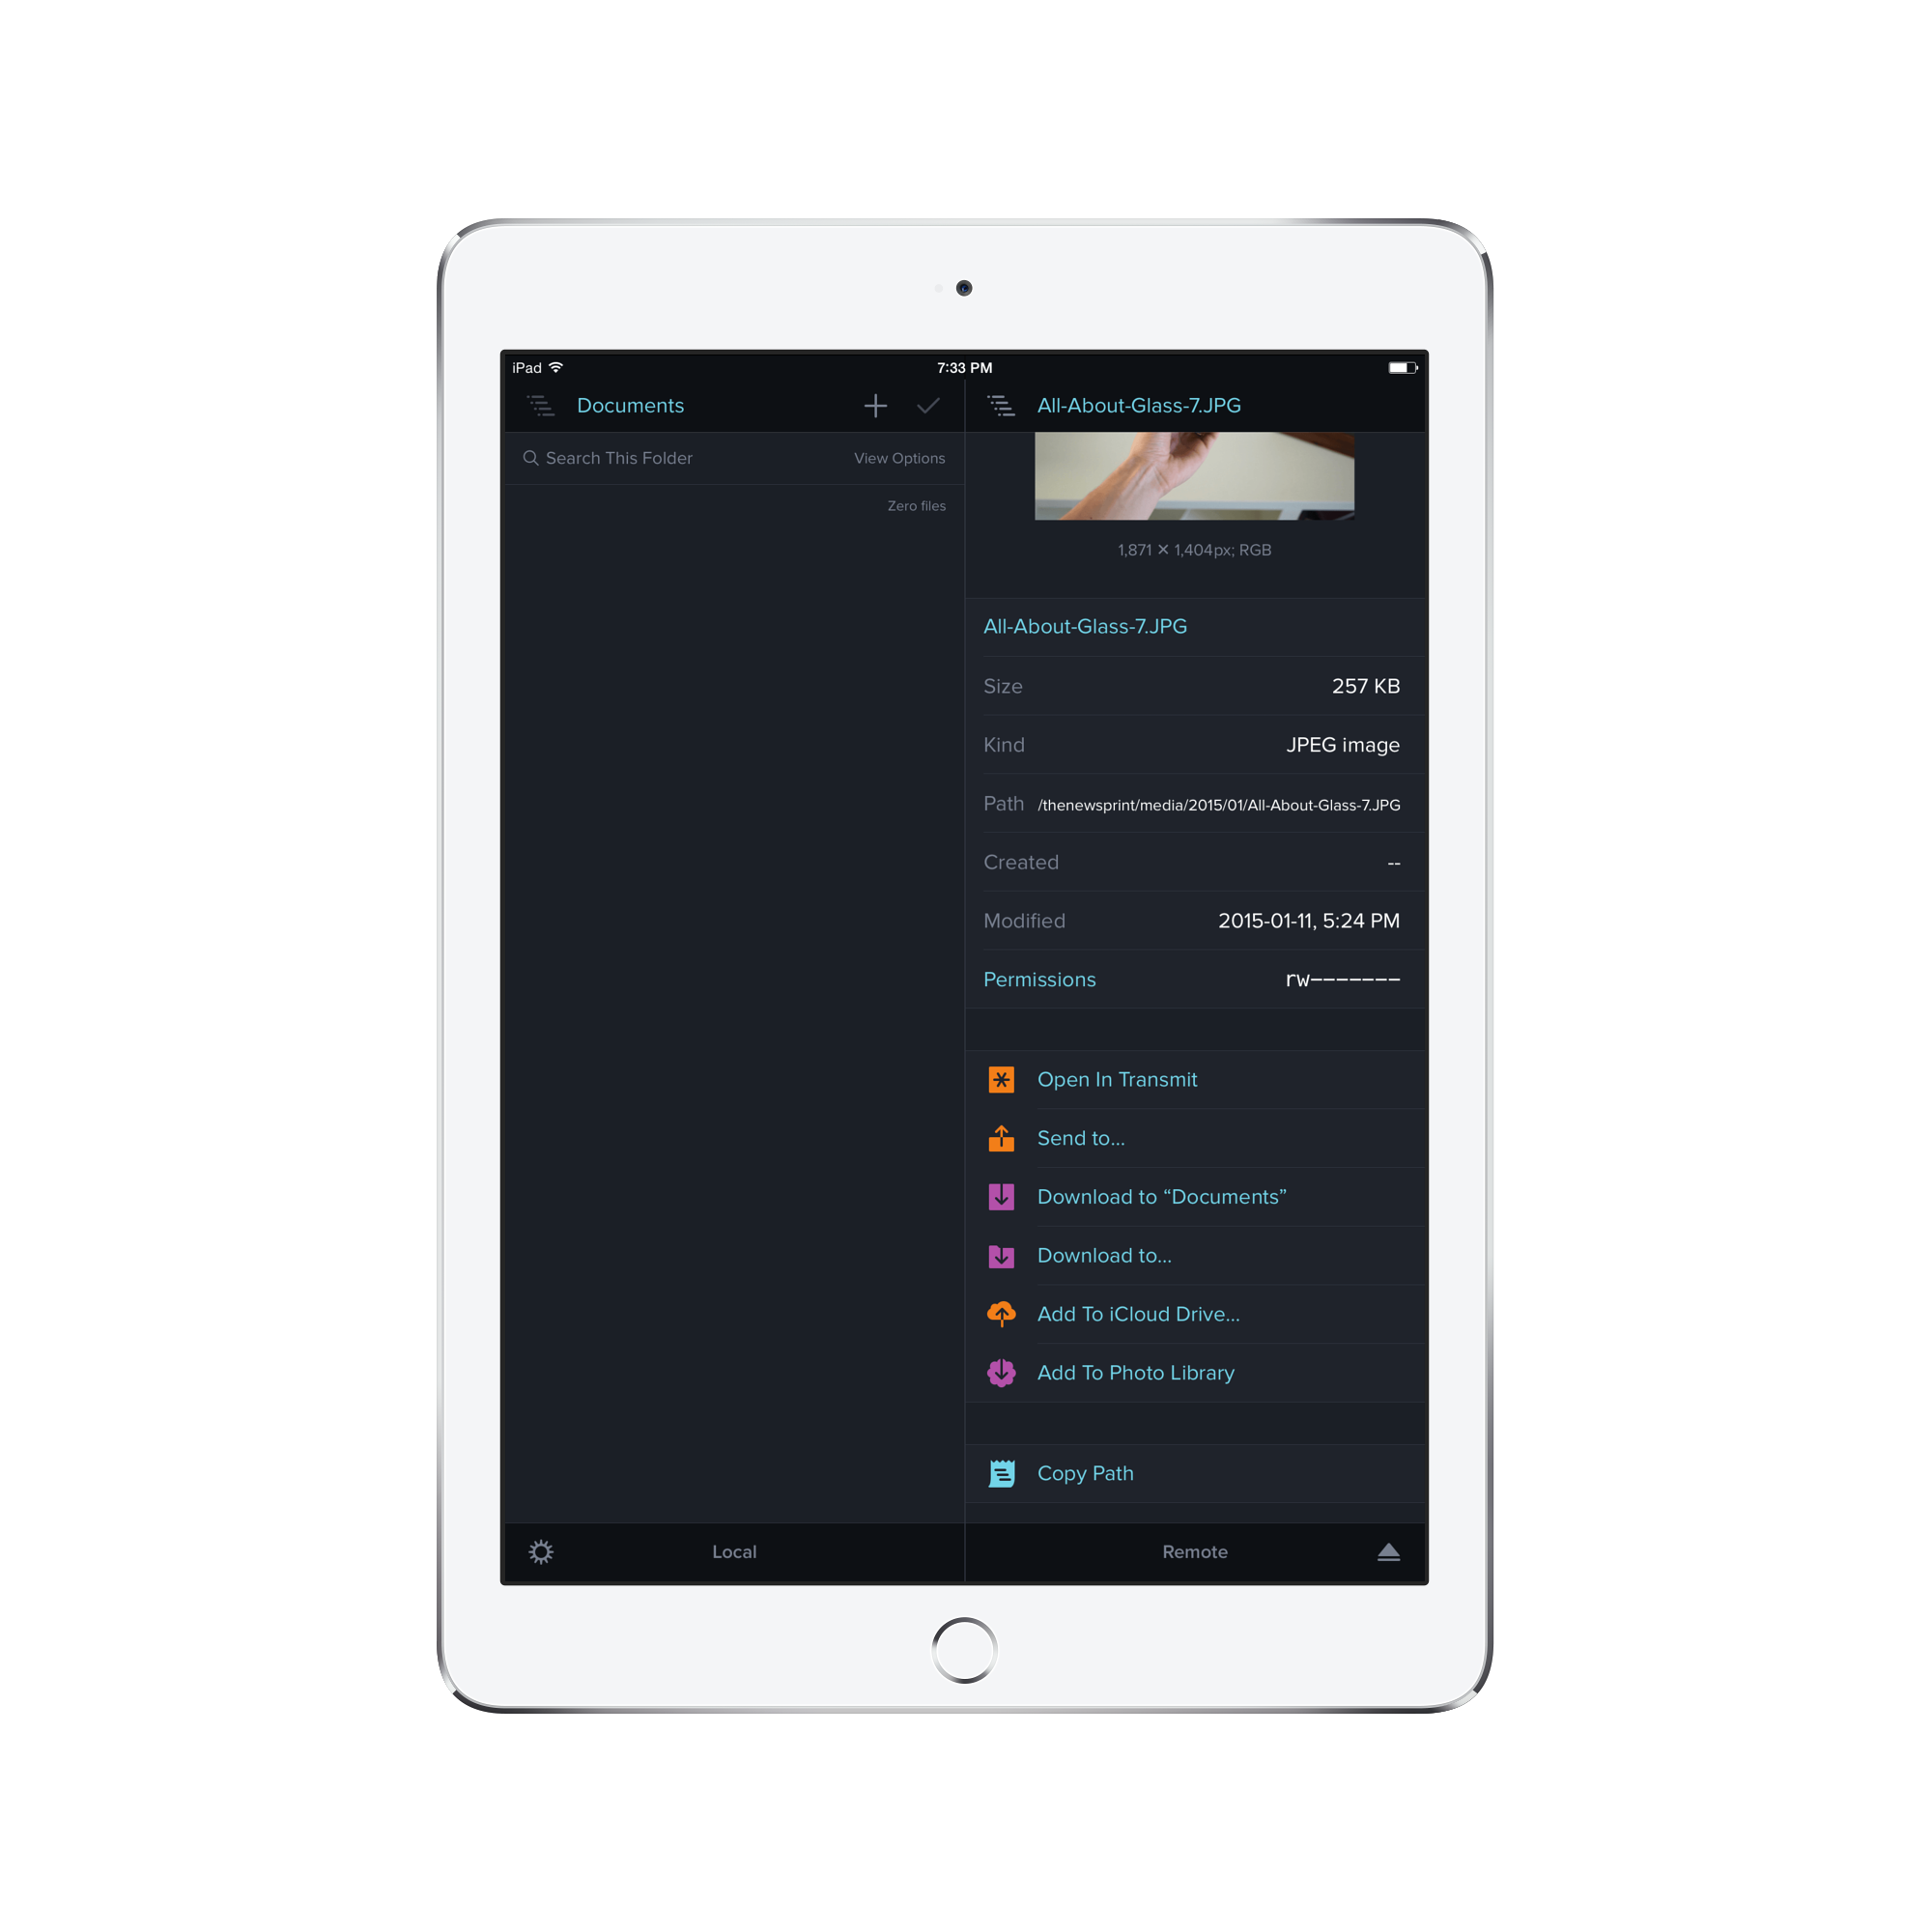
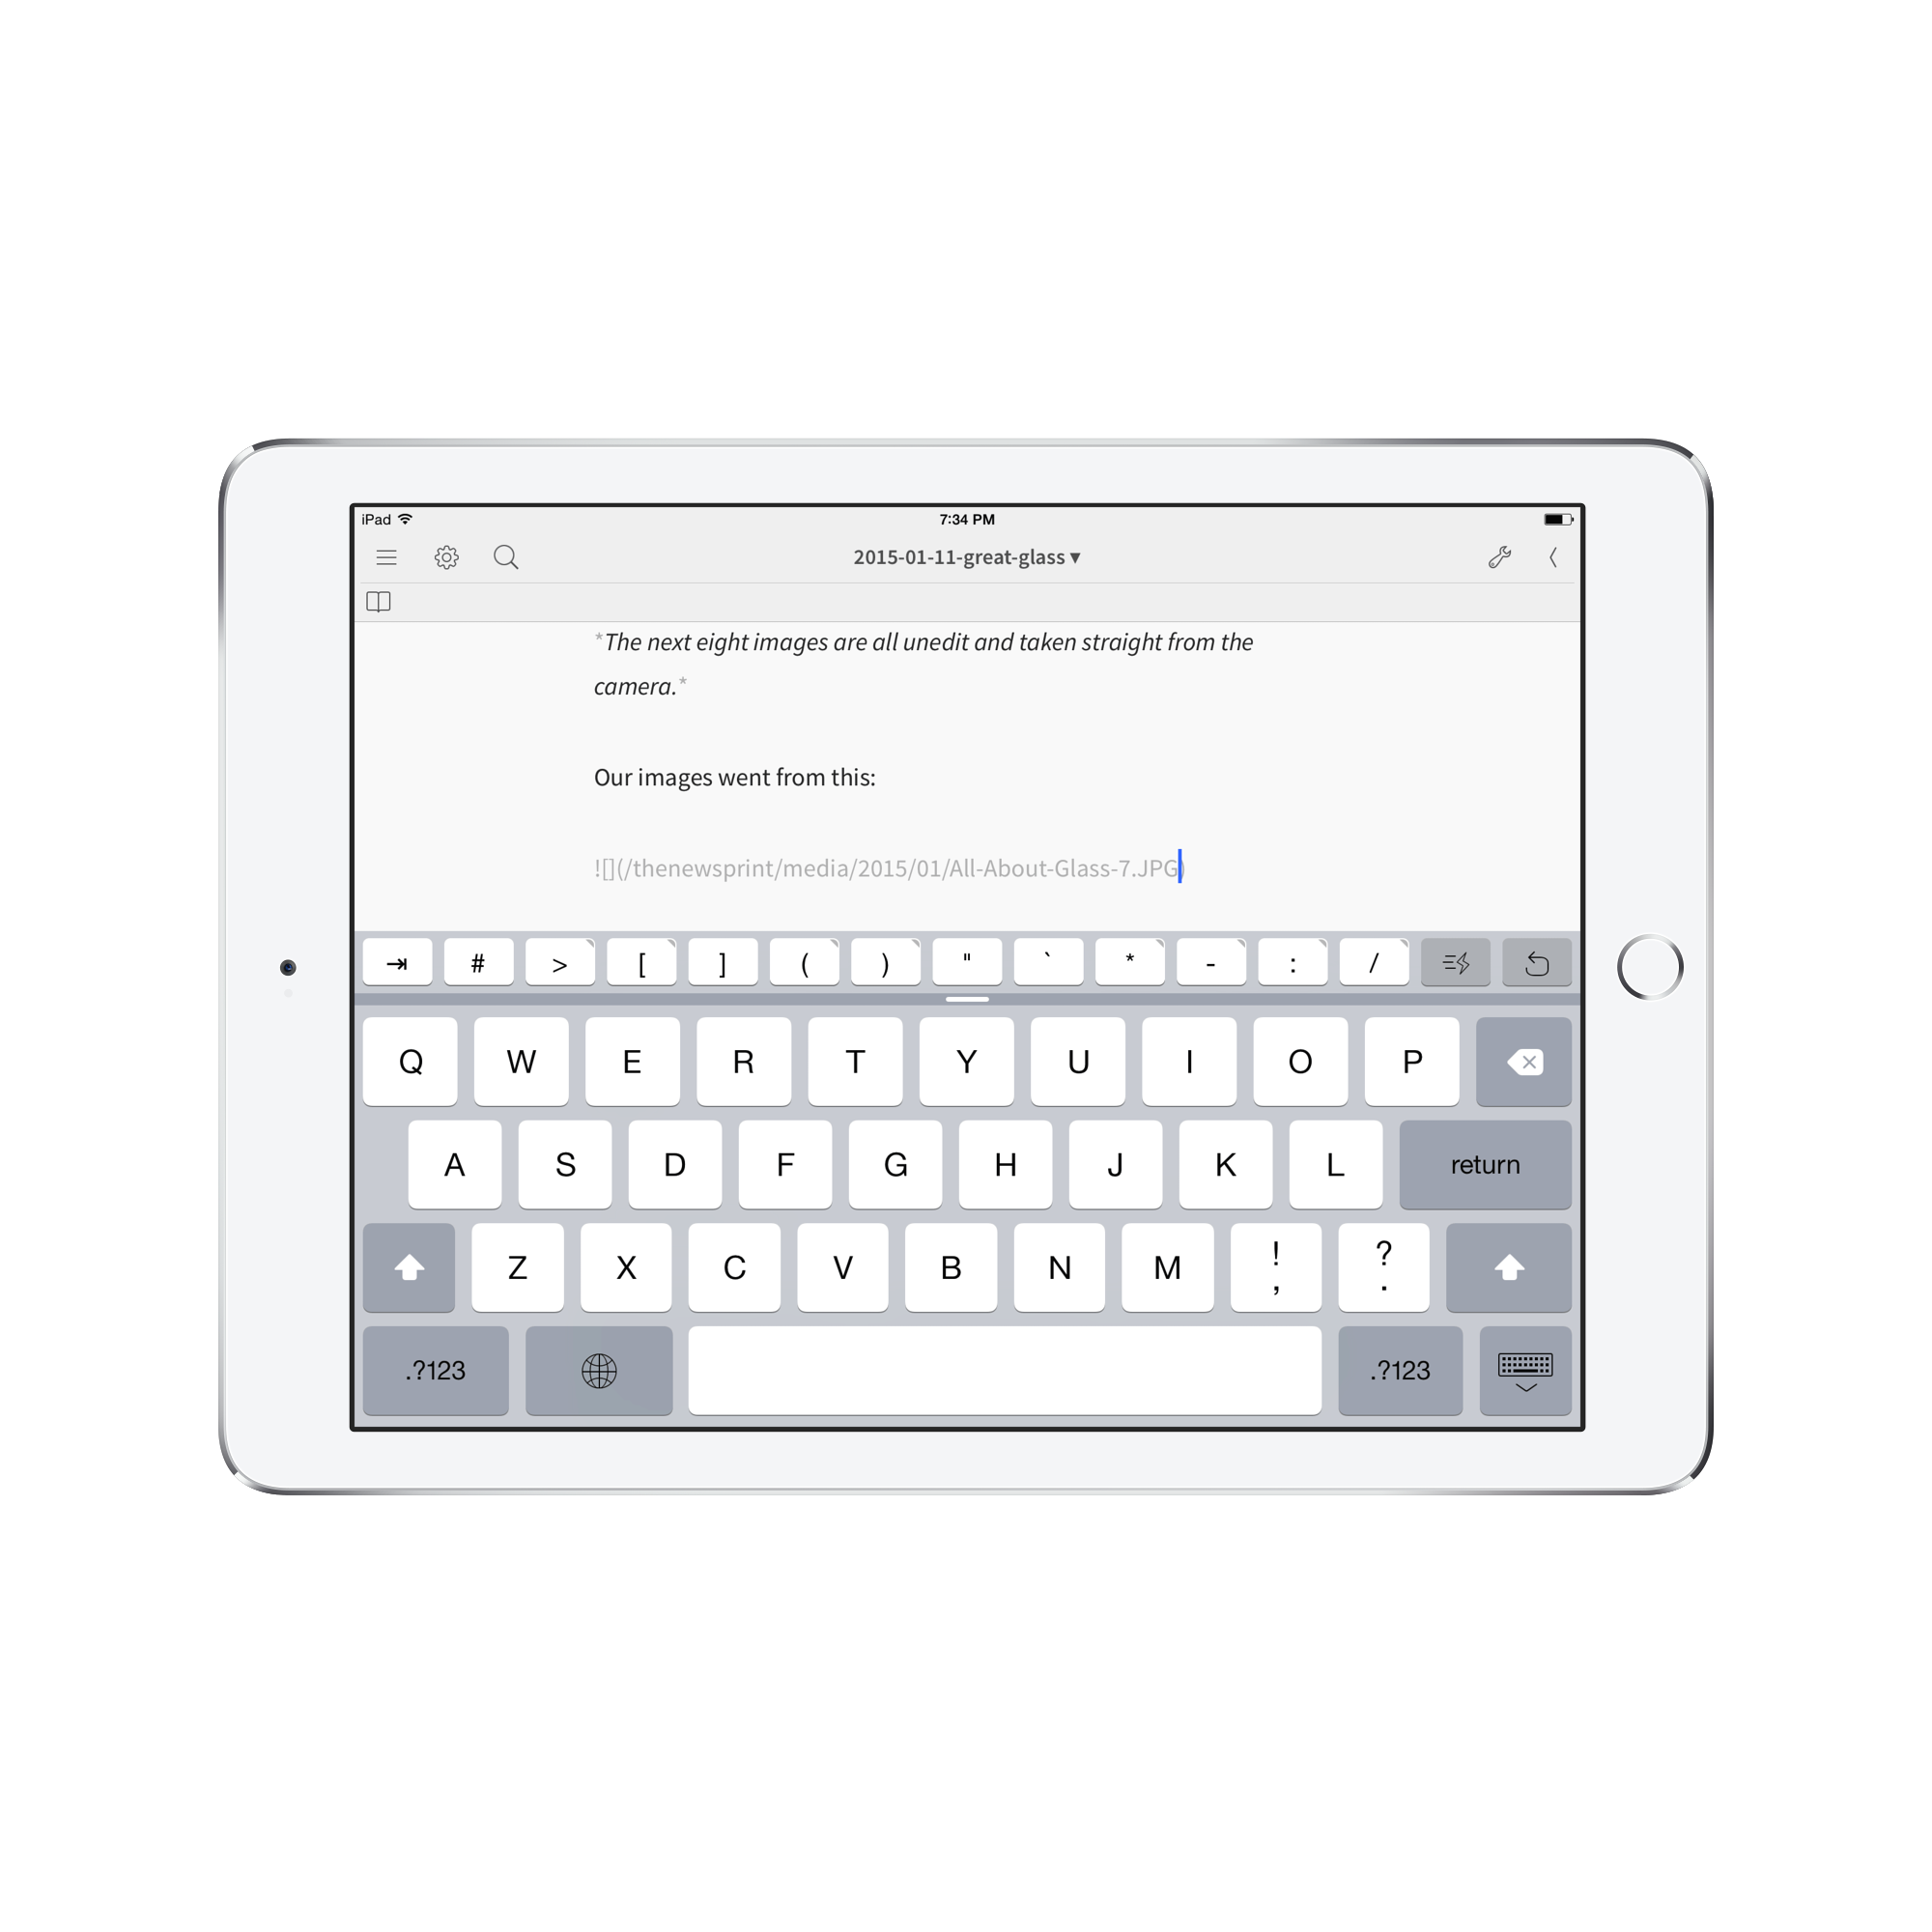
As I wrote the article, I used Markdown to insert images into the text. I used the standard ![]() format to place the images in the text. Then, I navigated back to Transmit, found the correct image, and navigated down to the “Copy Path” option. This copied /thenewsprint/media/01/xxx.jpg, when I actually needed https://static.thenewsprint.co/media/01/xxx.jpg. Instead of directly typing that URL into every single image placement, I just copied the Transmit output and inserted it into the text for later.
Once I had finished the written work, I downloaded a Find and Replace workflow for Editorial that quickly completed the image URL fix. I merely searched for all instances of /thenewsprint/media/ and replaced those instances with https://static.thenewsprint.co/media/. When I tapped done, the workflow zipped through my document and whipped each image into the proper URL format.
Step 7: Reviewing and Publishing
Lastly, I used Editorial’s previewing feature to make sure the article’s formatting was proper and that all the image URLs were pointing in the proper direction. I was able to quickly make necessary changes and I added any other links to the text all within Editorial and Editorial’s browser.
The power of Editorial still blows my mind. By combining Editorial’s power with the utility of Transmit, the iPad has grown leaps and bounds in terms of moving files from Point A to Point B.
Conclusion
Overall, this is a fairly simple workflow. I strung together five different apps to accomplish the task of creating an article for a Jekyll blog and there wasn’t as much friction as I expected.
It took five years to have the means to accomplish the task and this speaks to Apple’s carefulness in changing iOS. Slowly but surely though, Apple has opened doors to do more complex tasks on iOS and even illiterate folk like myself can take advantage of it.
If this workflow works for you, or if you have a way of cutting out a step to make the process more efficient, I’d love to hear from you.
Maybe this is a signal that I am some sort of thrifty creative… or maybe I’m just trying too hard. ↩
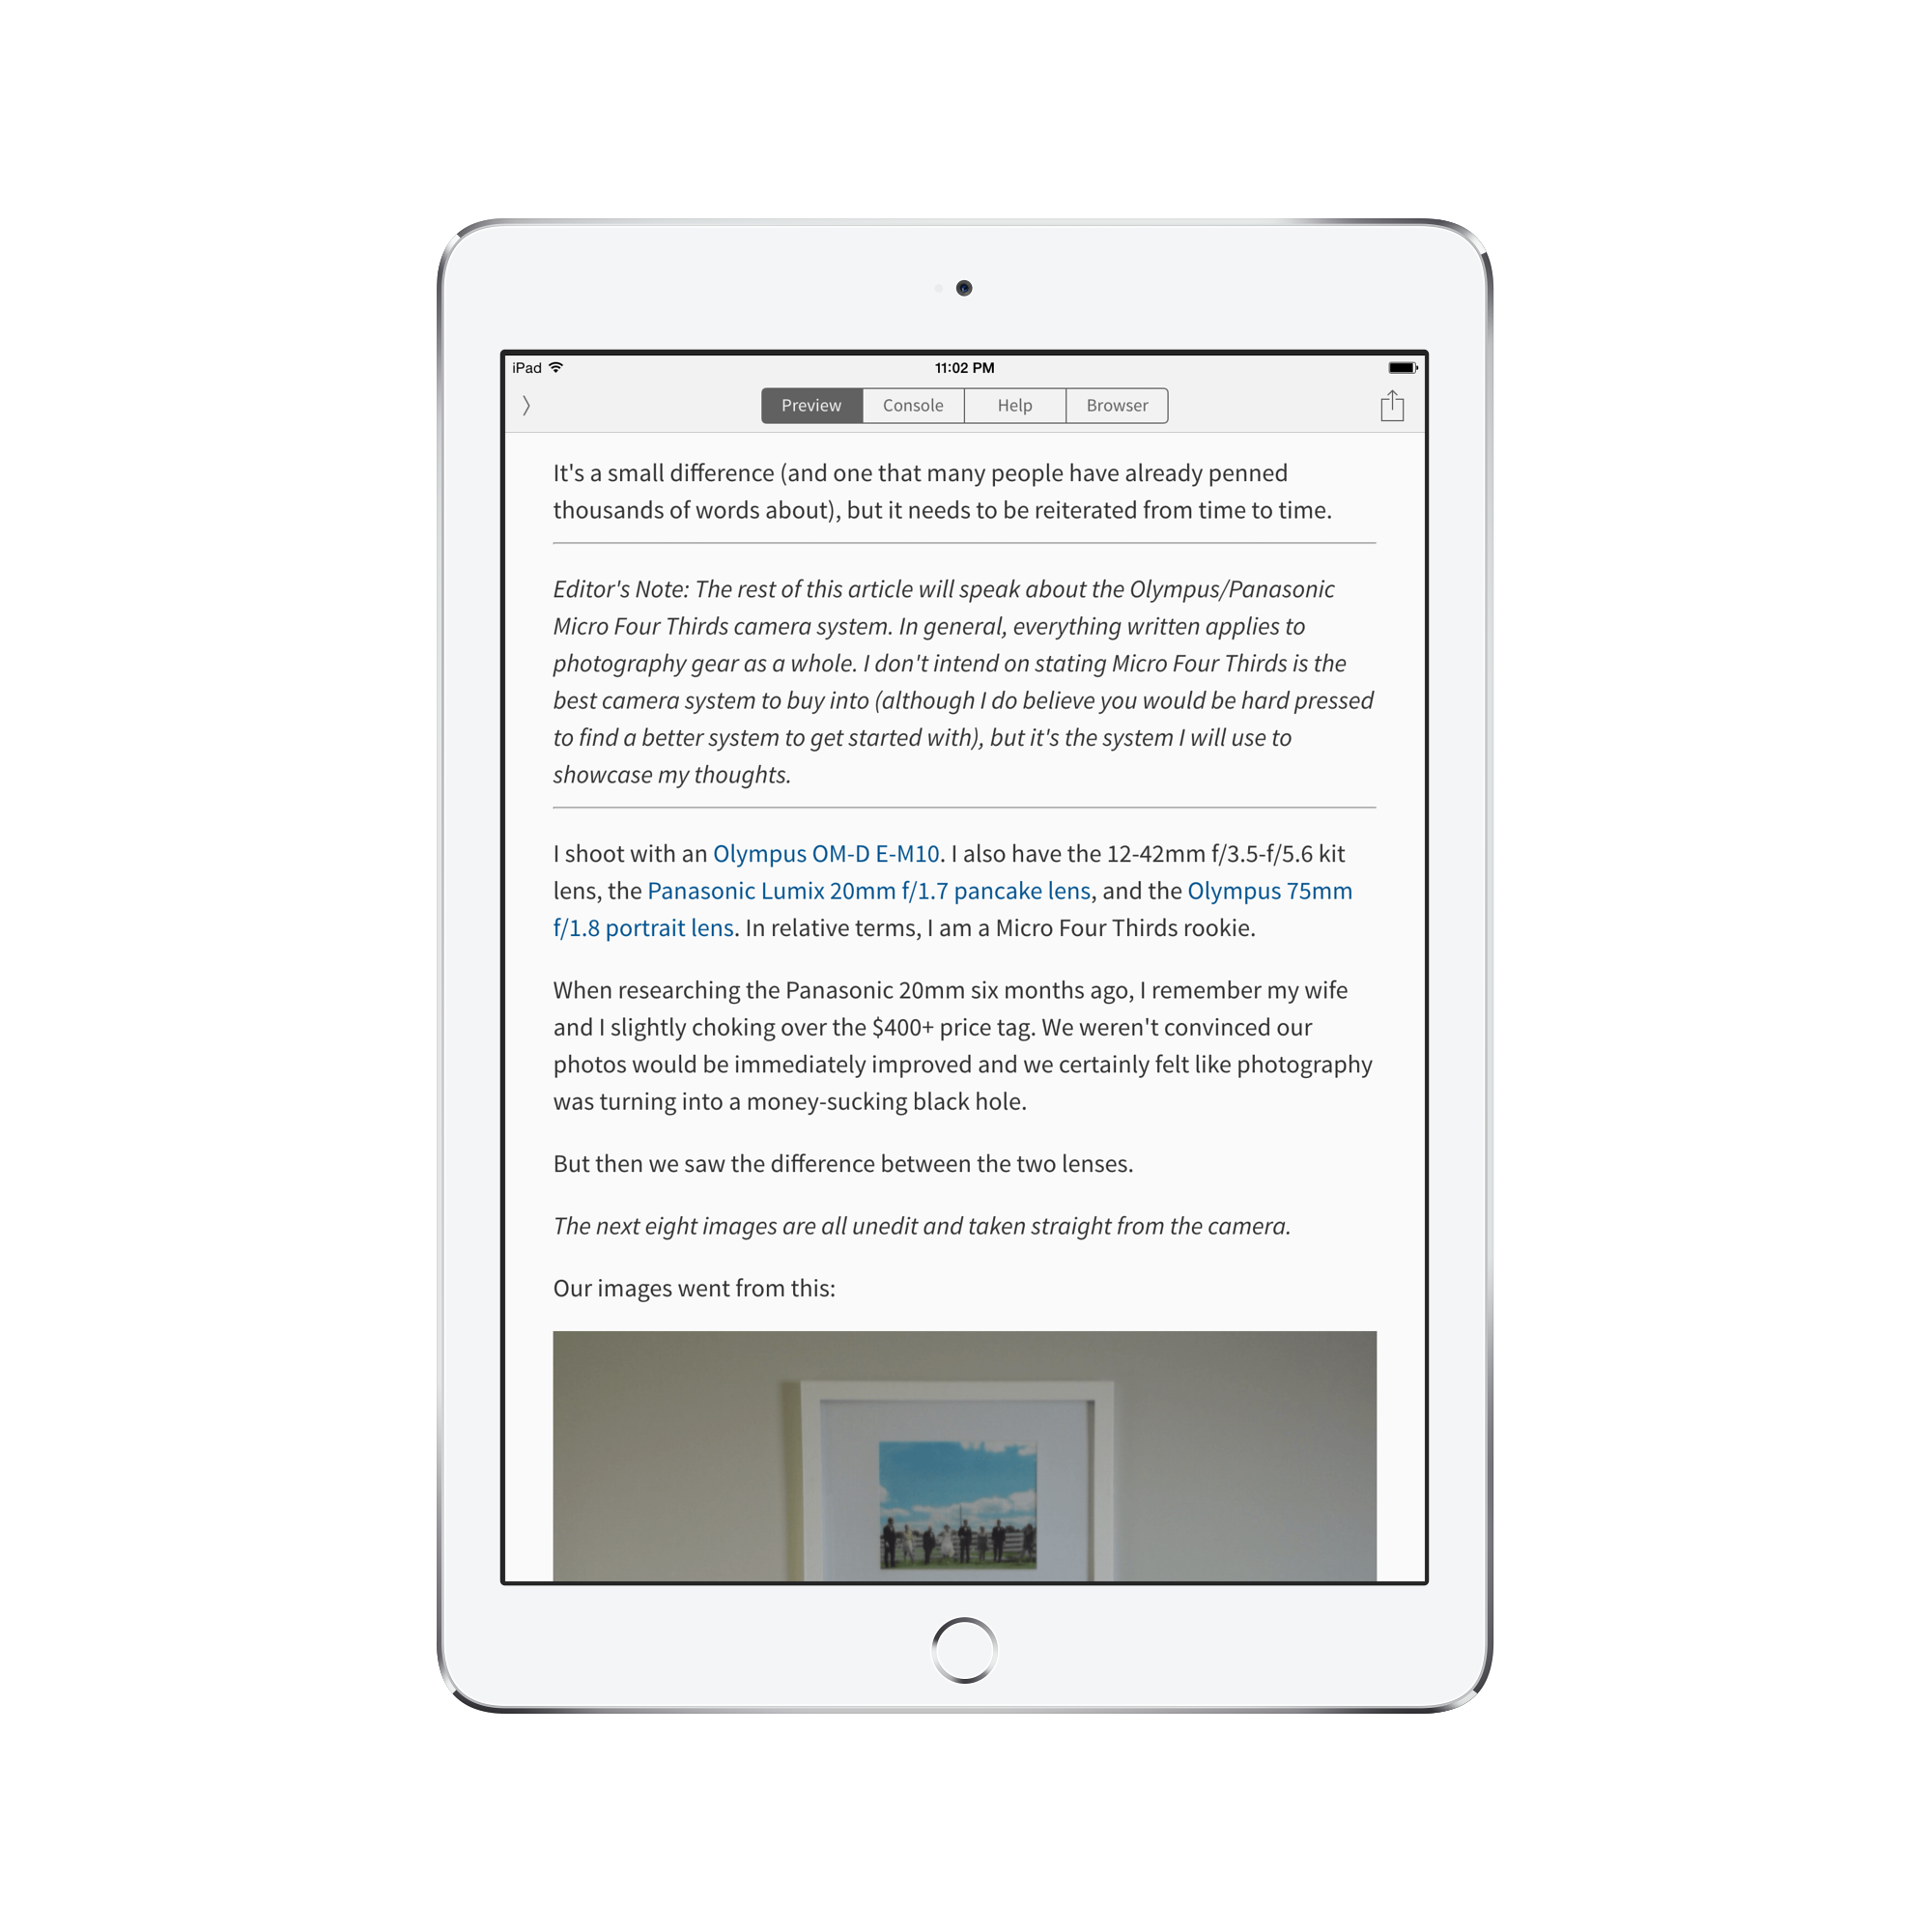
I do apologize for some of the images in this article though. I took a screenshot, compressed the .png file via CompressPng.com, fit the compressed screenshot into an iPad template via MockupPhone.com, and then uploaded to the server. Even still, some images are in the 800kb range. I’m not sure what I can do to make these screenshots smaller. ↩